
great progress, amazing how much work it takes to do this
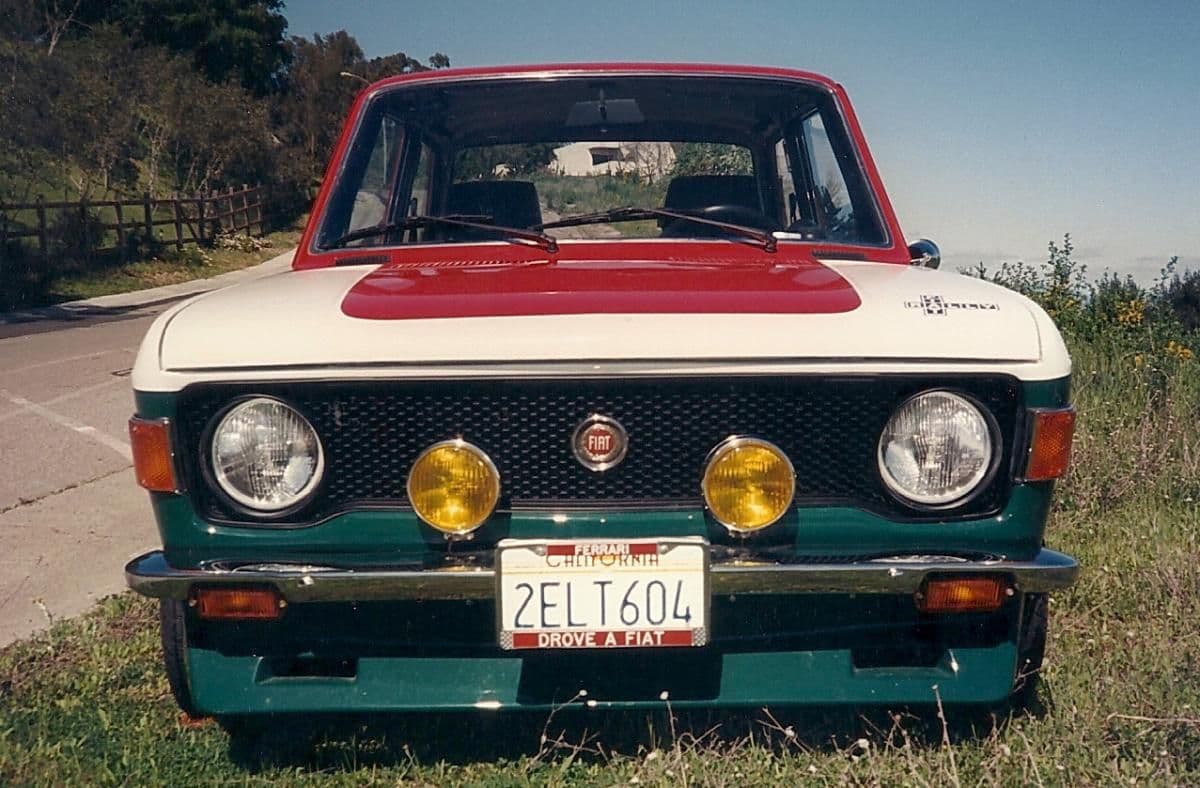
I still remember building my red / white/ green 128 way back when-many hours of fooling with that car to make it what it eventually became. I drove that car nearly every day for 10 years. lucky you have the web now for info, parts finding, collective knowledge,etc. And Edinsmoto. I had a phone, some old Faza books, and the Fiat club ( with about 1 other 128 owner at the time-Chris Obert) .
Looking forward to driving it when its running well, and hope to have it in my shop for paint sometime soon. Like the blues for that body style.
leave you with this blast from the past photo from April 1996, not too long before I ended up selling it.
")


