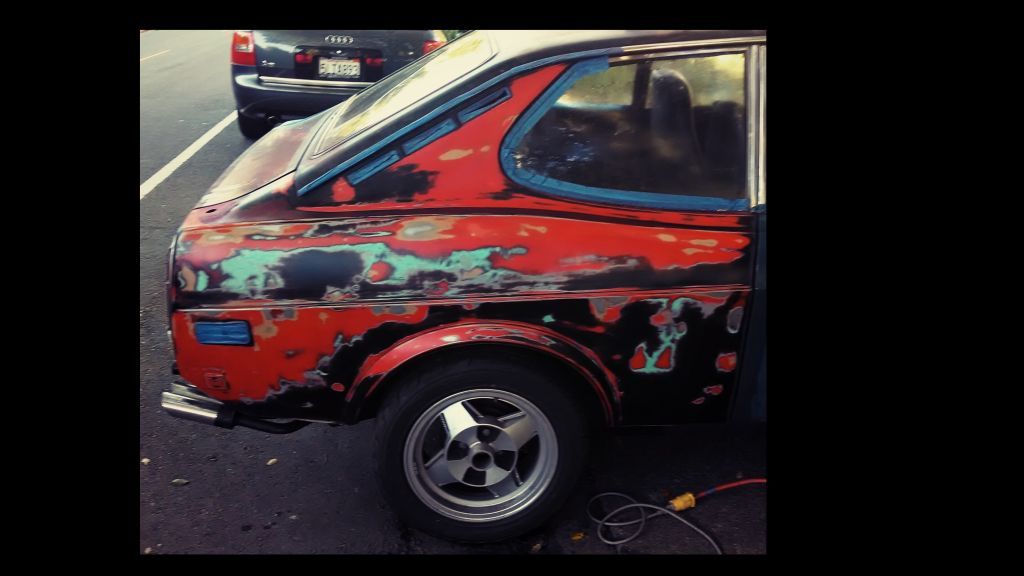
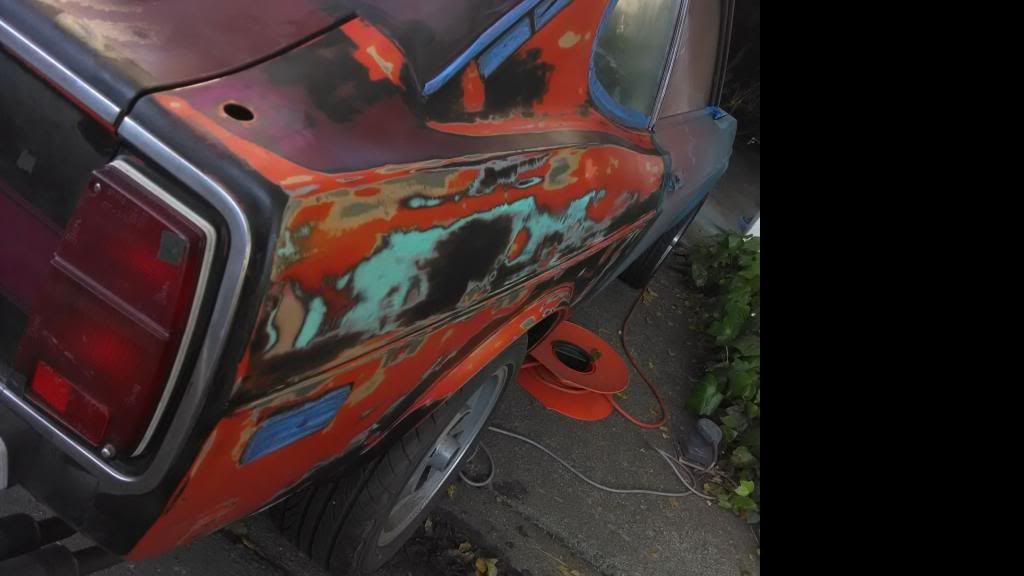
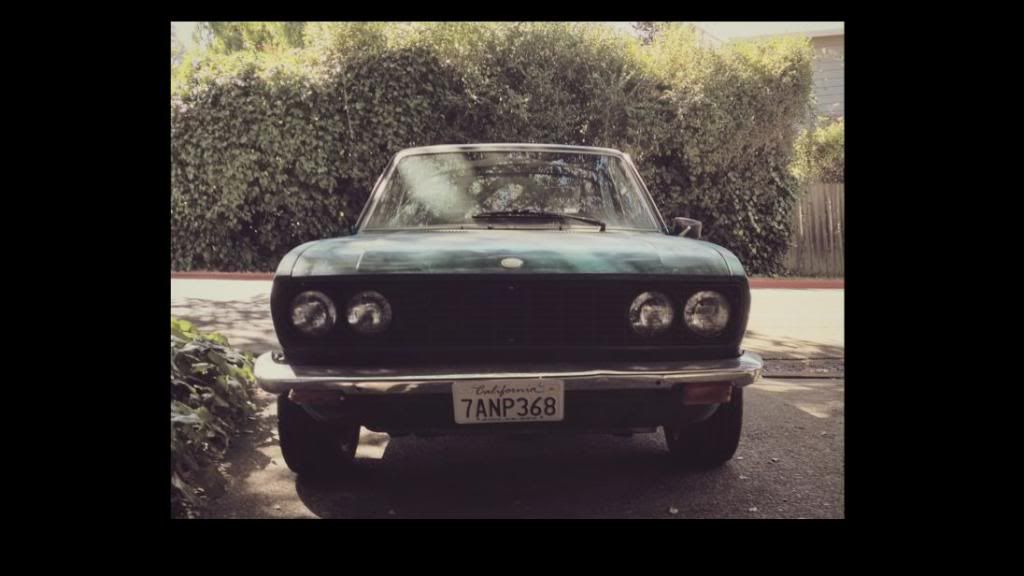
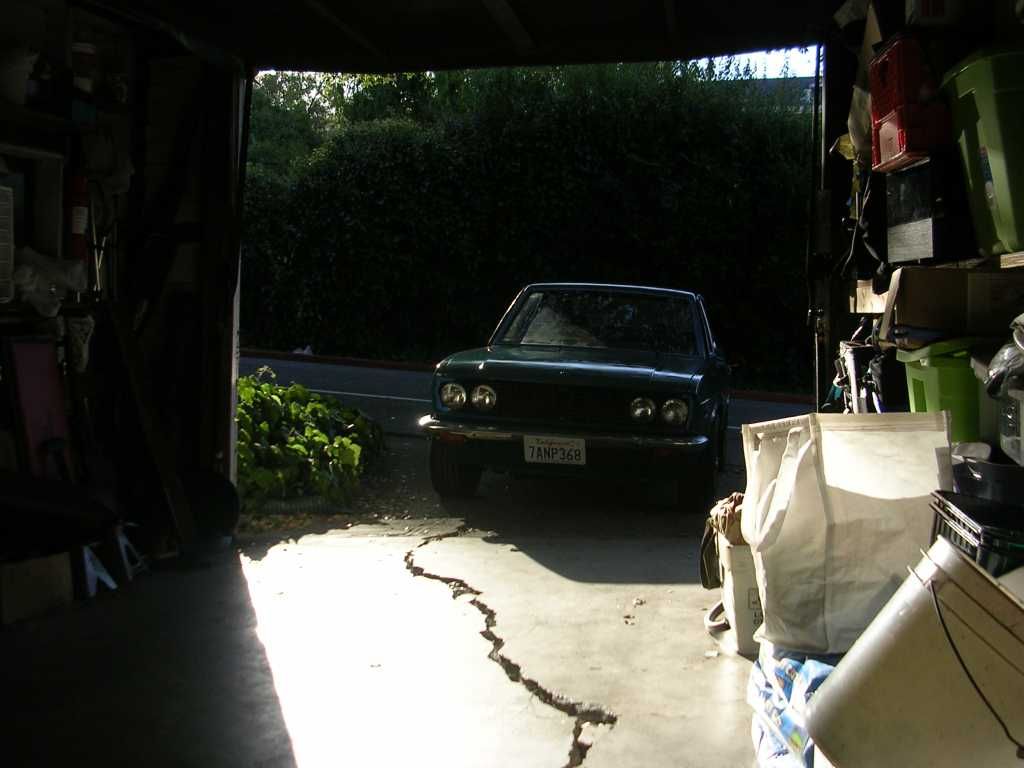
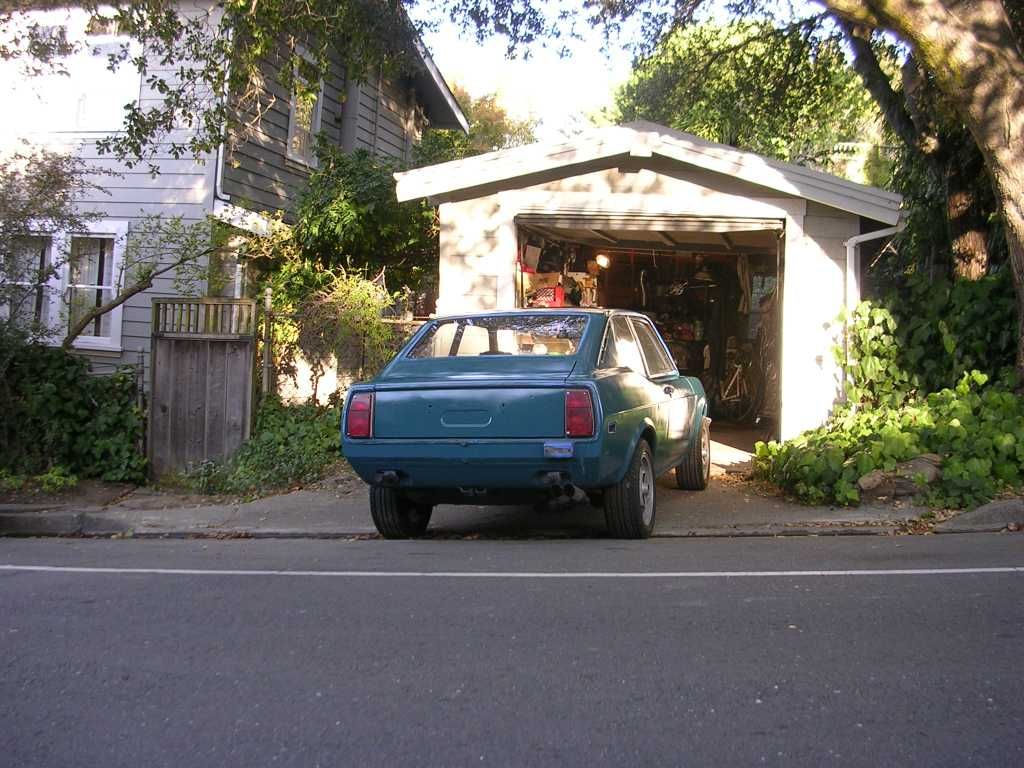
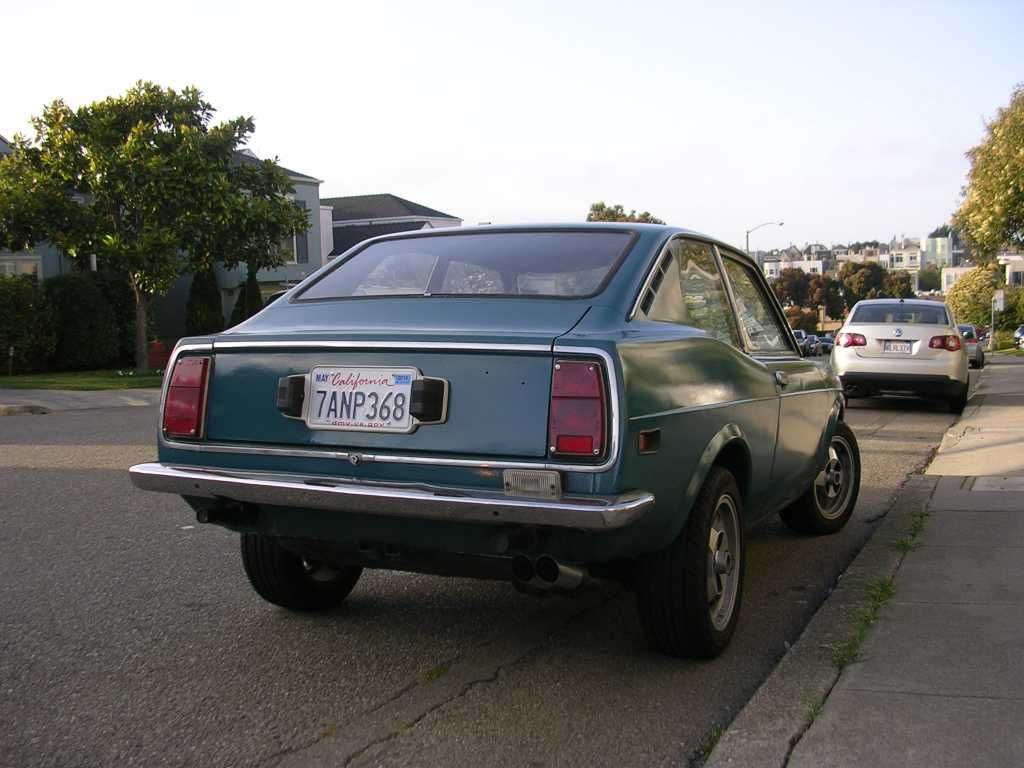
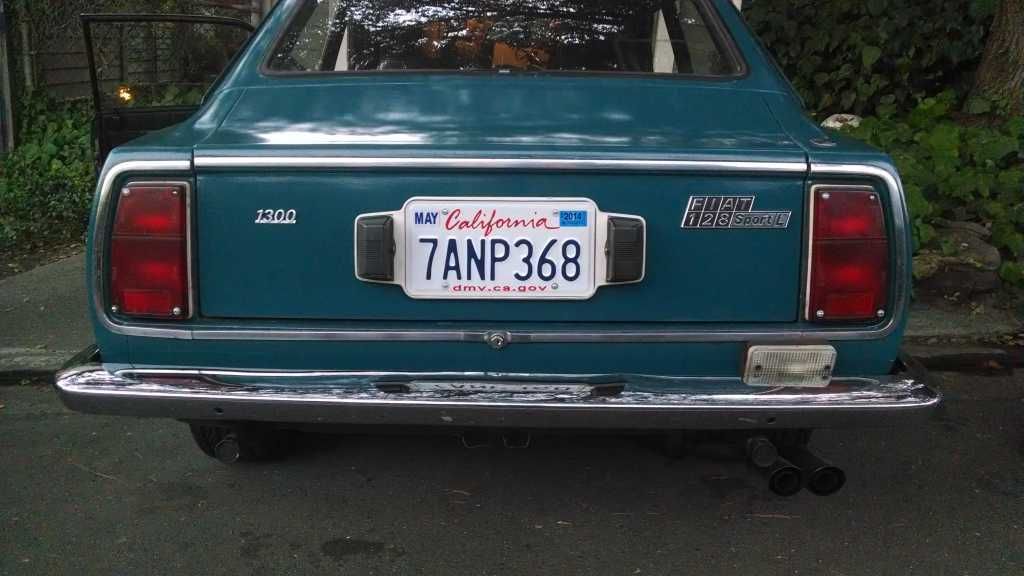
1974 128 SL Coupe build project

Fuel filters / pump

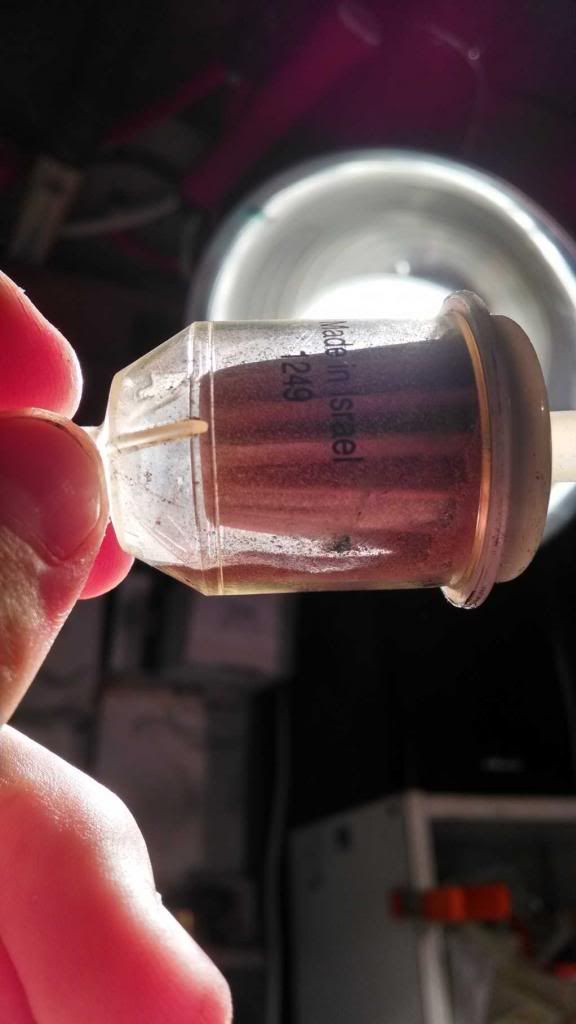
Good feedback on the plastic Fram filters from Karl. After another cycle or so with the temporary filters, then tidy up the system per Greg's post. Replacement already in stock shall be metal Wix in back, then need to source a glass window variant for near the DCNF.

After both filters were replaced, got not fuel pressure to the carb. Disassembled the original OEM pump, the impeller was clear, and the reluctor mechanism did sound like it was operating. Still, no fuel to the carb.

Retrofitted to modern electric in line pump, rated at 2-4.4 PSI. Definitely flows better than the old original.


Yes, that light blue restoration was an Abarth, like the yellow car above.
 
Cabin air flow

"C" pillar has three plastic rectangular vents. They've got one-way valves that allow air to vent out, and if functioning properly, close with gravity to keep outside air and moisture out. After 40 years, those light sheets are warped and non-functional. Any ideas on how to restore these, and removal to do so? Do they pop out from the outside, or require removal of the metal interior panels for access?


Fellow next door with at least 12 motorcycles recommends clear coating over the collage of color... a child of the sixties.


Forgot to mention before that Ilike the alloy wheel choice-they should really pop on that car and look 100% correct. I remember seeing those on display at the various aftermarket tuning shops of the day-one nearby in Atlanta was called "Automod". (these kinds of shops are sadly all gone and have been replaced by webs sites). They would have a display with several of the BWA wheels mounted on them, and I liked the ones you got the best.

wow AUTOMOD, i spent thousands there. they had nice stuff, while on the expensive side it was a cool place. i mainly bought convertable tops from them, and sway bars, they gave me a great price. doraville and chamblee as i remember. their last location was in a office park that i remember
 
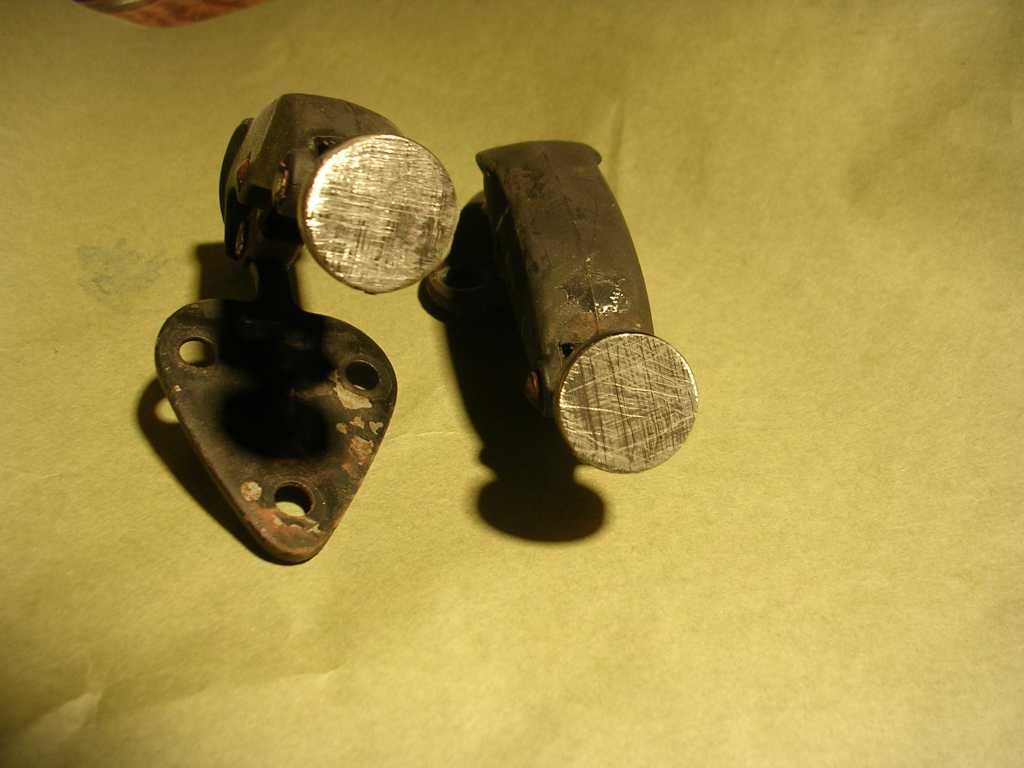
Metal to glass adhesive: Rear / side vent wing latch

Rear side windows are inoperable, glued in place with some kind of silicone adhesive, with perished seals so not water tight. First question is how to repair the latches, which were no longer affixed to the glass. Figured the technology used to glue rear view mirrors to windshields could hold up to the pressure created by the latch system. Here's some information:

http://makezine.com/2010/06/22/strongly-bond-metal-to-glass-with-r/

[ame="http://www.amazon.com/Permatex-81844-Professional-Strength-Rearview/dp/B000BKC2D2"]Permatex 81844 Professional Strength Rearview Mirror Adhesive : Amazon.com : Automotive[/ame]

Amazingly, with correct preparation only a drop of glue is required. So the old failed repair, likely jb weld etc, had to be scraped and dremeled away.


Alquati oil pan capacity?

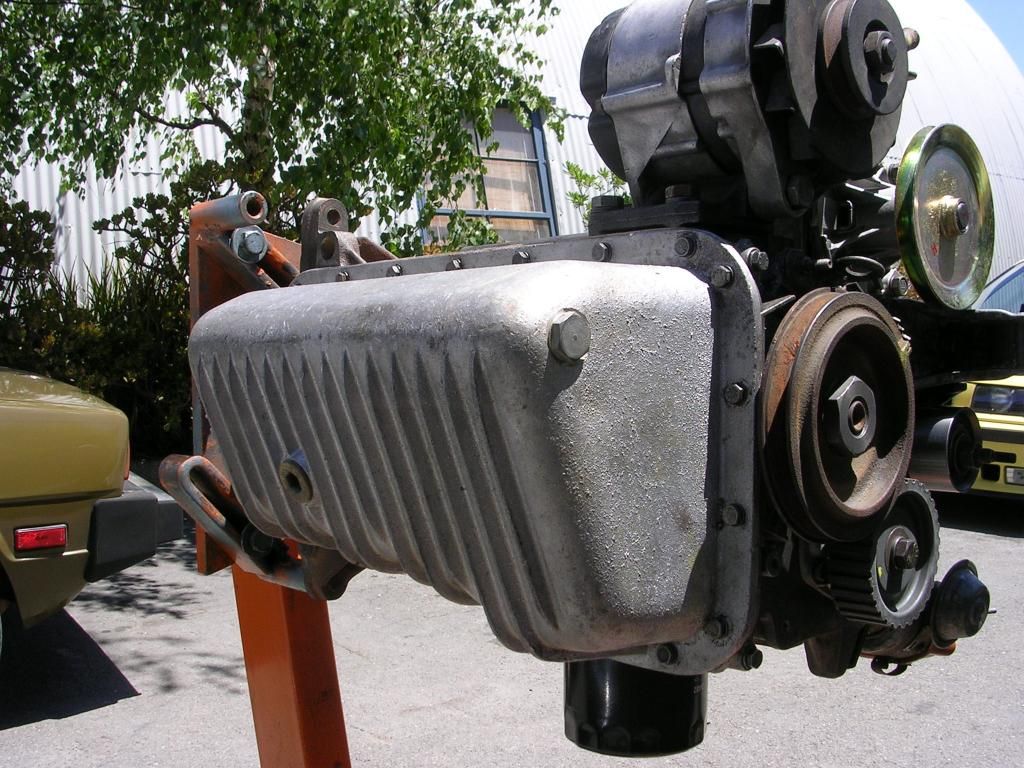
Anyone happen to know if said cast pan has *less* oil capacity than the stock steel pan? The cast Alquati pan doesn't seem as deep, perhaps for better ground clearance. It also certainly has thicker walls. So the question is whether the interior volume is smaller.


Hi Jim,just checked an old Bayless catalog and this is the description they give for it;
"Designed for competition use but perfect for daily driven Fiats. Made of aluminum with external fins for additional cooling of engine oil. Higher capacity to carry more oil with expertly designed oil pan baffle system that "traps" oil near oil pump pickup for uninterrupted pressure."
It surely doesn't mention how much more oil it will take compared to the stock one.Hope this helps,lmk what you find out.I have another one waiting for my 128 to arrive if it ever gets to leave Oregon.
 
Anyone happen to know if said cast pan has *less* oil capacity than the stock steel pan? The cast Alquati pan doesn't seem as deep, perhaps for better ground clearance. It also certainly has thicker walls. So the question is whether the interior volume is smaller.

When I had my Alquati 128 pan on my old engine, I just filled it with the normal amount of oil or slightly more (about 5 quarts with the large-diameter type oil filter).

 
I can measure one

Jim,

The Alquati definitely didn't seem to hold less oil when I ran one. I didn't find the baffle to work any better than that in a steel pan so I ran 1/2-quart to 1 quart high for autocross use. I still have the pan and will try to remember to measure the volume of it and a steel pan when I go over to my shop next.

I don't find much time to post here but have been keeping tabs on your coupe build and have been enjoying the progress updates - very inspirational! I've been trying to make headway on my '74 SL, doing quite a bit of sheetmetal fab to make it roadworthy again, and will post some pics at some point.
 
oil pan feedback + progress report

Courtney, Jeff & Albert -

thank you for the experience report, I'll run with more oil per your notes. You had no issues running closer to 5 quarts, right?

Meanwhile:

Re-torqued Alquati oil pan to resolve slight oil seepage. That worked, as the gasket must compress over time. Coolant seep to tackle next.

The Permatex solution on the rear window latches did not work. After looking into alternatives, found Loctite Hysol E-OOCL adhesive claimed to bond metal to glass well. Not inexpensive, but so far works excellent. It helped to dig out all the old random sealers prior owners used in the rear wing window channel in a lame attempt to glue in the windows. Might have to refresh the original seals that remain.

Changed the rear fuel filter, as the tank self-cleans, the rate of contamination to the filter is slowing.

Shimmed the e-brake adjustment, which was at full tight and still not enabling enough pressure to the rear shoes. With two large nuts as shims, the handle is now at 4 to 5 clicks.

Trunk floor now sealed, and rear seat upright dense foam cushion custom ordered. Good foam is not inexpensive, particularly closed cell. Opted for high quality dense open cell.
 
Last edited:
128 oil pan volume

Jim,

Close to 5 quarts worked for me (including filter).

I did get around to measuring some pans. I didn't have the most accurate measurement equipment (was using a graduated paint mixing cup) but should be close enough for comparison. I shimmed the pans until level in two directions, according to my digital angle finder.

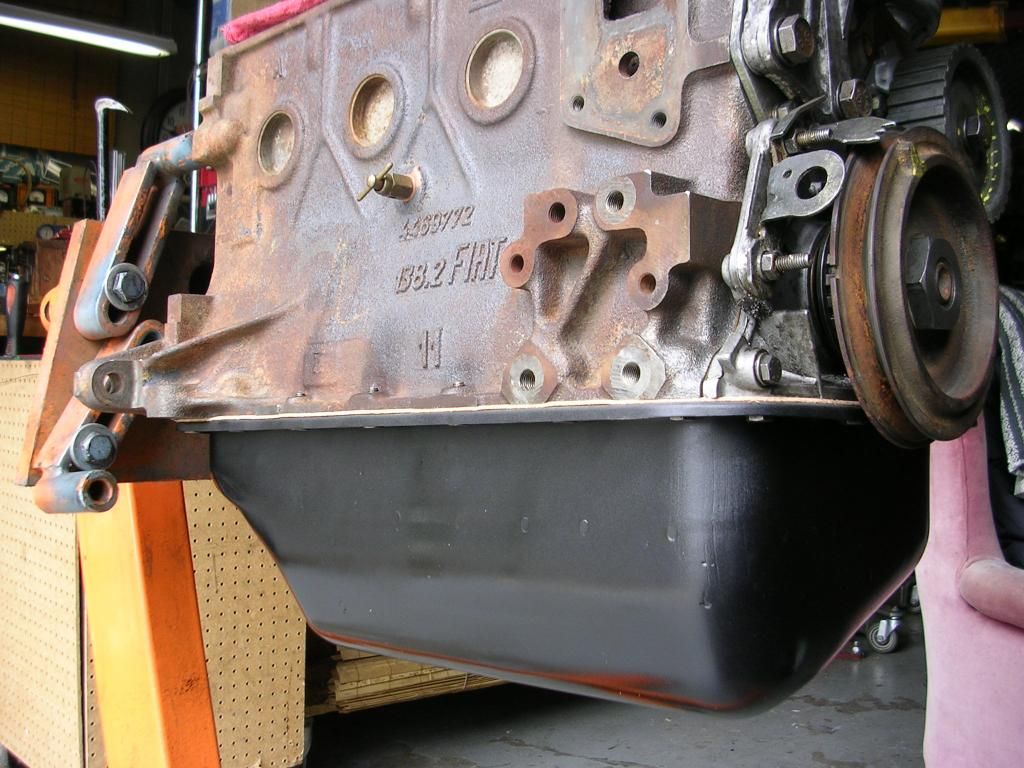
Alquati 128 alloy pan: approx 3 qts to the bottom of the baffle. 6 qts 28 oz full to the brim. Gasket surface to bottom of pan (less fins) 5.82 inches.

Stock 128 steel pan: approx 3 qts to the bottom of the baffle. 7 qts 6 oz full to the brim. Gasket surface to bottom of pan: 5.27 inches.

Stock X19 alloy pan: approx 3.5 qts to the baffle. 7 qts 22 oz full to the brim. Gasket surface to bottom of pan: 6.10 inches.

The alloy pans obviously have thicker walls than the stamped steel pan. But based on my measurements I would venture to say the Alquati is equivalent in volume to the stock steel pan, certainly not larger. The Alquati baffle is rather crude; I would almost say the steel one is better. The X19 pan is a good blend of the two with a stamped steel baffle and deep sump with vertical walls to keep the oil from sloshing (obvious to all the Xheads, I know! :)). I'll try to post pics later.
 
Sump follow up, ignition fix

Courtney -

Your superlative demonstration of the scientific method is greatly appreciated. Accordingly, an additional quart has been added to the sump. Confidence is high based on your measurements and experience.

Separately, about a week ago the engine wouldn't fire. First verified fuel pressure was good to the DCNF. Next checked power to the coil, with the ground / points lead detached, verified 12V at both the positive and negative side of the coil.

Using a jumper simulating the points, eventually succeeded at developing a spark between the coil wire and ground to block (having removed the end from the distributor). Next, confirmed the points were working in the Ducelier distributor and that the lead was not shorted - first with an ohmeter between the coil and points. Then, pressed a surplus X1/9 turn signal lamp into service as a 12V test lamp: engaging the starter resulted in a brightly flashing lamp.

The fault most likely was corrosion in the coil wire socket. Also, the coil had not yet been securely mounted...it was still rattling around in an oversize bracket. Cleaned and corrected that with a surplus Lucas coil bracket. Assured that all connections were deoxidized, and secured the bracket with improved fasteners. Started first crank, and on the margin seemed to improve power and drivability.

Nice weather in Northern California to carry on with cosmetics.


Bumper & Badges

With bumper

And badges


Now need to rebuilt horn relay, address rear seatback, sort body seals, wetsand.
 
Lookin' good. And making me a bit nostalgic. My mom had one of these when I was a kid. Hers was a darker blue, and had the bigger US bumpers. Here is a pic of my Dad and sis on the rear bumper, circa 1977:

FIAT128-2.jpg
 
valve seals

Jeff -

Your Dad had fine taste in cars, nice fastback Volkswagen, too.

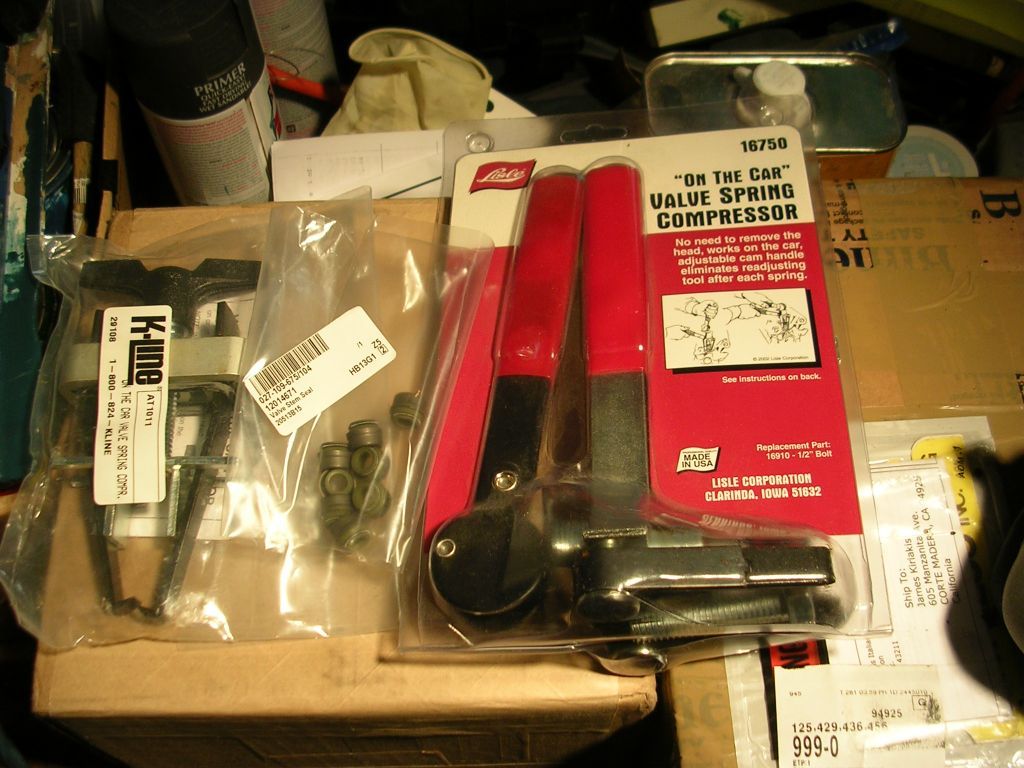
Meanwhile, going to make an attempt to improve the valve seals, without removing the head. Two tools acquired, and some fresh seals that hopefully will fit the guides with the thinner than stock valve stems (7mm).
 
Inlet Valve Seals, Valve spring repair

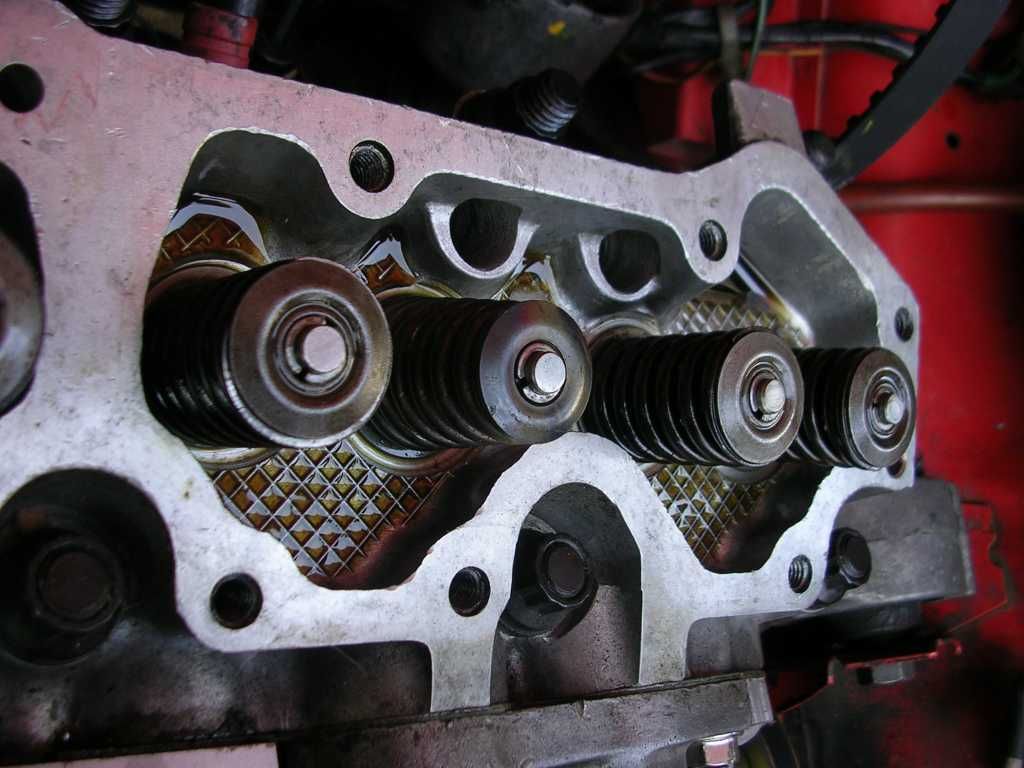
Since the build, the cam box has produced a ticking sound. That, with some occasional exhaust smoke warranted further investigation. Since the big valve ported polished head though refreshed was used, upgrading inlet valve seals seemed logical. Valve stems are narrower than stock 7mm, thus a suitable fit was sourced online, a VW/Audi part. From above referenced tools, the red handled lever action type wasn't effective at grabbing the valve springs. Fortunately, the screw action type worked perfectly. Compressed air with a regulator employed to keep the valves from dropping into the head.

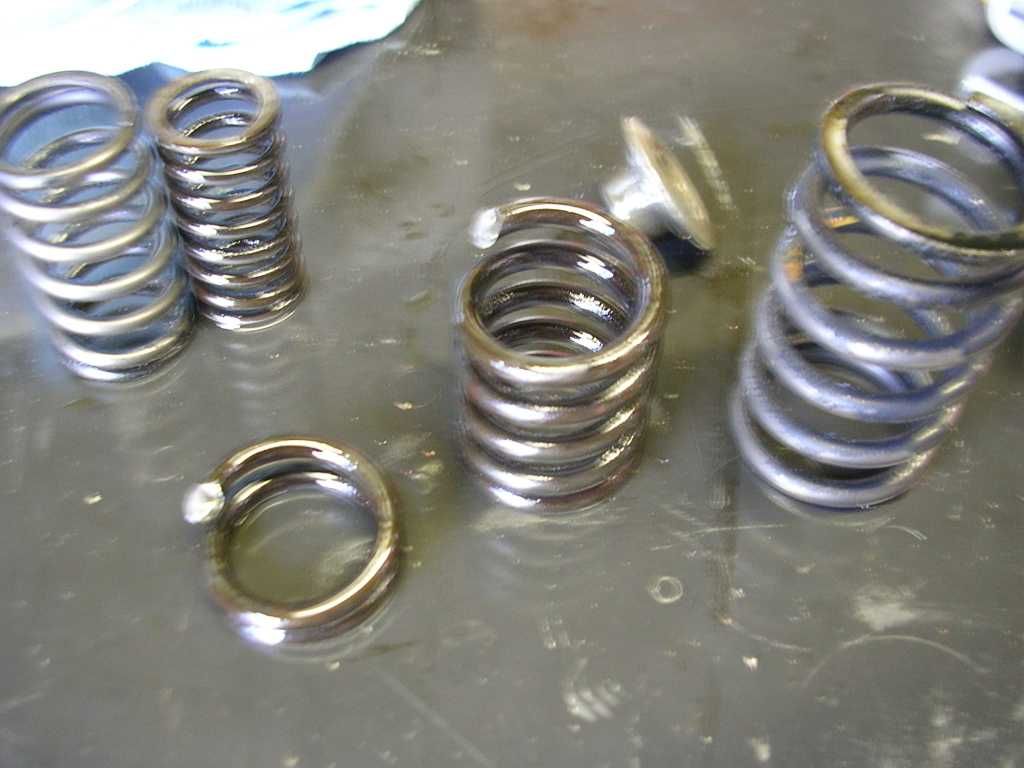
Removed timing belt cover and backing plate, cam box cover, timing wheel, dog bone, crankcase vent tube...then siphoned oil out of the cam box. With the cam box out, it was quickly apparent one of the valve springs revealed an unhealthy appearance.


Out spring had failed, these were used springs that were likely used for racing in Europe. Though surplus stock springs and retainers were in stock, this presented a problem because with the 7mm smaller valve stems, clips and retainers were incompatible with the larger diameter stock springs.

So a quick ride minutes away to an old school high end machine shop, Star Machine, was in order, hoping to pilfer a compatible replacement.


Good fortune, a Mercedes spring and retainer were harvested, which fit perfectly. You can view the difference, narrower at the top than the rest.


While at it, re-torqued the head, re-sealed the hex plugs that had a slight coolant leak (blinding plugs as this is a 14 bolt head on a 10 bolt block). Concurrent leak down test showed 5%, a healthy number, so those new Mahle rings seated well.

Also discovered some curious wear marks on the edges of some, but not all of the cam lobes. It was not evident as the root cause, but it could be part of the ticking sound. Might upgrade the cam and springs at a later date. Meanwhile, car is running great.
 
Isky makes springs that work, I just used the inner and outer springs.
If you change cams try find one that isn't re ground so you can use thinner shims to adjust lash.
 
Back
Top