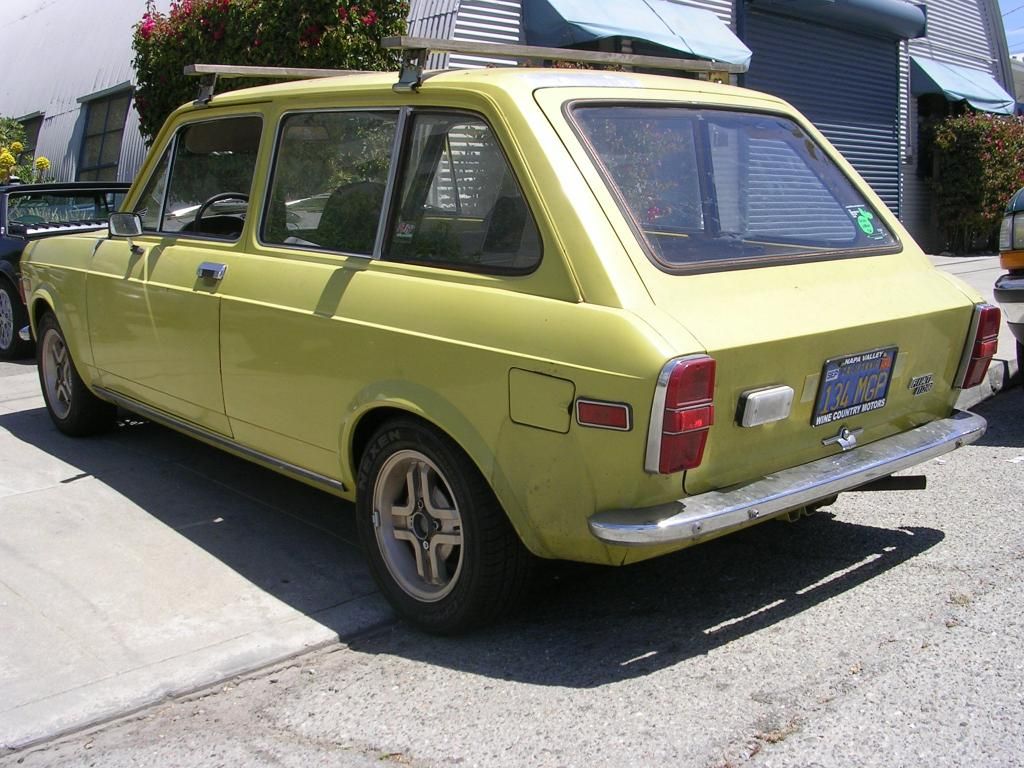
1974 128 SL Coupe build project

Nice.

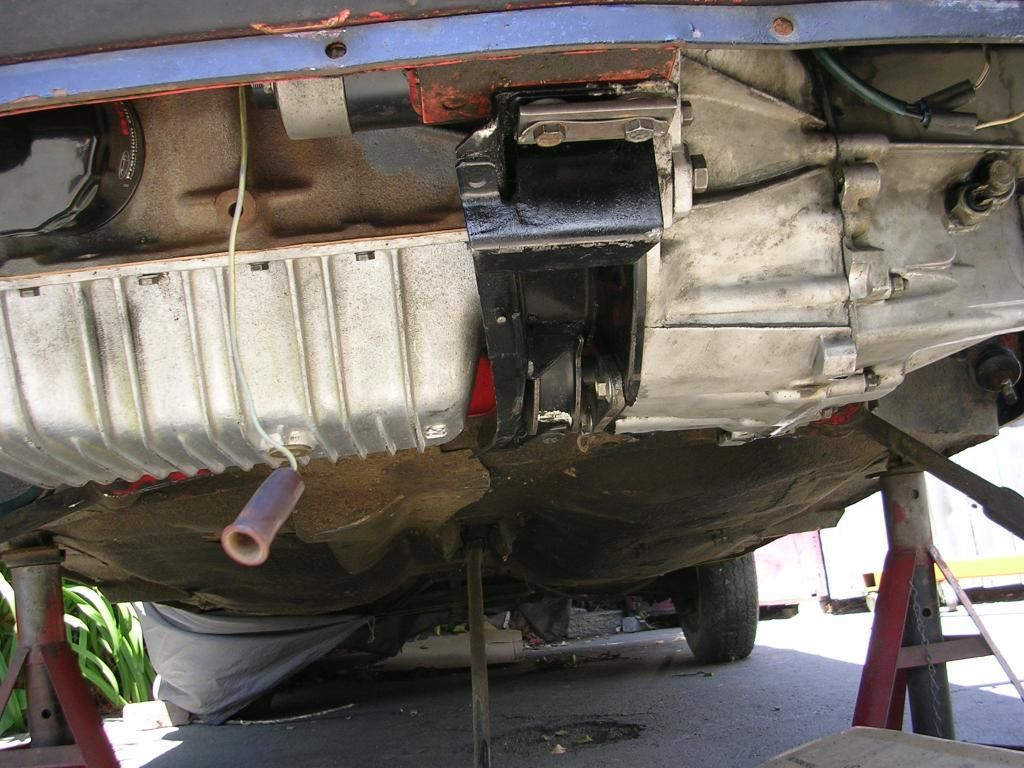
Further to Jeff's question, the Yugo transaxle mounting tab does touch the chassis, though it will be easy to resolve.

Yep, I had thought it might be a close fit. :hmm:

As you say, easy to resolve by just cutting the top of it horizontally with a hacksaw, flush with the top surface of the trans.

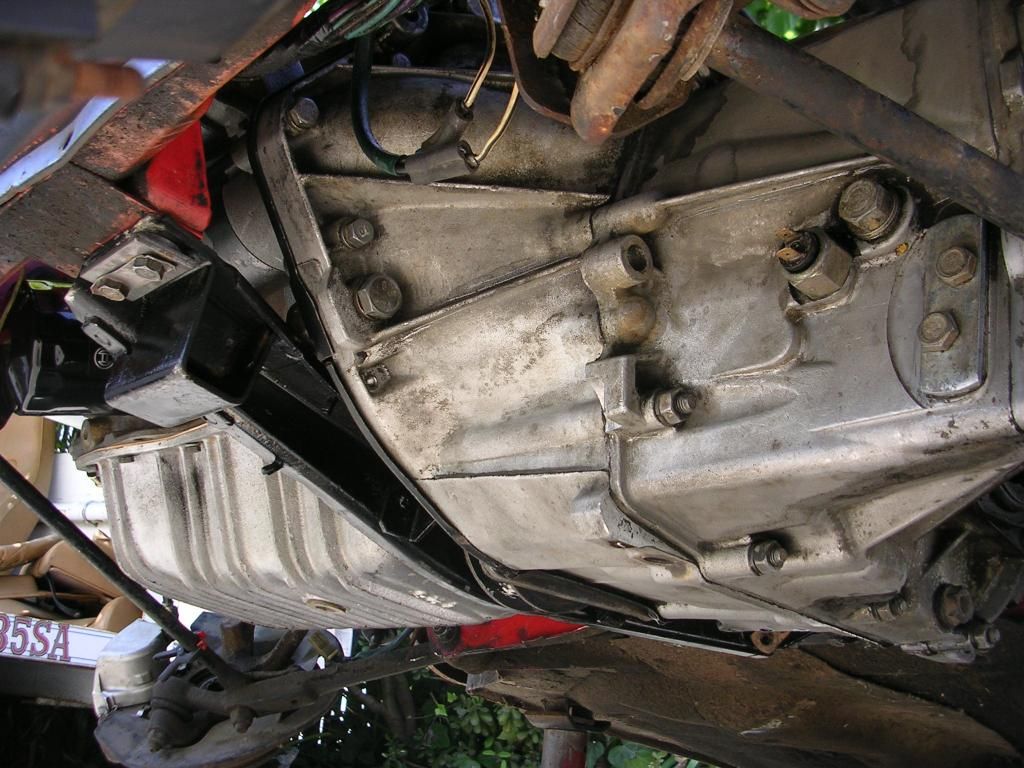
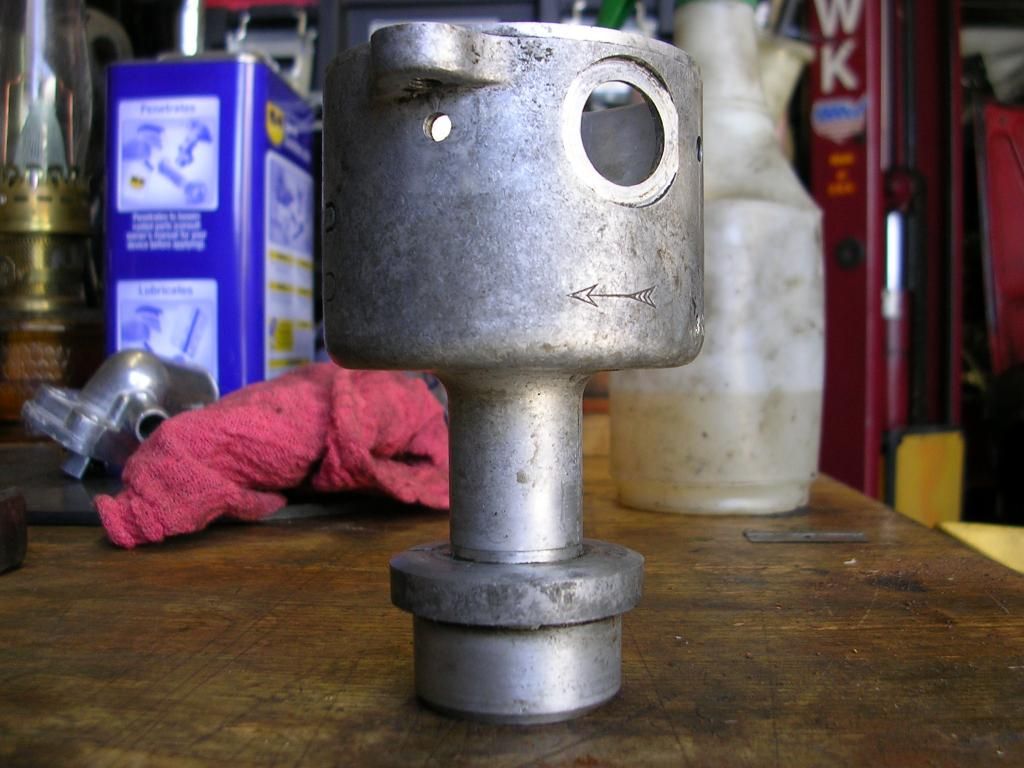
For those who might not be familiar with this part we're talking about, it's basically a thick alloy plate fitted between the main trans casing & the 5th gear extension housing on the driver-side end of the trans. The top end of this plate extends about 1"-2" vertically past the casing to form a mounting "tab" that usually bolts up to a mounting bracket fitted to the driver-side front/inner frame rail of the Yugo. The Yugo does not use an upper "dogbone" mount on the end of the cambox like the 128's & X1/9's do, instead it uses this trans-end mount to "hang" the driver-side end of the driveline. Along with the "normal" mounts on the lower crossmember & upper timing belt area, it's pretty much the same tri-mount set-up as used on the USA Fiat Strada.

Since the 128's don't use this Yugo trans-end mount, Jim won't need the upper "mounting tab" part of this plate, so cutting it off is no big deal (but you can't simply remove the plate, because it still needs to function as a spacer between the trans casing & the 5th gear housing).

This is the part we're talking about, & where to cut it:


Probably not?

How are you attaching the tranny mount?

Most likely he's not using the Yugo/Strada type tranny-end mount, but instead just using the 3 standard 128 mounts: "snail" mount by the timing belt, triangle-shaped mount on the lower crossmember, & the upper "dogbone" on the end of the cambox.
 
Yugo 5-speed

This is a great use for the Yugo transmission.
How hard can it be to convert a 128 sedan to radius rods?
I can't believe more people are not doing it.

I have this tranny for sale if some one else wants to try it.

 
Mounts & front suspension install

Indeed, the standard three engine /transaxle mounts for the 128 are employed: snail, lower crossmember, and dogbone per Jeff's reply to Fiatpwr.

It shouldn't require much of a shave to gain clearance between the Yugo transaxle tab and the coupe's left side frame rail.

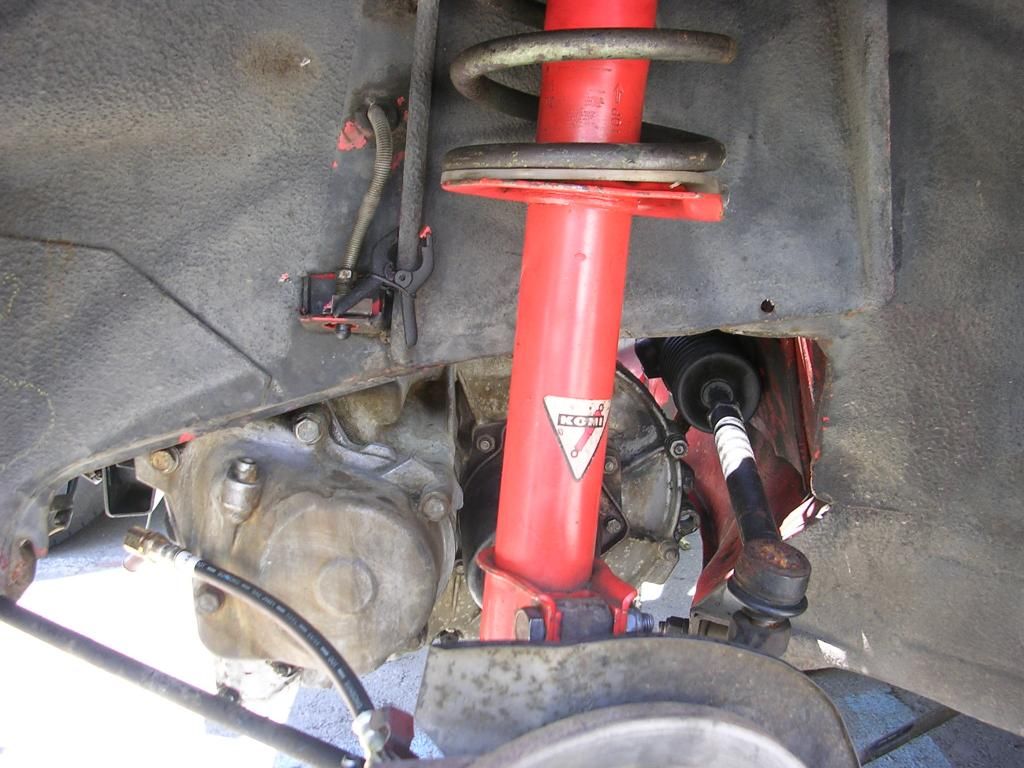
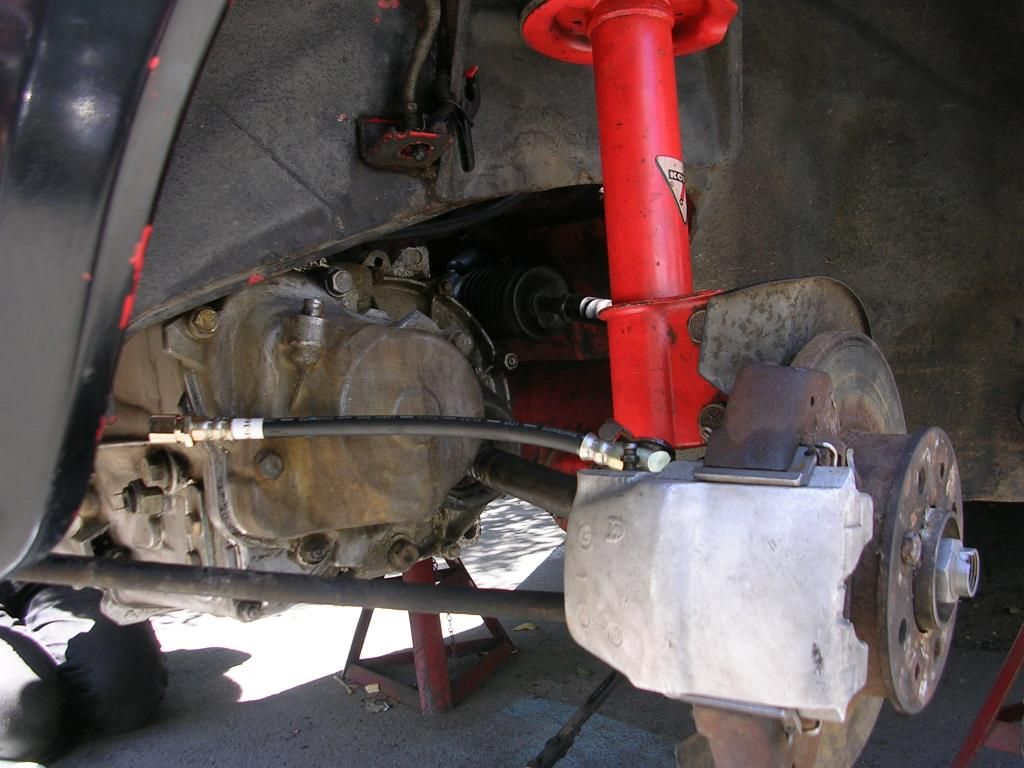
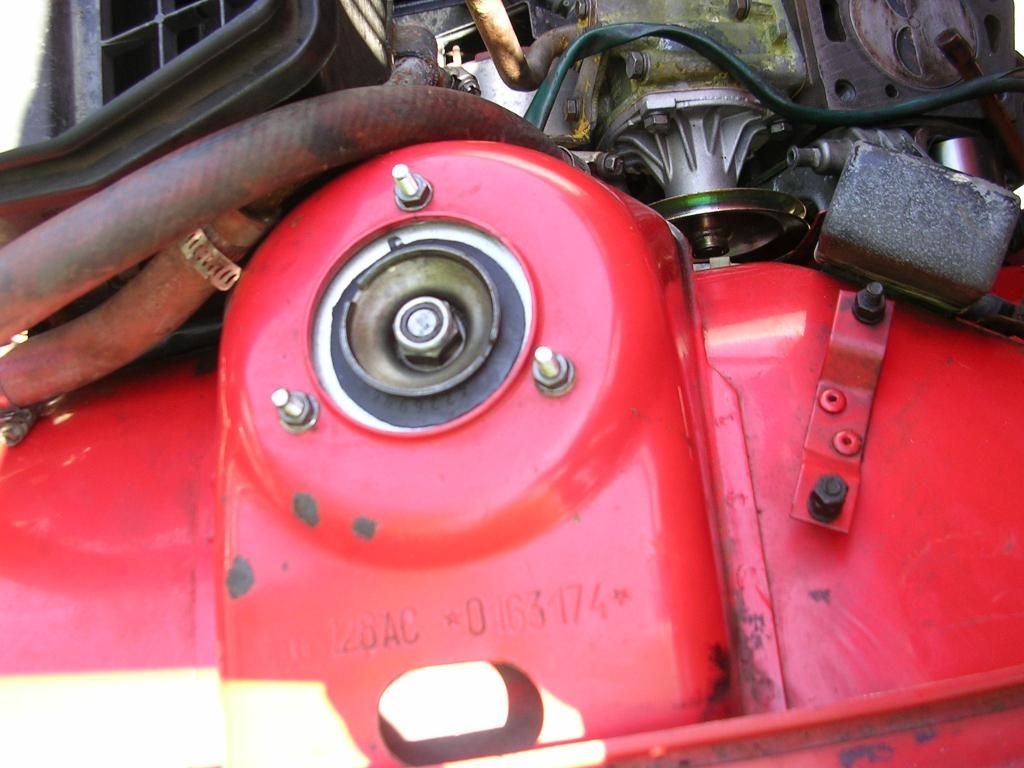
Meanwhile axles are reinstalled, and the Koni strut / rear X1/9 / Plaia pivot new front suspension system. With front wheels back on, the coupe can roll into the garage for head installation, rear brake refresh, rear leaf spring swap, and fuel tank / pump access.


Sedan vs. Coupe and 3p.

The reason more people are not converting over the sedans to radius rods and 5 speeds is there is no room.

The issue for the sedan is it is not long enough in the front to accommodate the correct angle for a radius rod to clear the 5 speed case. You can set them up for radius rods but only in the same location as the roll bar.

On the coupe and 3p, the nose is longer and there is room to install the radius rods a bit more outboard and longer so they will clear the case.

I even looked at the idea of making a custom bend in the arm to clear and it still would not work well...
 
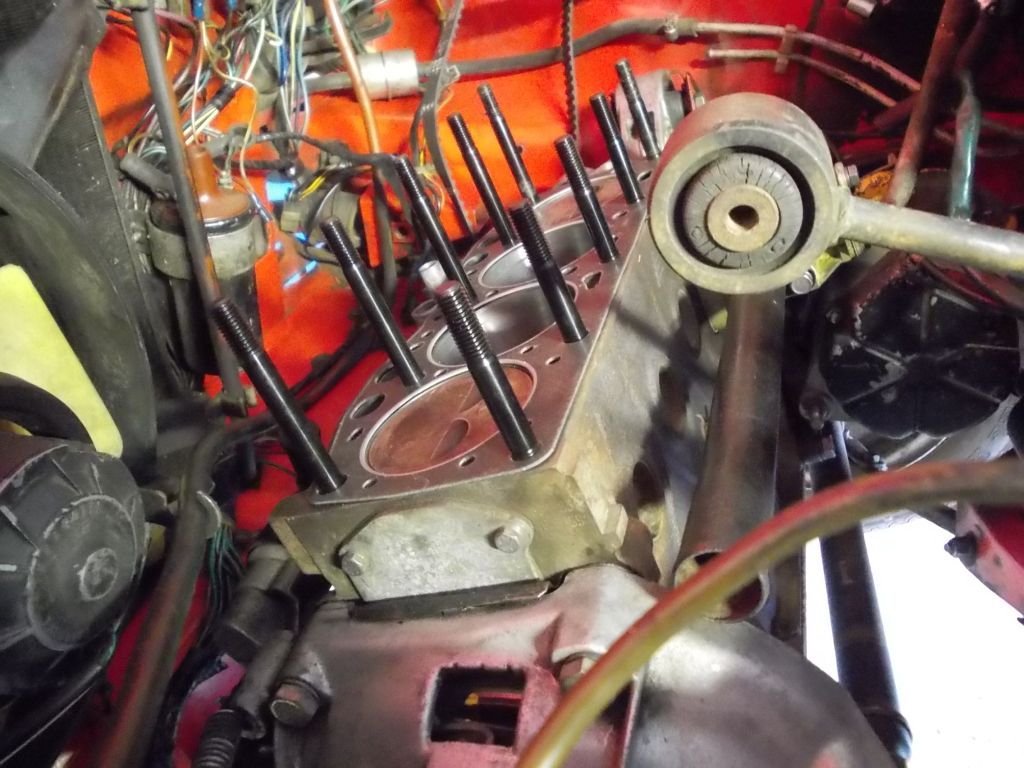
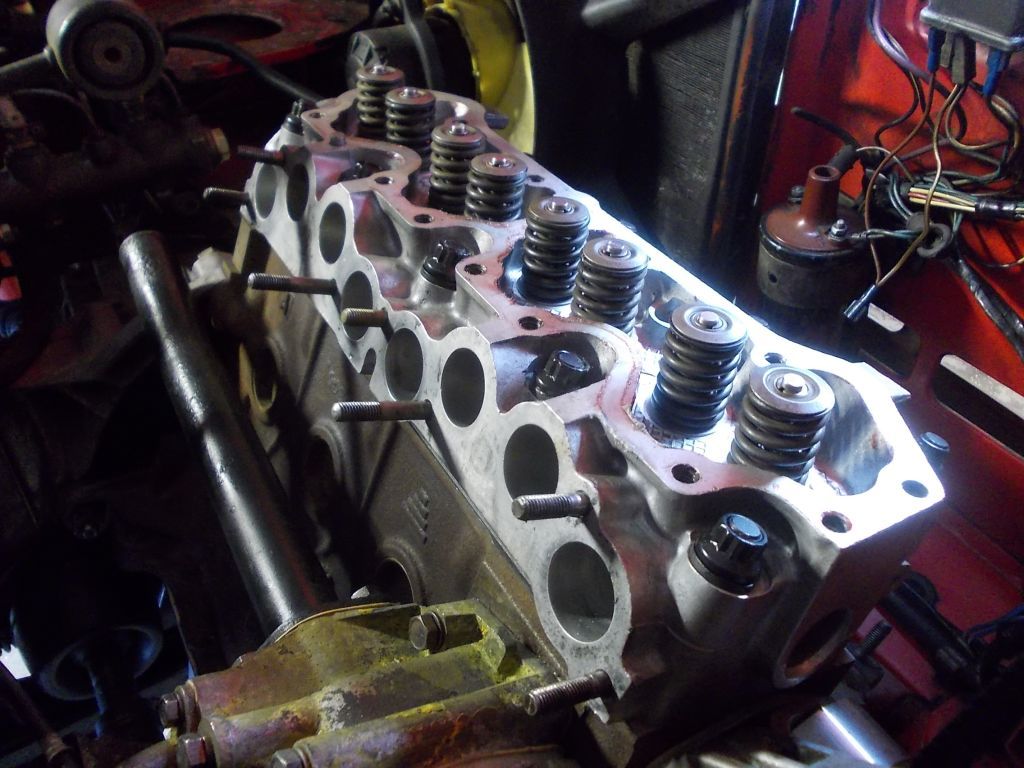
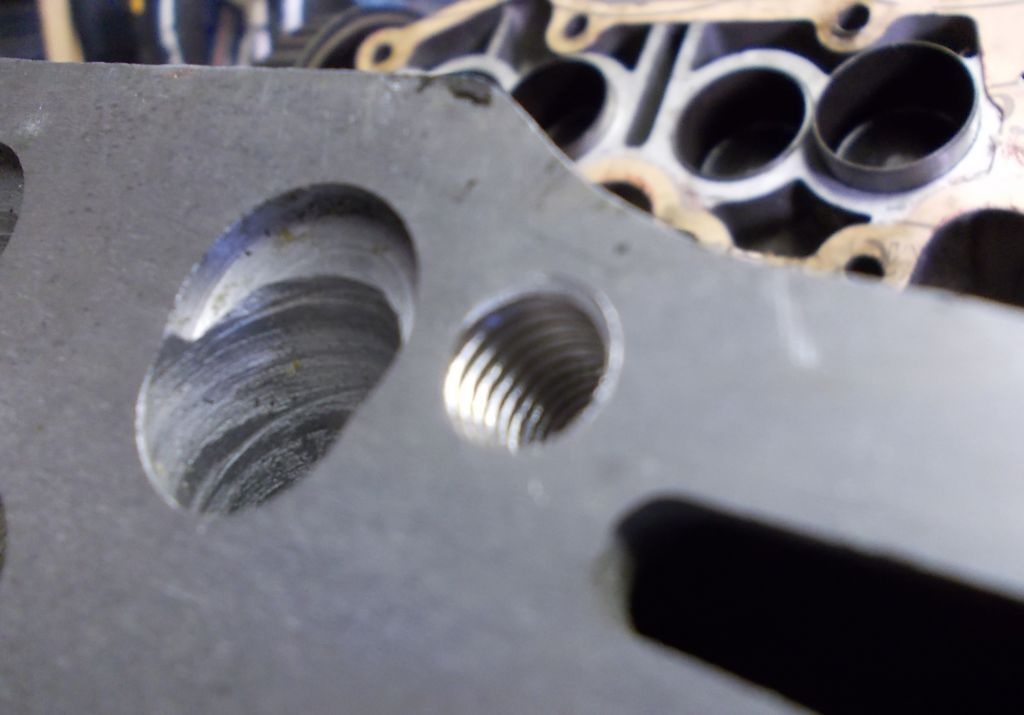
Tapped extra head bolt holes

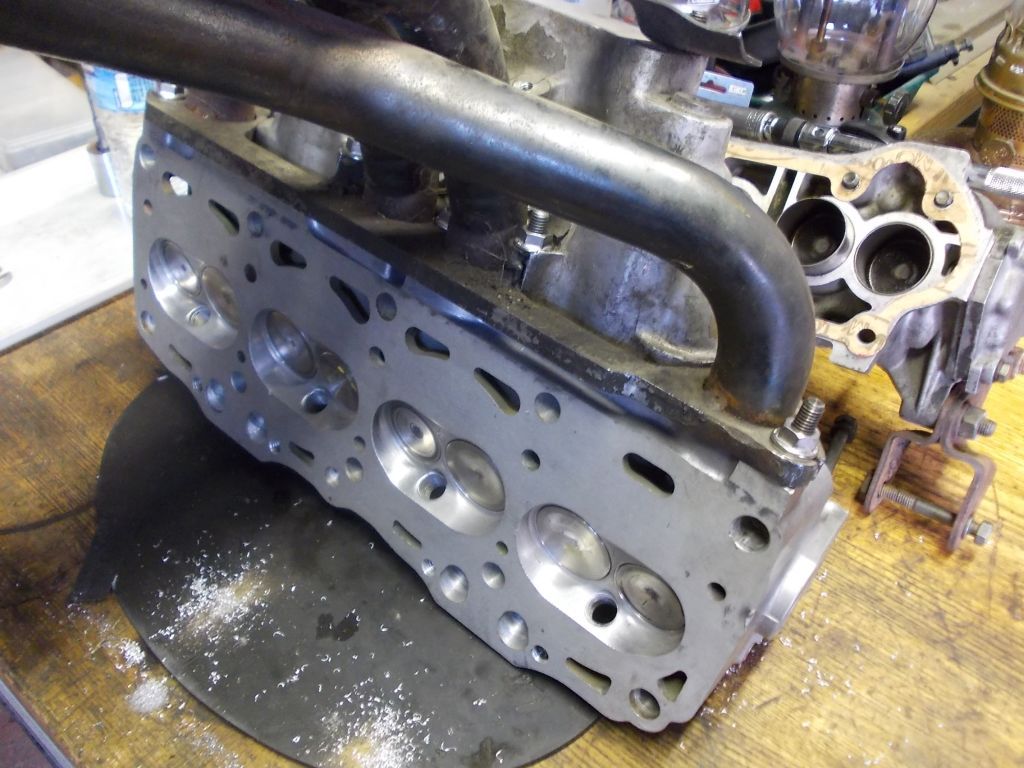
Thanks Eric. This is a 14 bolt circa 1990 euro head, on an early 80's US FI block. So the extra bolt holes are now tapped / plugged so the head gasket remains intact.


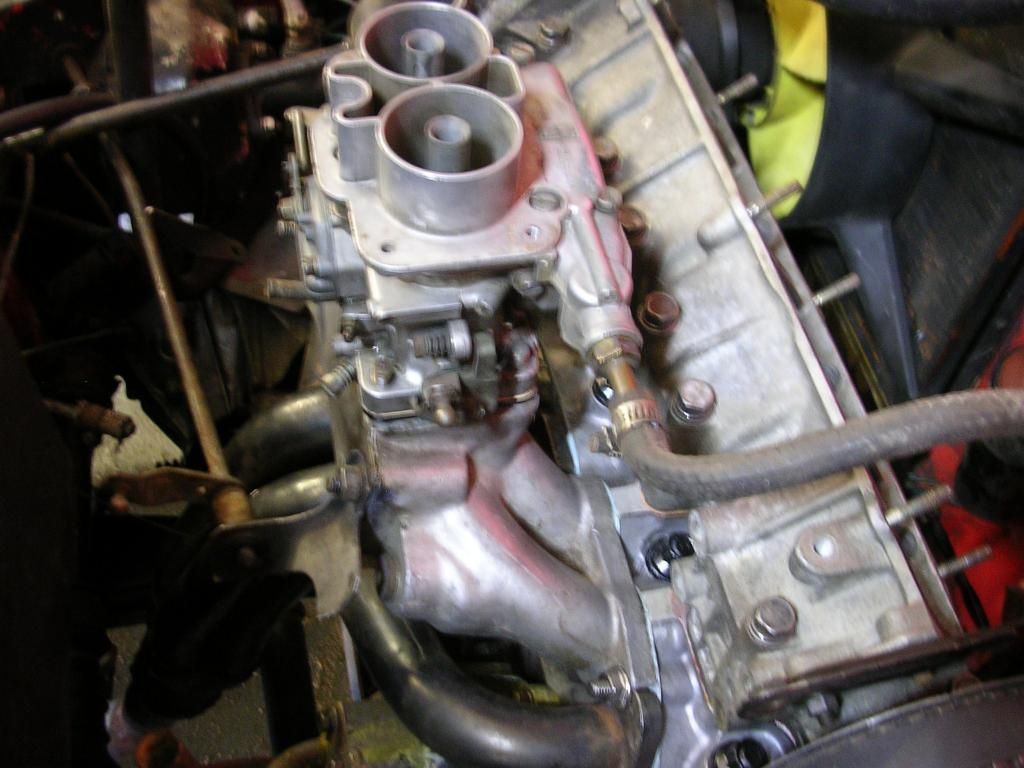
Fitting up the Alquati intake / exhaust header.

 
Re: ARP studs

Those studs look pretty at the moment, but you might come to regret them at a later date if/when you need to pull the head off. If you think 5 stuck (original) studs are a pain, I can't even imagine dealing with TEN of them! :eyepop: :censored: :hammer: :wall: :cry:
 
Last edited:
ARP fastener order information.

Here is the reference information on the bits used, in the event it may help anyone interested in making a similar attempt:

Mains kit, Toyota 4AGE16, p/n 203-5403
Flywheel bolt kit Opel Vauxhall p/n 209-2801
12mm studs washers and nuts for the head:
(5) AU4.900-1LB
(5) AU3.965-1LB
M12x1.75 12 point nuts grade 10
Ten hardened M12 washers, large,

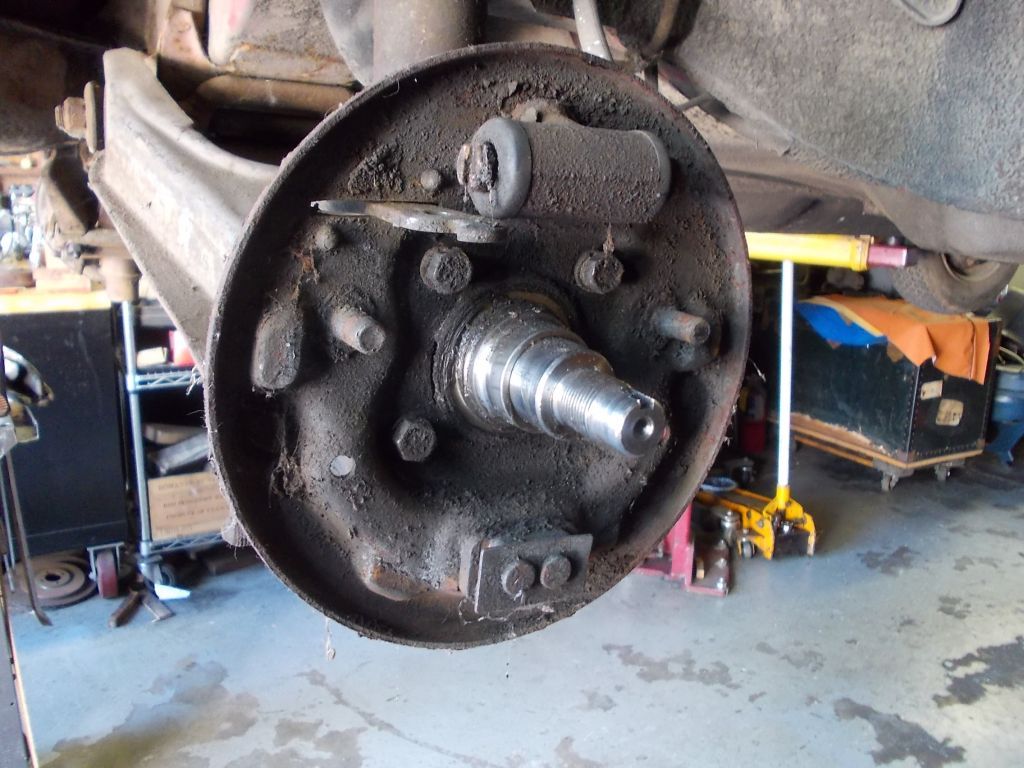
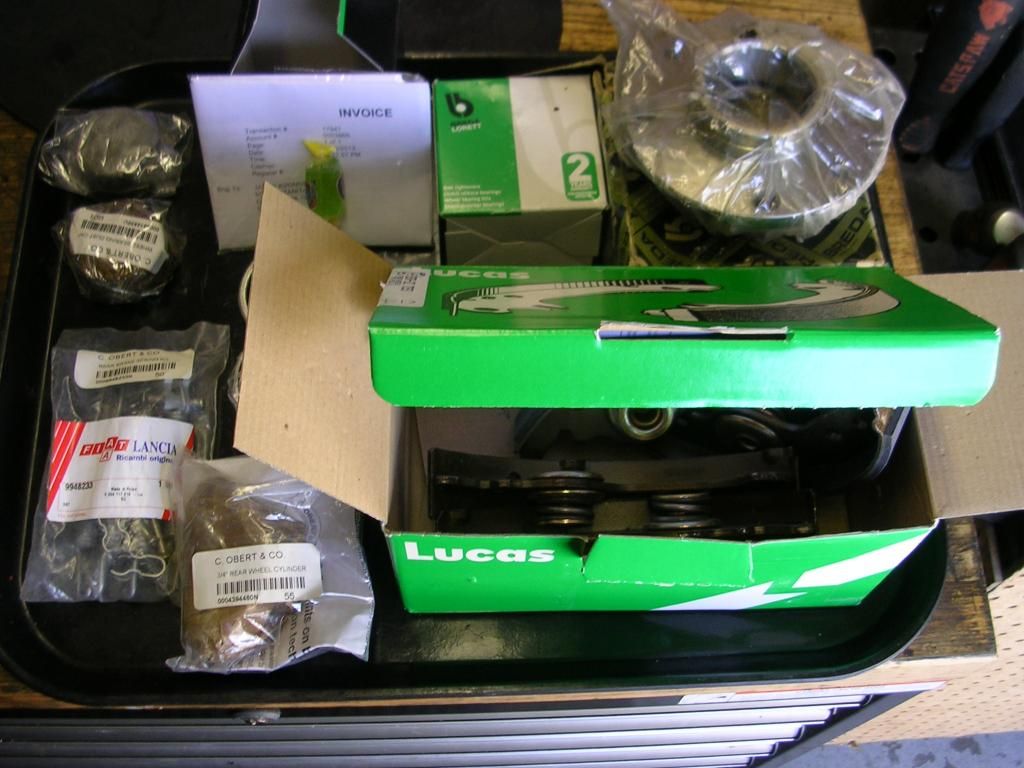
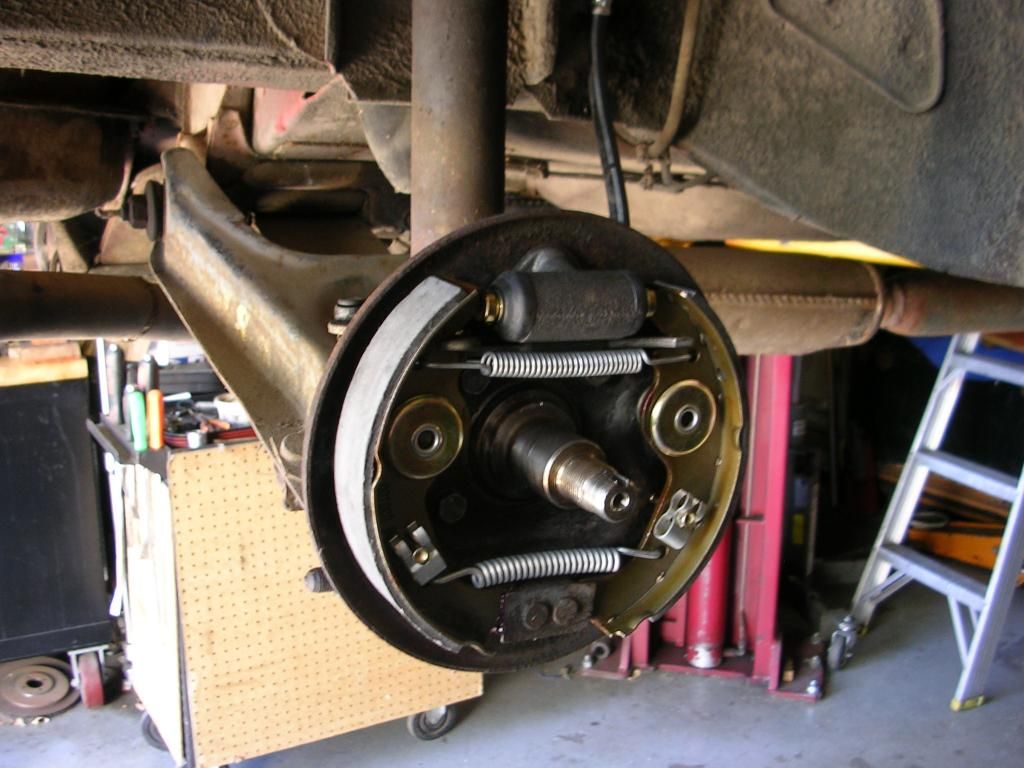
Meanwhile, addressing rear hubs, bearings and brakes. Driver's side, difficult to deconstruct, passenger side crumbled. Hub, shoes with adjusters, spring kit, cylinder, bearings on order.

Transaxle / frame rail buttress clearance, achieved.


X1/9 steering rack; tie rod end compatibility - 128SL

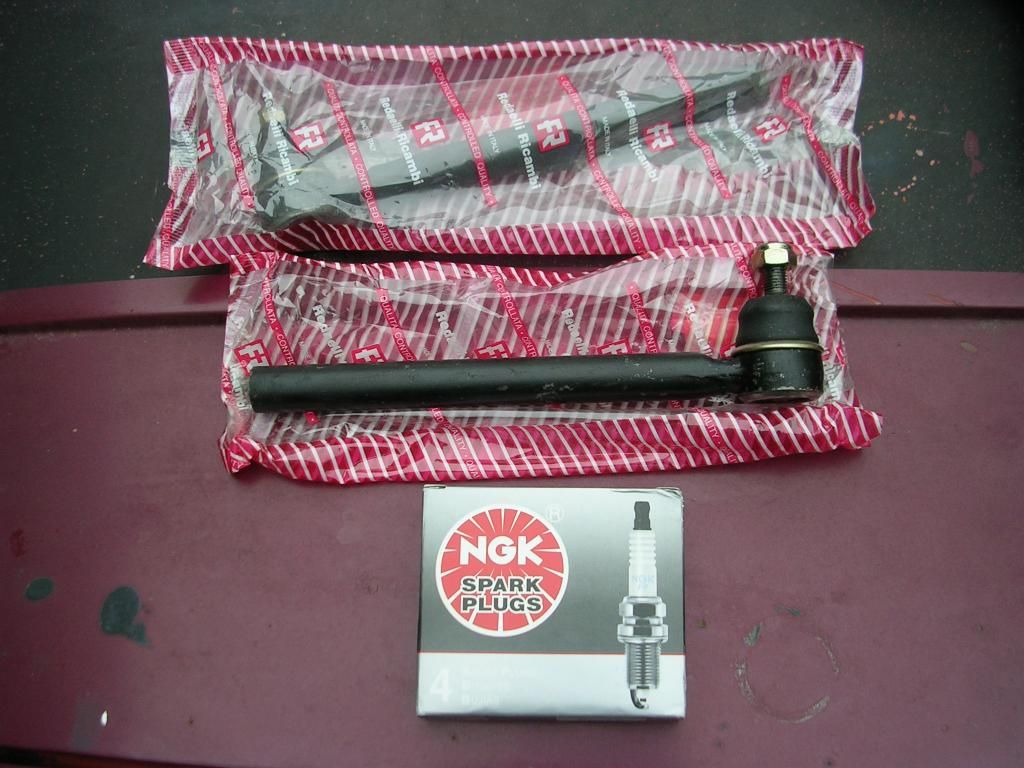
Ordered new tie rod ends, the retrofitted X steering rack doesn't allow for proper toe adjustment. Thinking the 128 / Yugo tie rods are going to work, these are on the way from an eBay source:

Fiat 128 1971-1979 New Outer Tie Rod Ends (QTY 2) 101-0339

Working toward the goal of a first drive soon. Re-installed exhaust that arrived with the car, will wait on the NOS Supersprint system, and defer the rear spring and shocks. Next gate are the rear brakes, firing the engine.
 
Fuel system renovation

Started by trying to figure out how to re-connect the stock original electronic pump, which lead to dropping the fuel tank in order to get the supply and return lines right. Tank seems intact, pulled the sending unit and verified it works, handy to know you have gas in the tank. Installed new fuel lines from the tank to the pump area, which will be tomorrow's project.

Chris Saul popped by in his excellent Estate, with newly installed wheels / Nexen's. Great car, and he had good input on torque steer and mitigating it on 128's with proper stance.

 
Lower Ride Height?

If so, then the tie rods typically need to be shortened by 2-3mm per side in order to restore the correct range of adjustment, so don't be too disappointed if the new replacement tie rods don't work as-is, you'll just need to trim them a bit.
 
Fuel system

Thanks Dave for the tie rod tip!

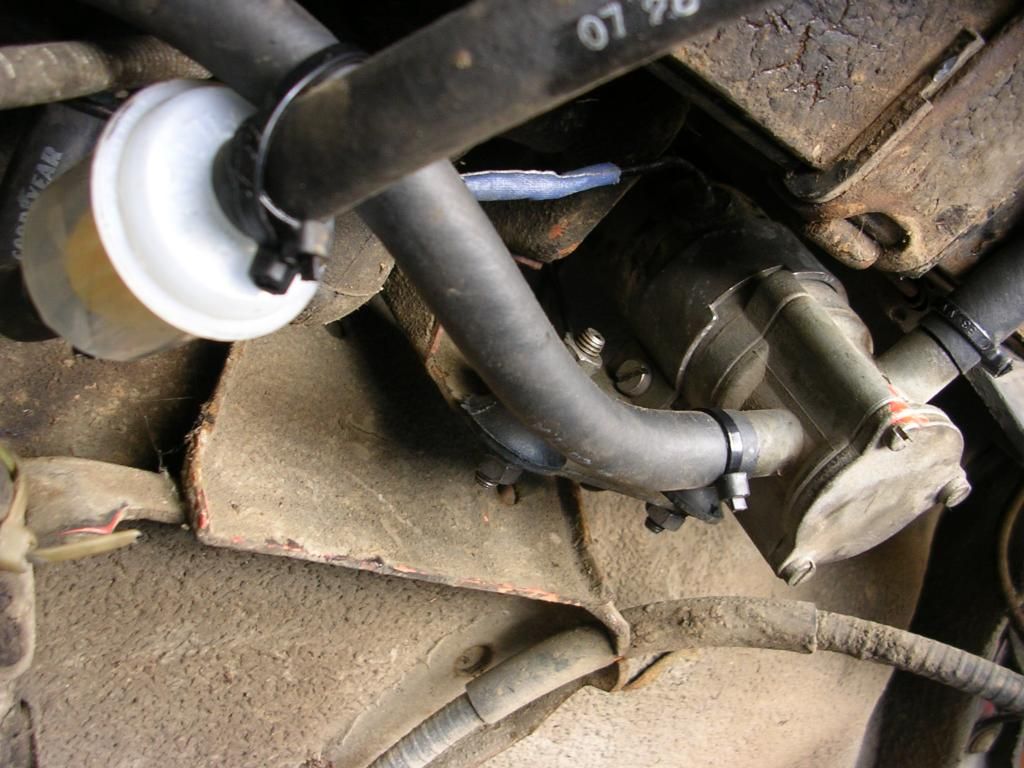
Meanwhile, original fuel pump re-installed with fresh hoses, and a filter before the pump in an effort to preserve it.


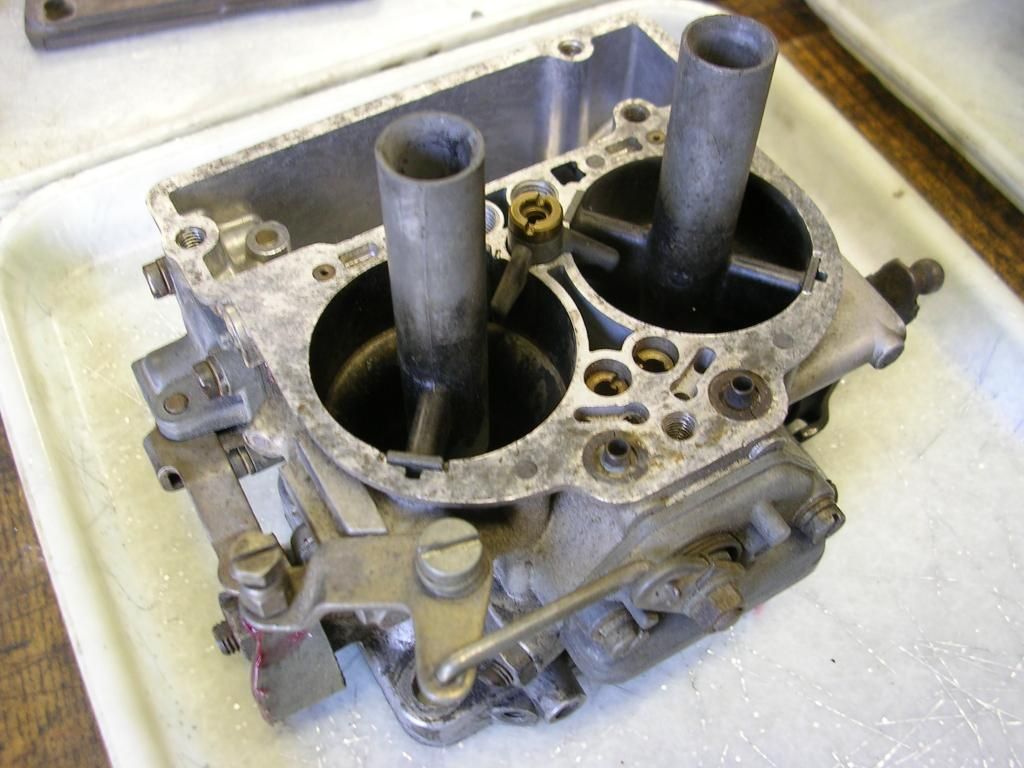
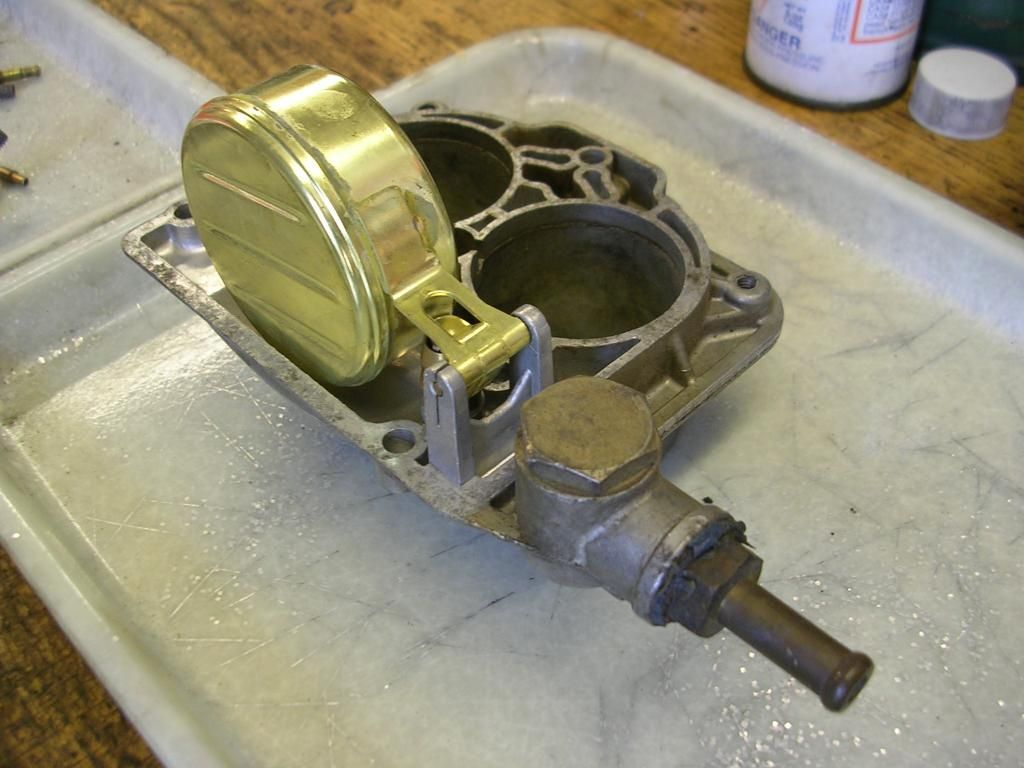
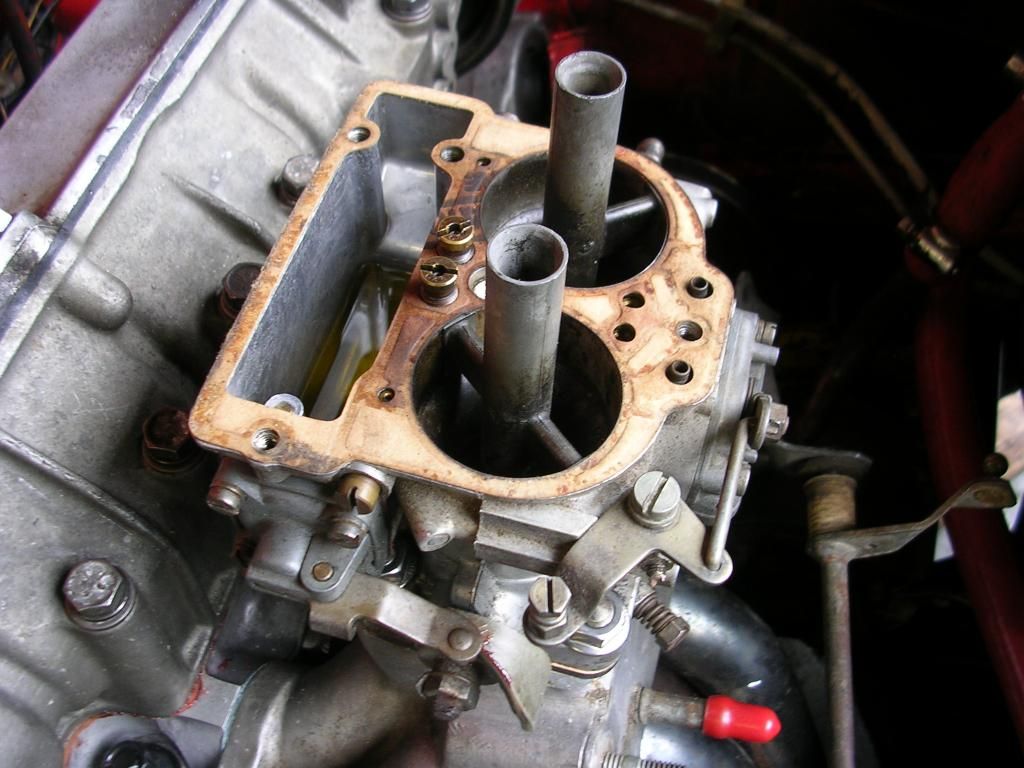
DCNF is now reassembled. Jets originally installed were mismatched, doubly. (a) different sizes and (b) not correctly labeled. Carb now has a pair of correct 1.25mm jets, 308 Ferrari.


Nearly there on the throttle linkage, need a rod 14cm with a 4cm offset with correct ends to complete.


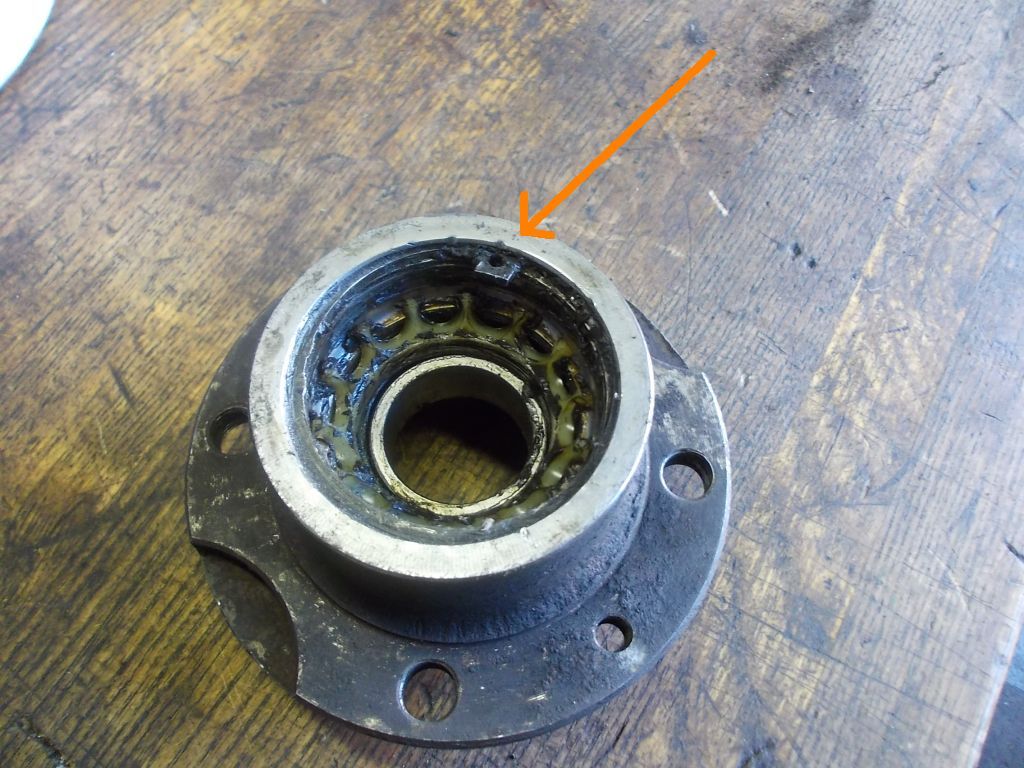
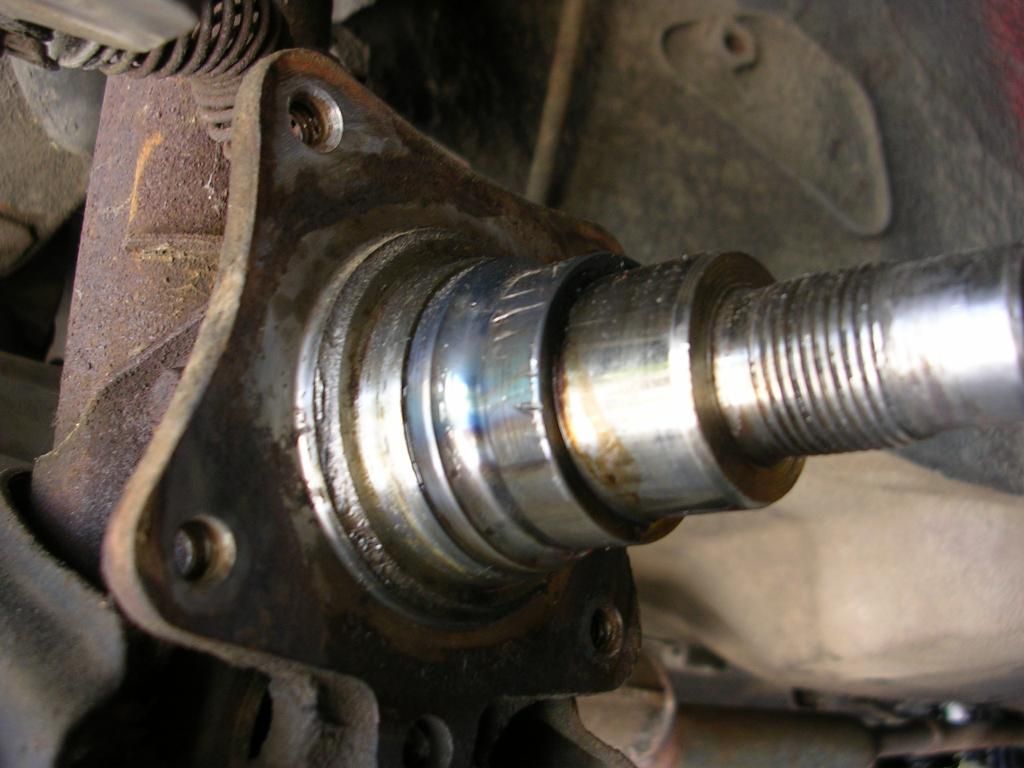
Here's the inner right rear wheel bearing race, seized on the axle. It'll come off, replaced with new bearings that arrived tonight, and a new hub. Brake hardware also arrived.


Jim,

the flat spacer plate goes UNDER the crossmember (ie between the crossmember and the frame) and lowers the engine slightly, the two thick washers go on top of the crossmember, with the locktab above those with the bolt passing thru the lot, bolts are 10 grade too. (marked Fiat100 or 10.9 depending on year) Make sure you bend over the locktabs, they are there for a good reason!!

SteveC
 
Brakes, ignition, cooling system

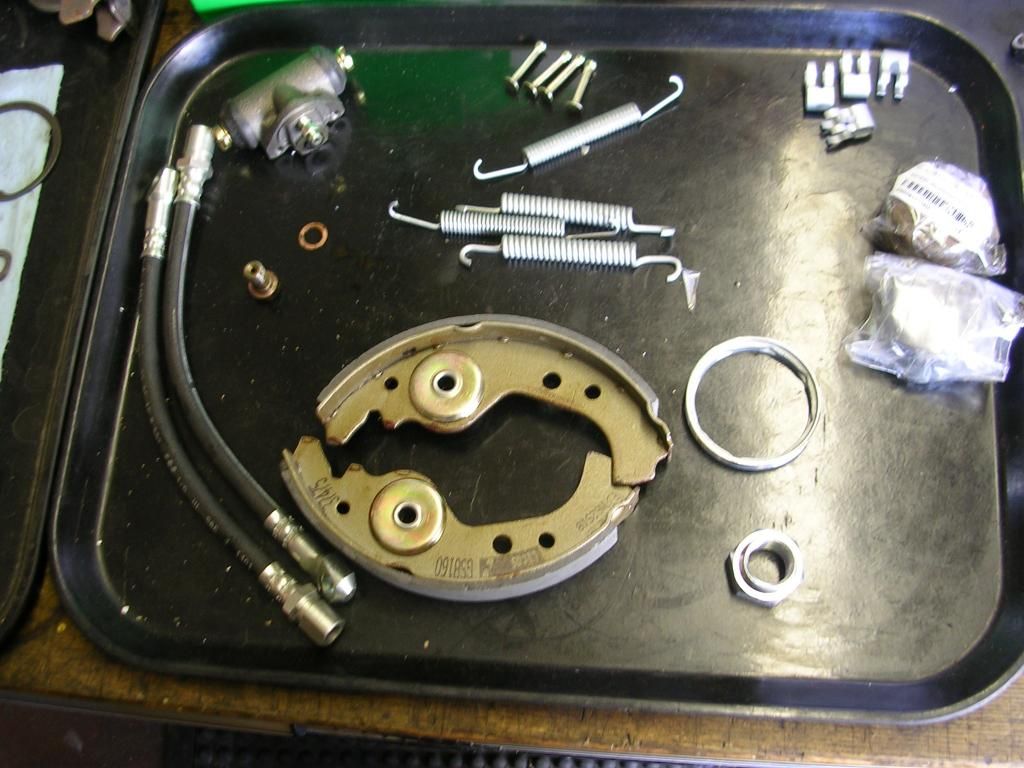
Hub, rear brake parts arrived.


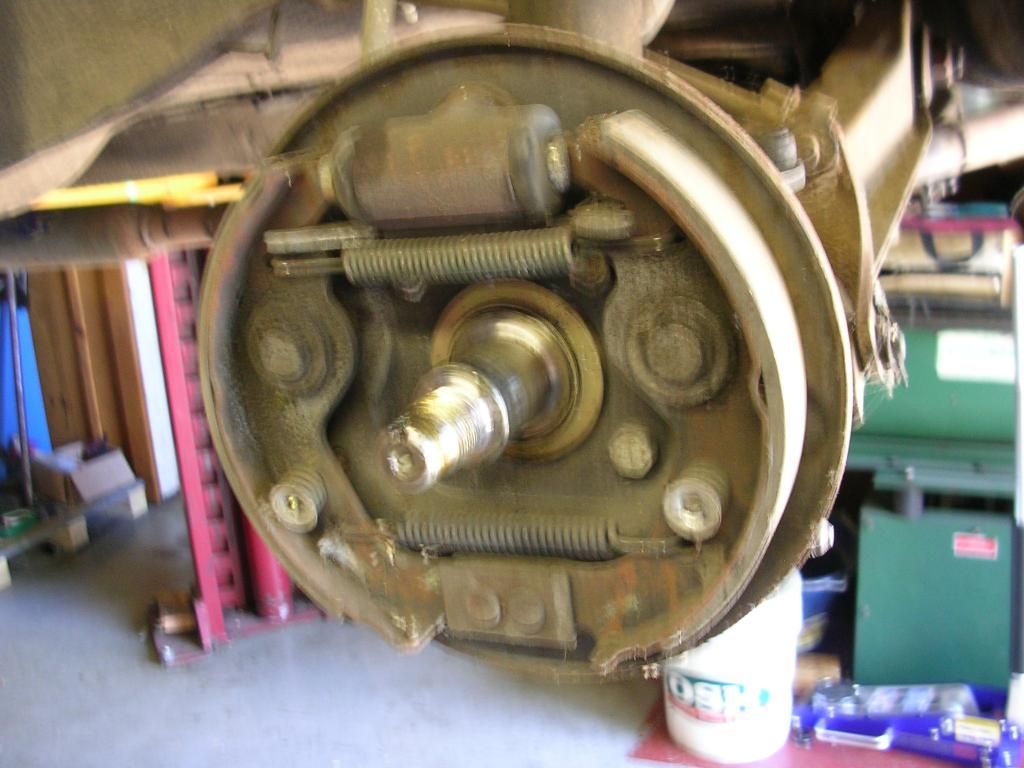
Discovered the port side axle was .004 larger than spec, the likely cause of the seized inner race, which was successfully extracted with oxyacetylene torch and nifty pulling tools. Lathe work in order to make axle to spec. Before and after views of the brakes.


Bosch electronic ignition supplied with the car, but we'll start with the French points system.

 
Working toward first fire up

NGK's and correct Italian tie rod ends arrived. Throttle linkage rod and air filter forthcoming from Pierce Manifold, super helpful there.


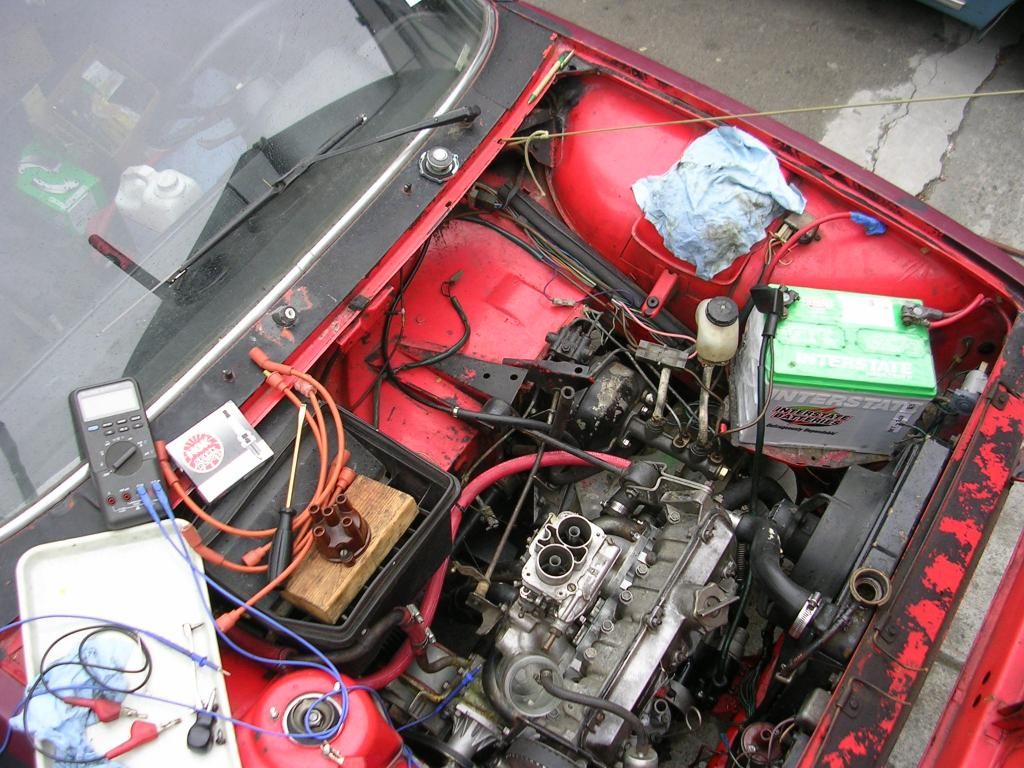
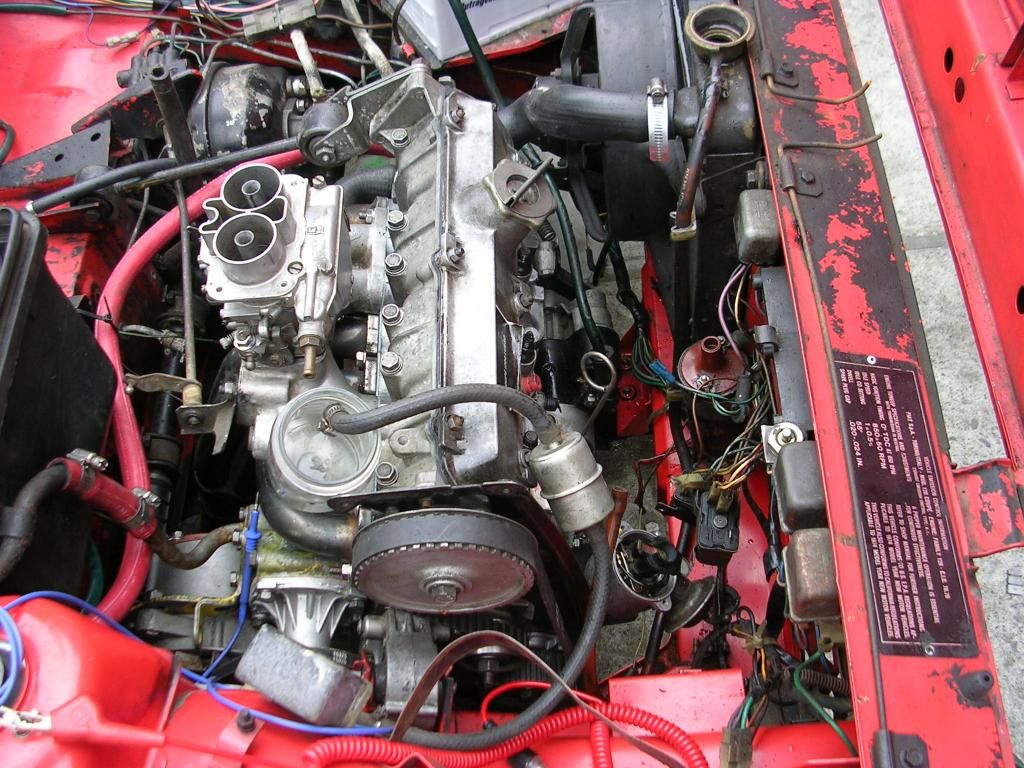
Added water to cooling system, re-secured hose clamps. Allen screws in the four small head bolt holes (which have been tapped) were seeping, sealed those. Cam cover on, Rotella 15-40 weight added. 2 gal premium unleaded supplied from the X1/9s full tank. DCNF secured to intake. Battery in, discovered the one windshield wiper arm works, exciting. 12V test lamp and large scale wiring diagram revealed ignition switch and in line fuse operational. Fuel pump relay intermittent, got power to the fuel pump, verified fuel lines good. Original pump quit, to be replaced with a generic in line unit. Close to glory.


Trying for fuel flow to the small jar:


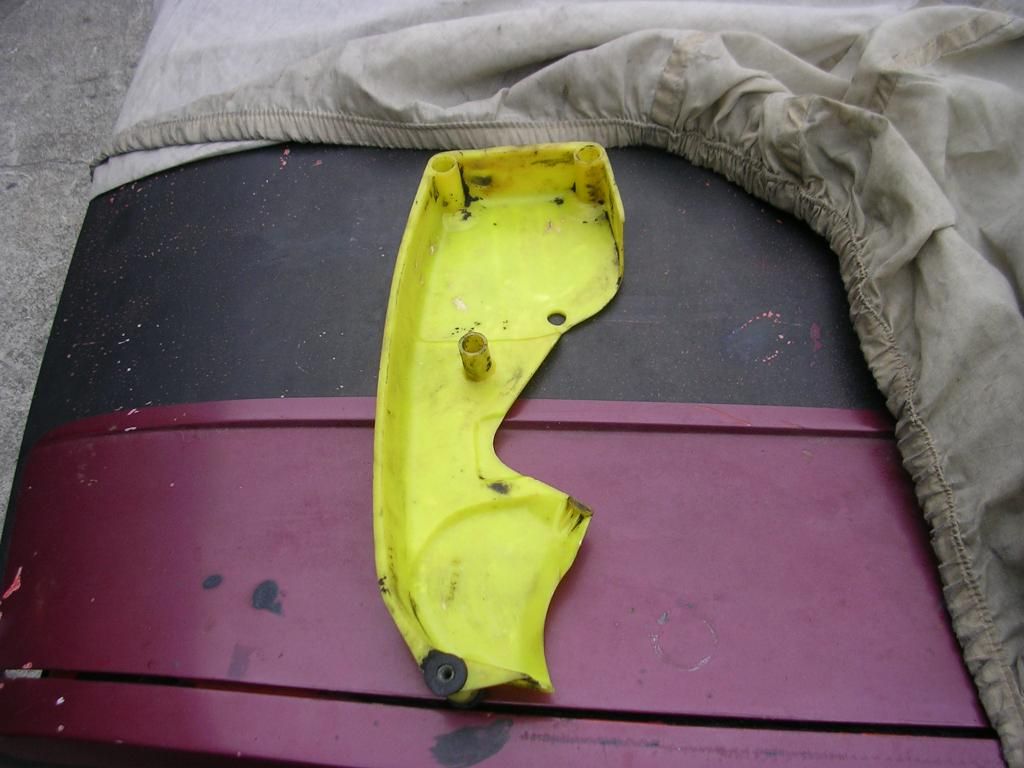
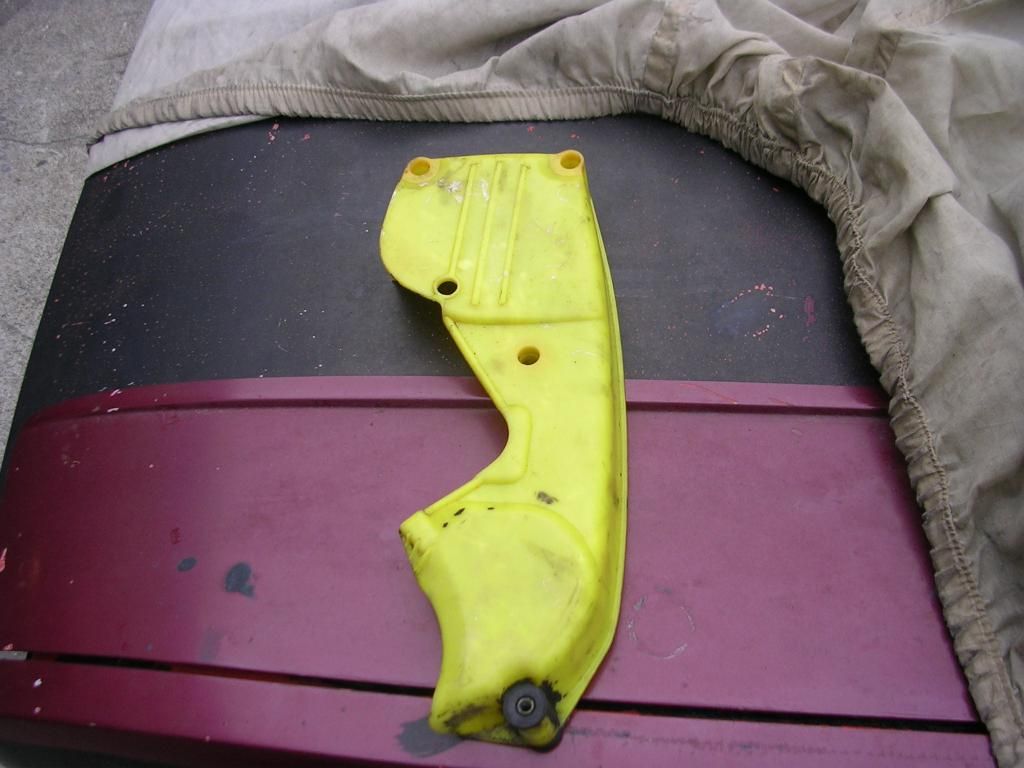
Anyone out there have standoffs and bushings for the timing belt cover?


First fire up

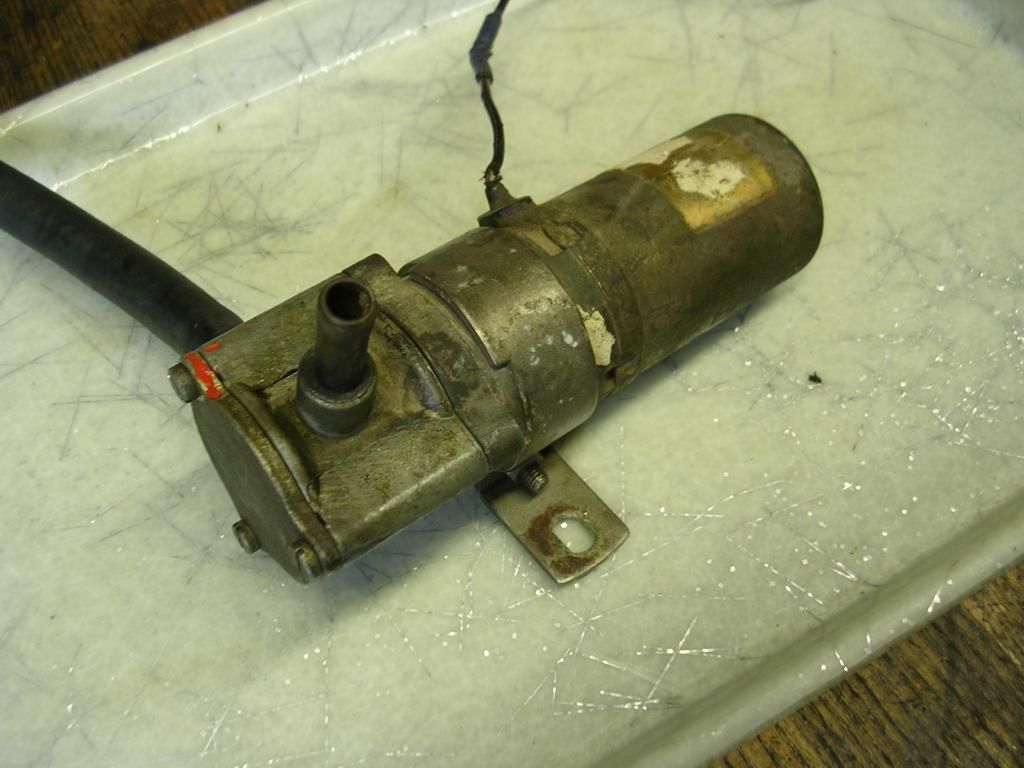
Original fuel pump failed, the root cause was a fouled impeller. It's a superior design, and serviceable. Cleaned and lubricated impeller hub and the tiny blades. Verified fuel flow, and power from relay located on the leading edge of the engine bay. Replaced failed rubber fuel line to carb.

The nice thing about the pump is....it has a 'clutch'. If the impeller seizes, the motor continues to turn as the impeller mechanism is driven by a magnetic reluctor device. Clever.


With fuel pressure to the DCNF, Q/A'd fuel flow within carb, corrected one small missing part.


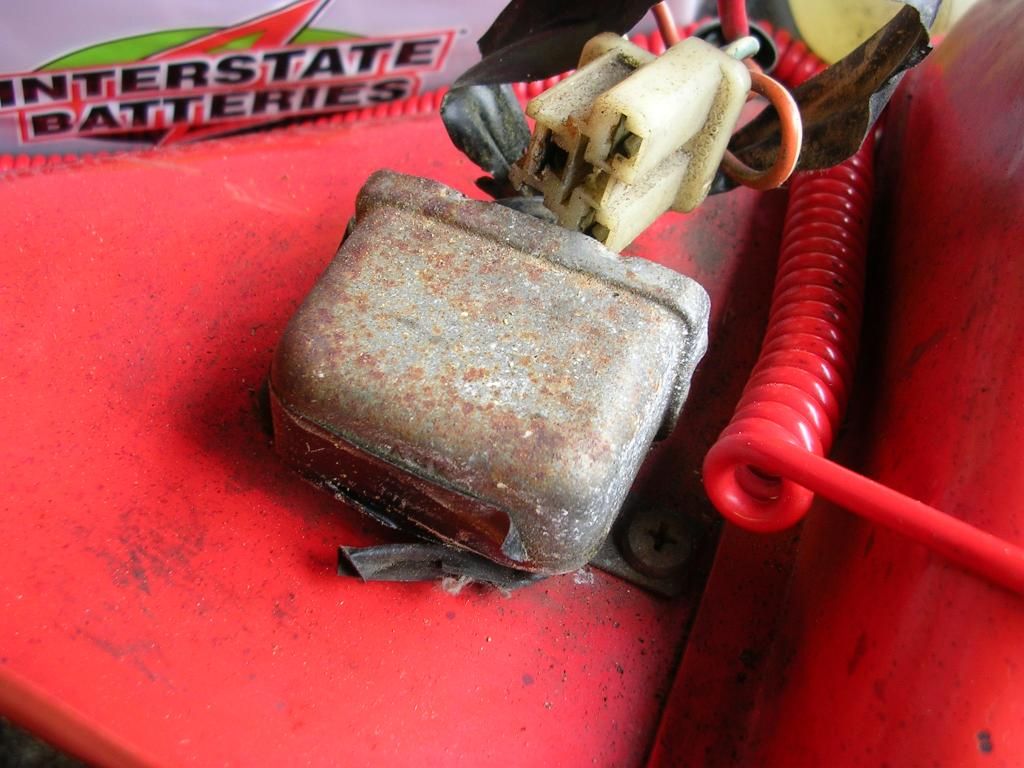
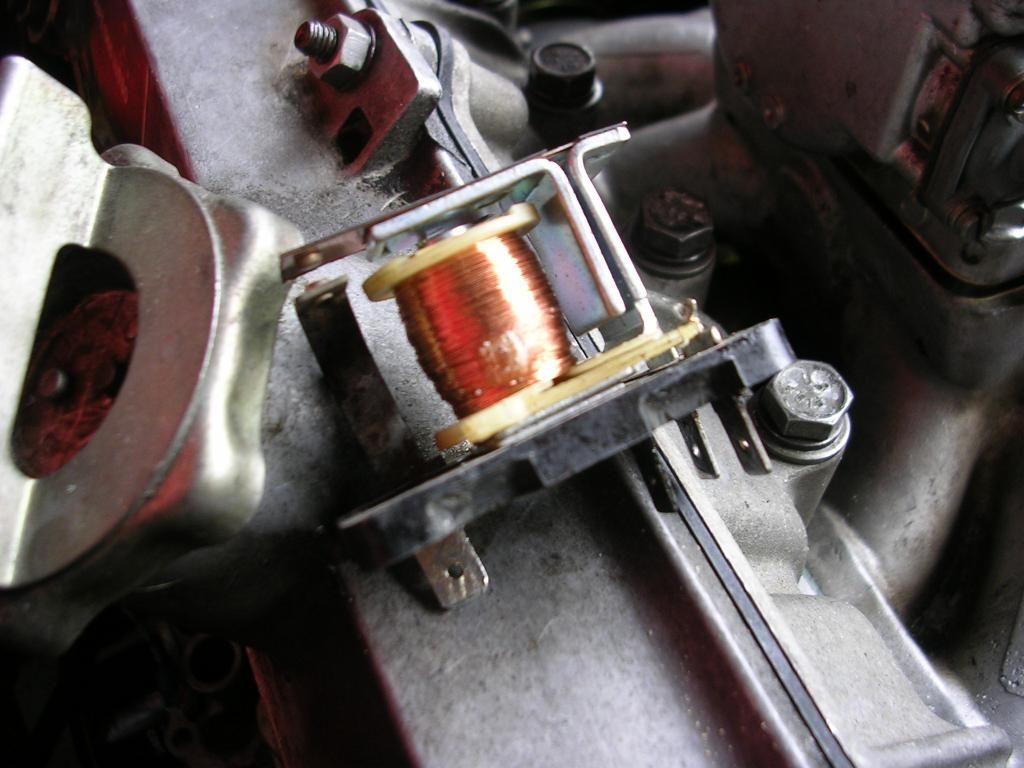
Attempted to actuate starter motor, no go, so removed steering column lower clamshell to check ignition switch and trace the wire forward. Starter relay is on the driver's side fender well, and appeared suspect with weak connectors, and a cover held on by ancient e-tape. Apart is came, the relay then made good and tested positive.


Nice relay.


Plugs in, turned it over and verified ignition, having missed the coil ground. With some starting fluid, it ran. No knocks, sounds good but running rough as the fuel is effected by whatever ancient varnish was left in the tank and lines. Didn't flush the tank, we'll see how it goes. Next step, throttle linkage, get it to smooth out and see if it'll make it down the street.
 
Back
Top