What did you do to your X1/9 today ?

I installed one of my BobG radiators and a new heater valve into my 85 autoX X. I am definitely feeling it tonight. The mother f******* heater valve is a pain in the f******* azz. This is my second heater valve replacement (on different Xs) and I really really hate messing with those things. I am sure the guy that designed that system still laughs his azz off every time he thinks about it.


At least it was a productive Saturday.


I agree! About nearly as much fun doing the heater valve as dropping the pedal box. There is no room under there...
 
Electrics

Replaced the old battery ground wire
IMG_20140505_182231.jpg


With a 4 gauge ground wire
BGZgGe3TrbIq2dT-romMpysq-xWJvLAZHES19CwVYGE=w626-h835-no


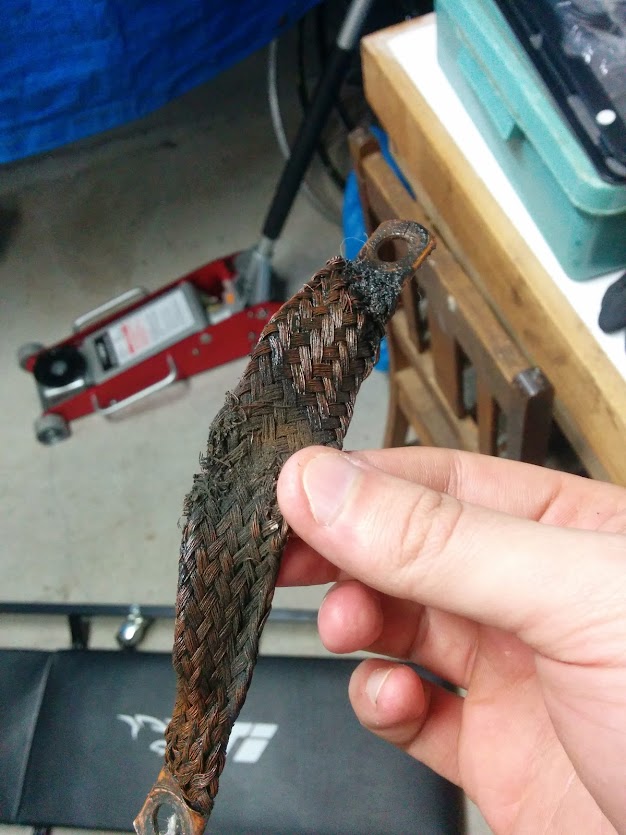
Replaced the old transmission grounding strap
IMG_20140510_185359.jpg


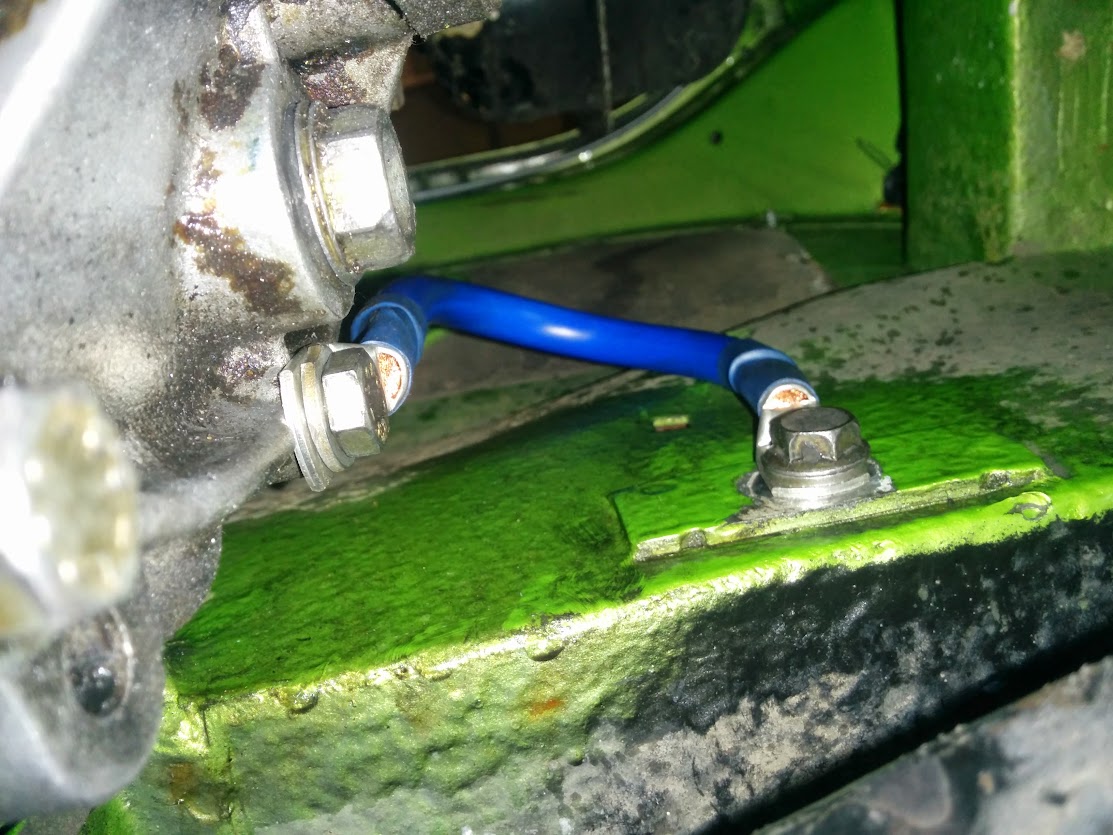
With a 4 gauge battery grounding wire
IMG_20140510_185056.jpg


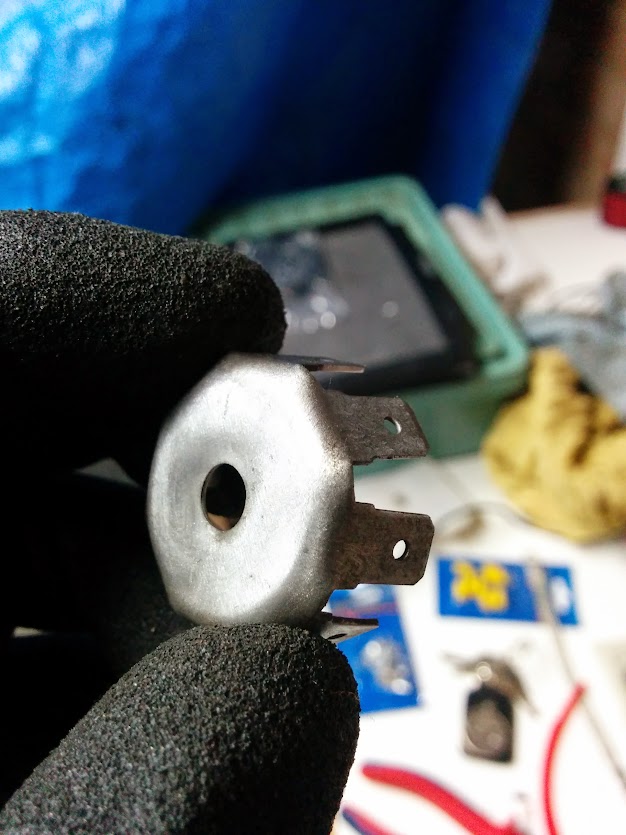
Polished up all my ground blooms
IMG_20140511_174145.jpg

IMG_20140511_172706.jpg


Added an 8 gauge wire to the top of the engine (the thick clear wire)
lP29lgK7kR2EuP5rkfHIQJwcbIY6owqSD6YQcYAgdpI=w626-h835-no


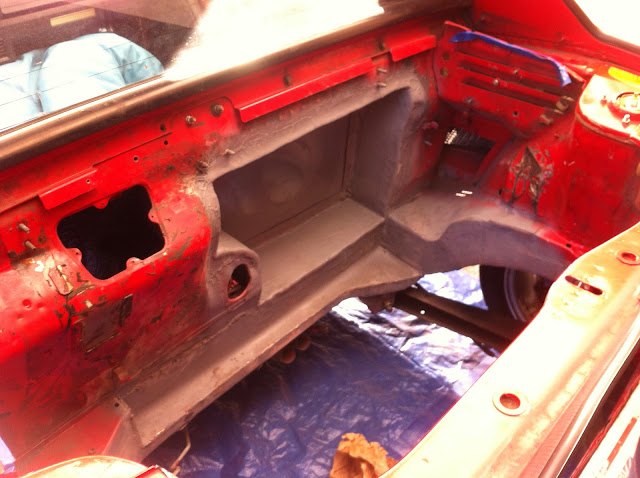
And I have started the brown wire mod and headlight mod. I have all the relays just waiting on the battery terminal and fuse box. The hole in the firewall was already there from an old alarm system so I used that to route the wire.
IMG_20140511_175955.jpg
 
Last edited:
come on Jim,

Do I have to censor the Xweb from my kids?
How about something like. " I had the pleasure of changing my second X heater valve today. Not something I hope to do again soon due to the complexity of squeezing the human body into painful positions for extended periods" , or something similar.
We'll get the picture.
( just kiddin of course, that job is one that I pay to have done personally. You get kudos here)
 
Pardon my French Bob :)

Do I have to censor the Xweb from my kids?
How about something like. " I had the pleasure of changing my second X heater valve today. Not something I hope to do again soon due to the complexity of squeezing the human body into painful positions for extended periods" , or something similar.
We'll get the picture.
( just kiddin of course, that job is one that I pay to have done personally. You get kudos here)

HA! It is a tedious job and a real pain in the lower back. Literally. I filled the system and it didn't leak, so that is good. I would hate to have to do it again.
 
Learned to unmount/mount tires

I have had 7 ATS Classics hanging around the parts bin for years. There are a few variations of these wheels in the pile. Three 13x6 with 4" backspace painted the stock black/silver, two 13x6 with 4.5" back space in faded silver and finally two 13x5.5 also in faded silver. I needed four 13x6 wheels to mount some Hoosier R6 tires on for auto crossing and decided it was time to drag out these wheels and learn to deal with tires.

I went to Harbor Freight (where else) and got the cheap tire mounting tool with a 25% off coupon. :) The 3 black/silver ATS wheel still had rubber on them from who knows when. I acquired them on a parts car from a field in Colby, KS back in 2004 or so. Naturally this parts car only had 3 ATS wheels and a stock steelie. Mark Scholz provided the 4 silver ATS wheels.

flatbed2_77.JPG


I read the instructions and watched a couple YouTube videos that covered the "how to" with the HF tool. There is a learning curve for sure, but I figured out the unmount and by the third tire I had it off in about 10 minutes. Now I was really overconfident.

Turns out mounting tires is way harder than unmounting tires and perhaps Hoosier R6s were not the best choice for my first attempt. They were really hard to get on and took a couple hours for tire #1. Tire #2 took about 45 minutes or so. Tires #3 an #4 only took about 30 minutes each. Seating the bead scares the cr*p out of you on the first tire and the following tires just make you jump a bit. That is an amazingly loud series of pops.

Many lessons were learned in this process. The next lesson will be balancing.

Here is the final pile. I included a couple unmounted wheels in the sliver/black and plain silver styles for reference in the foreground. The two tires/wheels immediately behind the reference wheels were originally all silver. I rattle canned them gloss black and then scraped off the black on the high edges to match the stock ATS Classic look. These are going on the auto cross car, so I figured that was good enough.
IM003161.JPG
 
Last edited:
Completed my stainless exhaust system with freshly painted grill and valance.


For show purposes I even got my X1/9 jack painted the same color as the car.


I know I need to get black screws for the grill :)
 
Years of scrounging

Always liked those wheels on any classic car. Jealous you have so many sets!

All you have to do is check out every parts car within a couple hundred miles, watch EbayCraigslist religiously and be ready to buy. I don't do any of that anymore, I have enough wheels at this point in time.
 
Nice Pete

Looks good Pete. So are you going to lay a mirror on the ground at the shows? I see some of the muscle car crowd doing that. :)
 
Paint!

My father & I have been anxiously waiting for the weather to warm up enough to allow us to paint. Finally had a warm, dry day that we could work on it.


Just bought a complete suspension set up from Matt for the Bumble Bee...

Being on disability and having a little extra cheddar in your bank account = Yikes!
 
Remote door lock kit

Today I installed a keyless door lock kit.

My lock linkages have become so unreliable that I haven't been able to lock my car for some months. Too many times I've had to gain access with a piece of wire.

The keyless system attached to the last rod that activates the locking mechanism so all the play in the others is bypassed.

I allowed one hour for the installation, three hours later...

But it was worth every minute! :excited:
 
FINALLY installed the hard start relay. Now I've got relays for the headlights, wipers, radio, and starter. Someday my ignition switch and connectors (which seems to be in very good and non-brown/fried condition) may thank me...
 
well its the 1st thing that i did to my X, i changed fuel filter :cool:
cerj.jpg


1v4m2.jpg


and this is what came off the filter :confused:

00pe.jpg


job Done!

d49r.jpg


Regards,

Serg
 
Air filter looks pretty ratty too.....

The mesh is rusting. How is the paper?
I guess having it in a box prevents me from seeing how bad mine is....
 
Back
Top