
geekdaddy
X1/9 Learner's Permit...
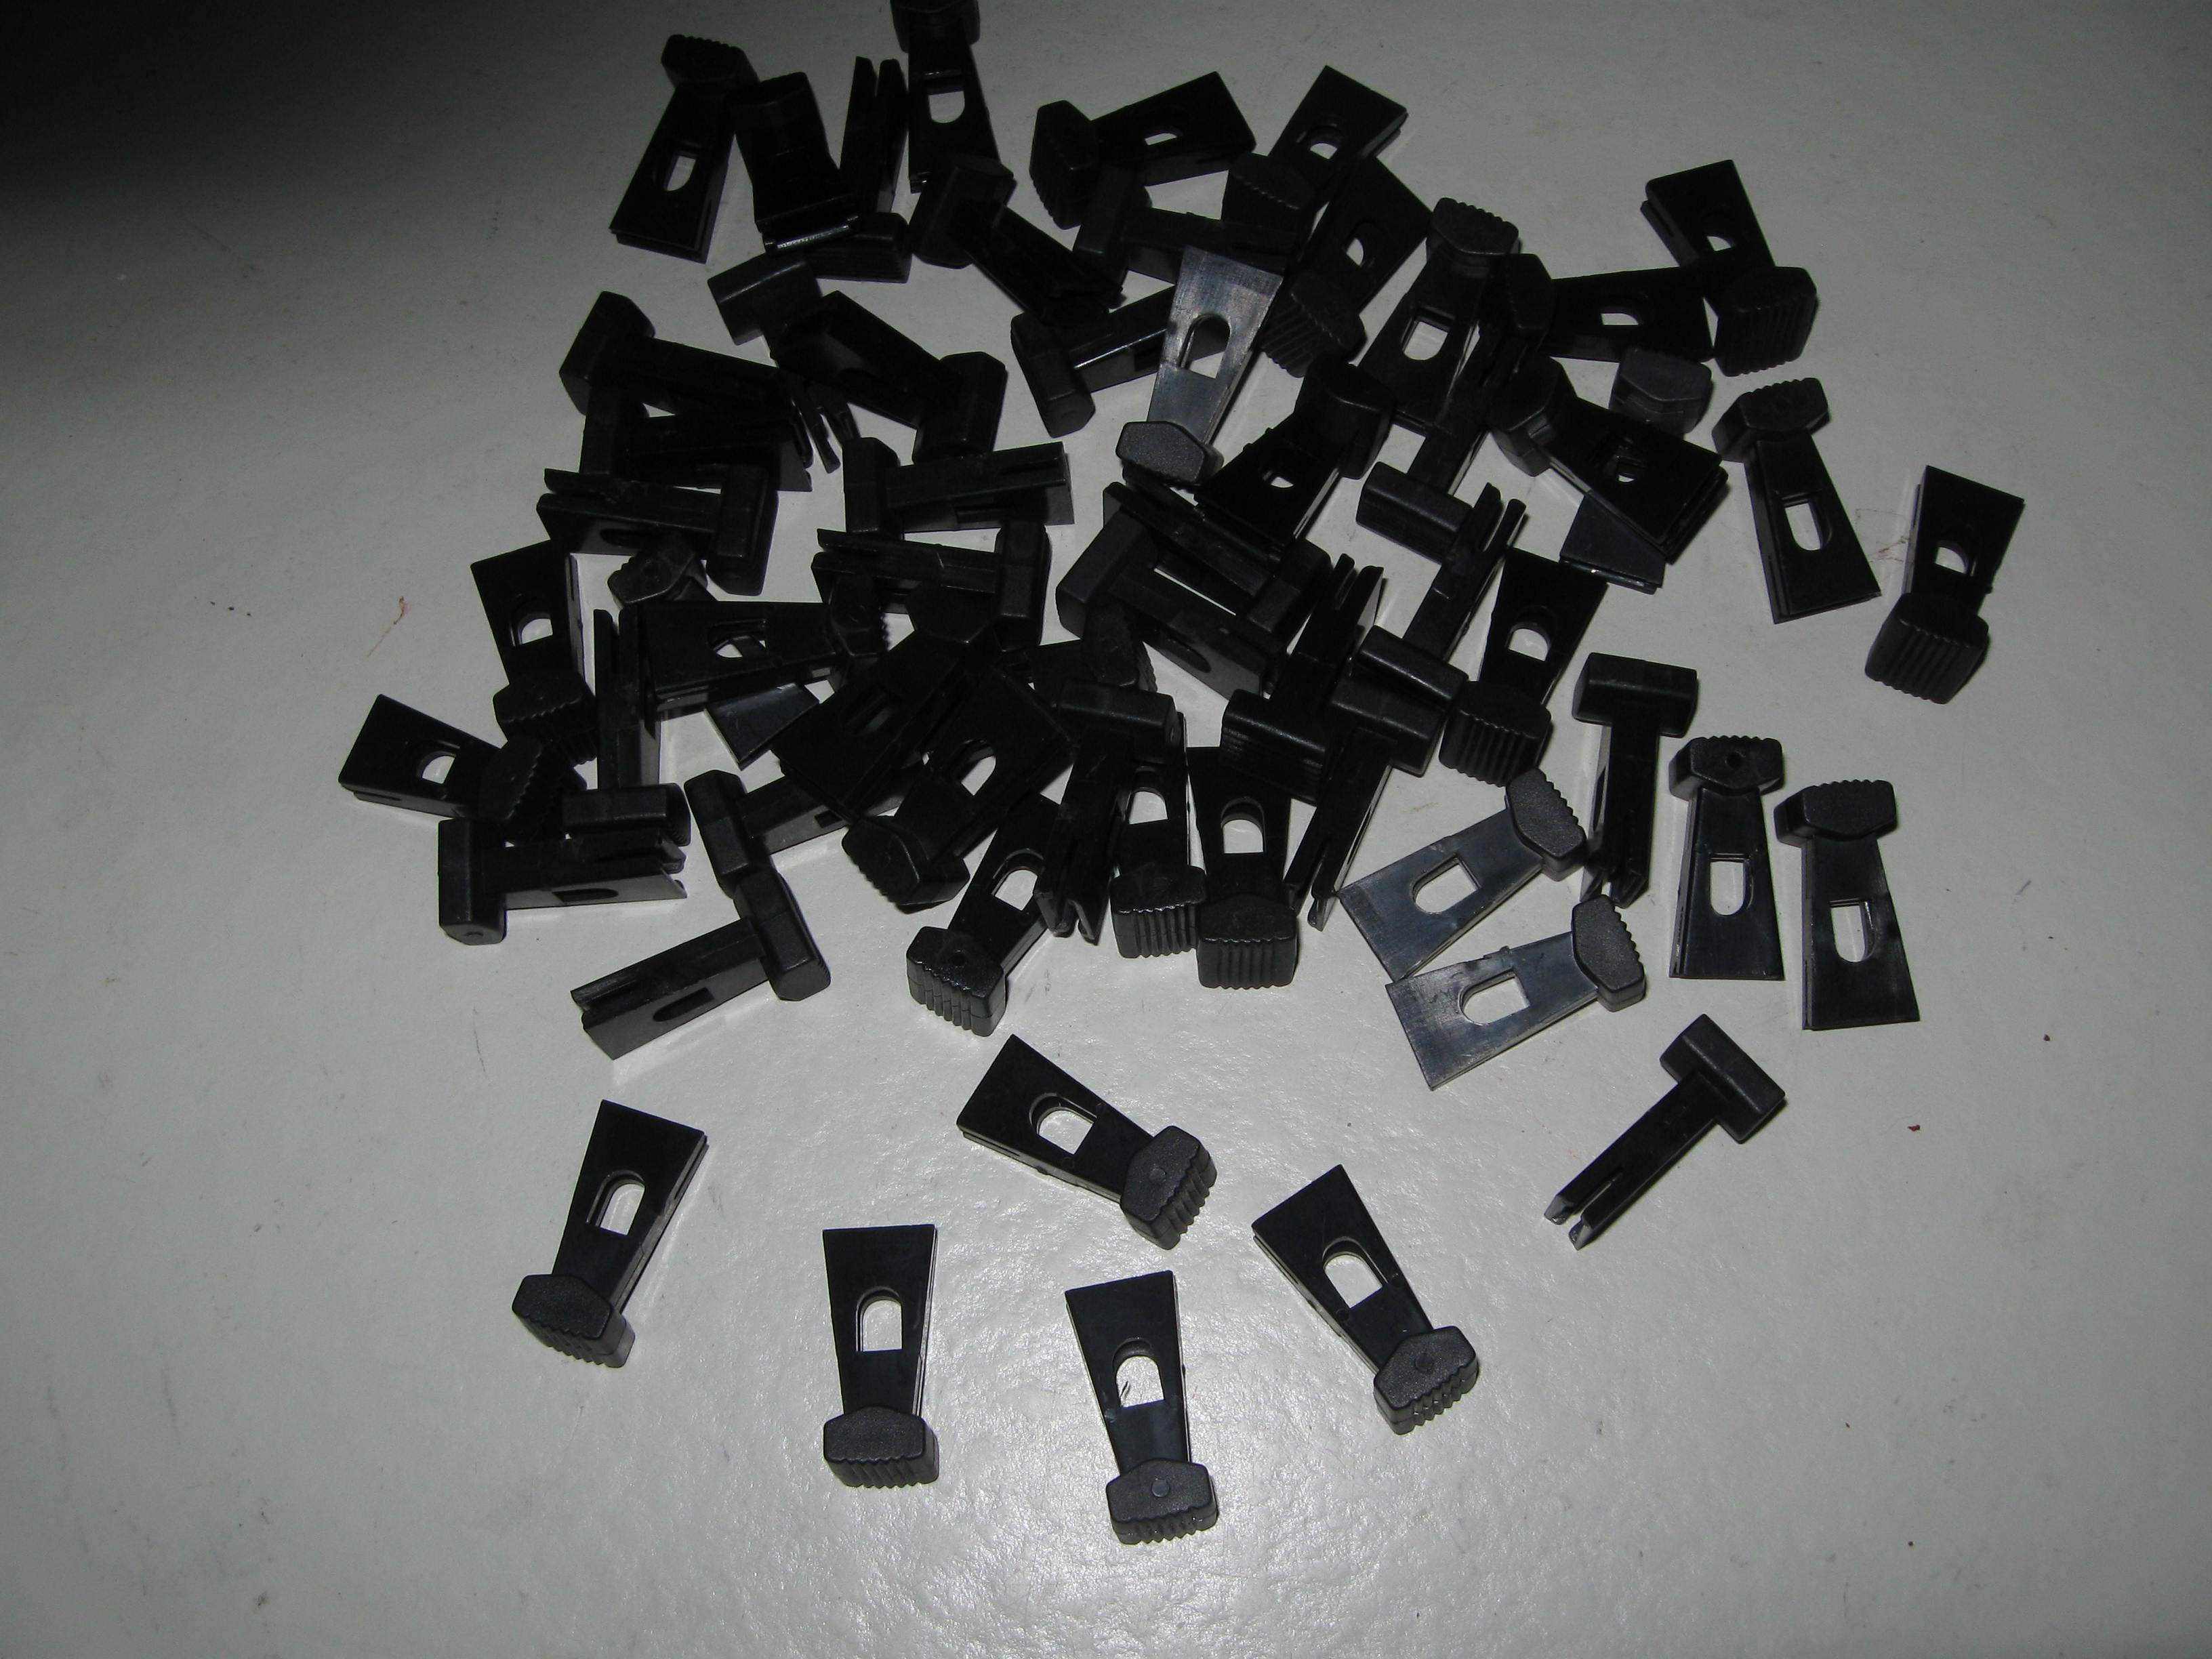
I am still learning as well and bed adhesion is a challenge especially with small footprints.I tried 4 times to print off some knobs last night and gave up. Stuff keeps pulling off the printer bed after a little and then it's a mess. I should probably try some other sticking method besides glue stick. Hairspray I've read.
I keep hearing the same... Bed leveling, nozzle height, nozzle temp and bed temp are key.
I have a glass bed and am getting better. I've been running bare glass with a 75 degree bed temp and my PLA sticks pretty well lately.
I will try to print a heater knob tomorrow.


")


