Repairing Rocker Panel Rust

mblommel

True Classic
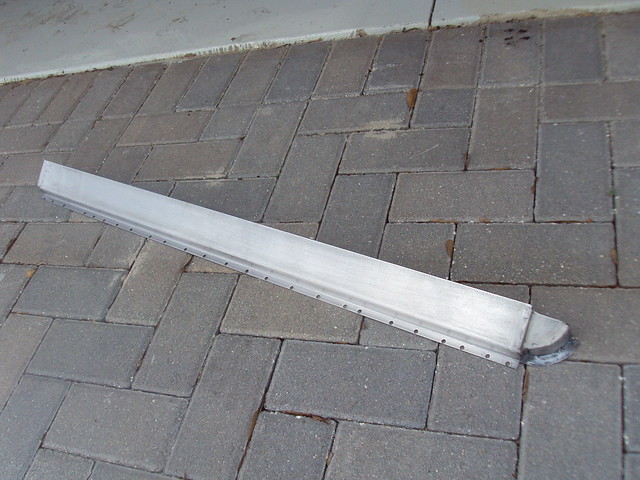
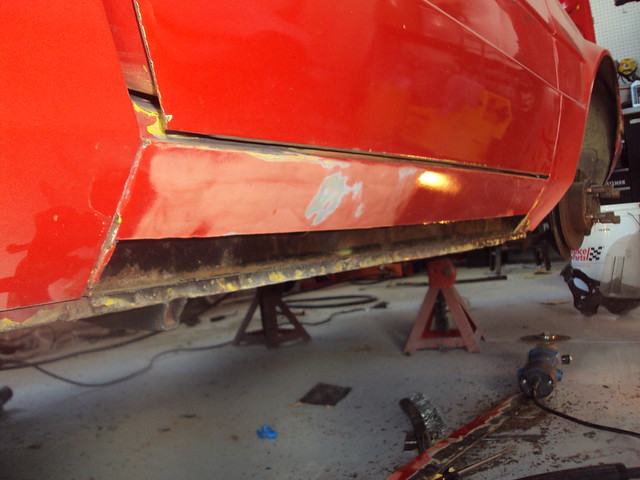
So I finally decided that I needed to go ahead and bite the bullet with the small rust bubbles that were showing up on my rocker panels (outer sills). I applied the angle grinder and here's what I found:

5441682617_9ea70b8a15_z.jpg

:dead:

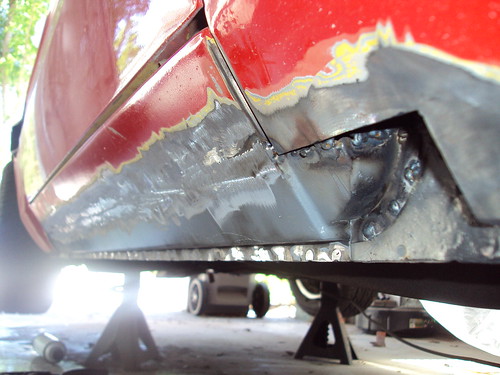
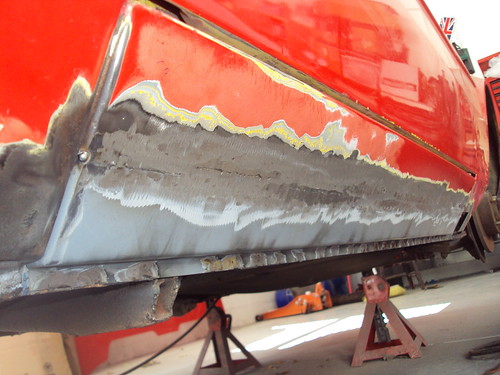
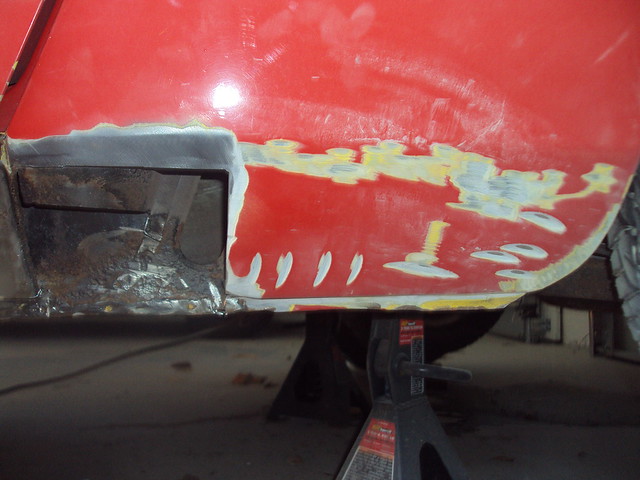
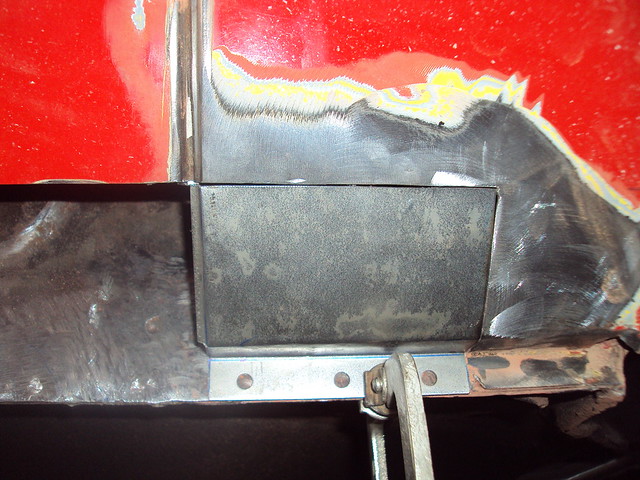
So after that I decided the whole bottom was rotten and ended up with this:
5442290502_030b8536c8_z.jpg


What isn't shown is the curved end sections that are behind the fender in the front and quarter panel in the back are also "holey".

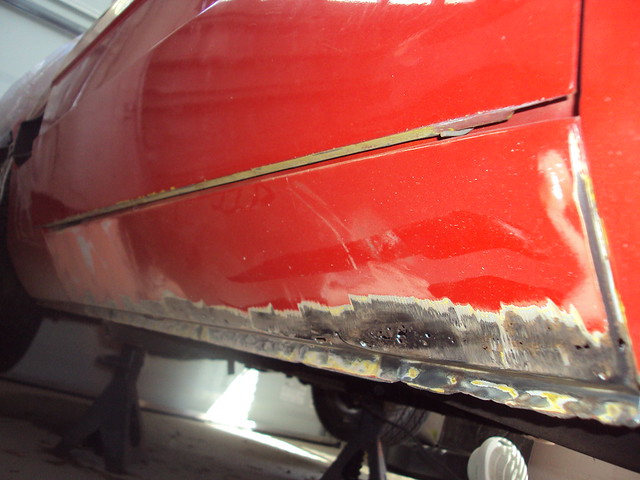
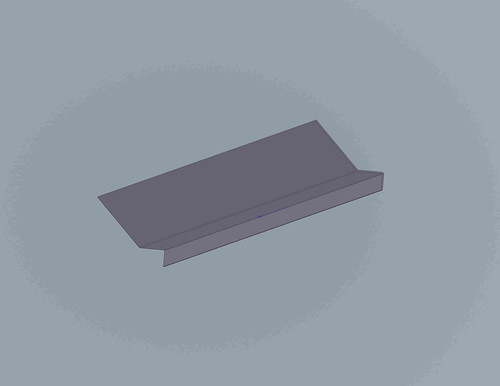
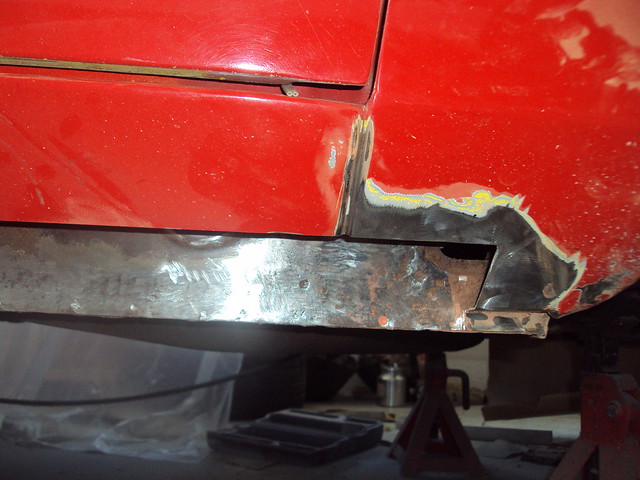
So, now my question is: does anyone manufacture a rocker patch panel? I guess I could cut out the whole face and weld in a new piece. The other side isn't so bad, only the curved end section at the back behind the quarter is shot:

5442288878_cf189819bd_z.jpg


Any ideas other than getting some flat metal and a brake? The rocker has a subtle curve to it that I think I would need a roller or english wheel to recreate. I don't have an issue with butt-welding sheet metal, but I do like to minimize the amount I have to do. I usually like to use my pneumatic puncher to set up some plug welds that replicate the factory spot welds and put a complete panel in. I know Matt has a couple of NOS complete rocker-door frame stampings for sale, but that seem like a bit of over-kill in this situation.

How have you guys fixed your rocker panels in the past?

Thanks,
 
Last edited:
Whoa Mike... You have a lot of work here...

For this lower panel I would find a donor car for this section, as you stated, there is a curve and a break... which for someone like me, would be difficult to replicate.

Note I said a DONOR panel off another car, not NOS.

Keep up the good work... and sorry, here in LA-LA-LAND we rarely have this kind of problem.
 
I hear you on the donor panels Tony. Problem is I think finding a suitable donor for this area will be tough. I think I'm going to get a patch fabbed up from 16GA steel and try welding it in. The surrounding metal is very solid. Just the ends that are under the fender and quarter are the remaining problem. Maybe I can make a hammer form for those sections?
 
Yep on all counts...

I was hoping I could say I had access to a donor panel nearby, but alas, I don't.

And as you say... hammering and sand bags will work, just a lot of work... but it appears that lots of work is not and issue with you. My hat's off to you. Do post some fotos when ya have a chance...
 
Patch panel design

So, I decided it would be easier to utlilize the bottom spot-welded flange connection for my rocker panel patch. So took a few measurement from the un-rusted side and I made a quick solid model using SolidWorks sheet metal function:

5450692401_19bfbbaba2.jpg


I work with a shop that fabricates sheet metal so they can make up my patch accurately with their shear and brake for a few bucks.

For future reference it appears the rockers are 18GA steel (.050")

I will update with more pics of progress as it occurs. Thanks.
 
Last edited:
!

This type of patch is hard to do. It wants to WARP like crazy. If you haven't done this kind of work before, do some internet research on "stitch-welding". It's better to push your patch in behind the original and lap weld it (not butt weld).

Hold the two pieces together with pop-rivets or screws until you get everything tacked in place. The take out the screws and weld the holes. Stitch welding keeps the panel cool to minimize warping. But there's no perfect solution.

When finished, cover your welds with short-hair fiberglass filler to make it water proof. Then spray the backside with some serious rust preventer of some kind. It will want to rust out again around the welds.
 
The problem with lap welds is they create a space between panels where moisture collects causing rust. You are right with your warning of warpage. I generally place a number of tacks with wide but even spacing along the butt weld seam. I gradually fill the seam by adding more tacks along it, making sure to jump around quite a bit to avoid concentrating heat in one area. The settings on the welder are also critical. A few test tacks on scrap material of the same thickness help set baseline. I start out cold and add heat in my test tacks. I've found in the past the best setting is one where you just do get enough penetration for a "flat" tack. I also metal finish a bit as I go with a hammer and dolly where possible. The nice thing about a properly done butt weld joint is you would never know the panel has been repaired. I'll let you guys know how this all turns out.
 
Well...

Why don't go with a NOS part? I happen to have one waiting for you!

It's looking like the US passenger side but I'm not sure. Factory stickers are not there anymore to get the part number. But with some slight modifications, I'm sure it could fit both sides. I bought it 20 years ago from a Fiat inventory sleeping since the early 80's. It's new, no rust. Got a few scratches with the years but since it will be sanded and painted, I would say it's perfect.

I'm really busy these days but if you are interested I could take a pic and forward it to you. Since it's a little long, and I'm in Canada, shipping maybe a little expensive.

Daniel Forest
Montreal
1987 Bertone X1/9
1980 Fiat X1/9
 
Go with new metal. I had similar problems on my '81 rebuild and got replacement panels out of europe.
Hard to find donor cars without the rust! "Do it one - do it right"
Lappy
 
Keep us posted, and agree on the butt weld with lots of little tack welds to gets started. Only way I was able to not trash the panels on some of the old British cars I've been sorting out.
 
Last edited:
Thanks for the encouragement Paul!

Looks like you had a much tougher time than I have. At least most of my rust issues haven't been structural. Bravo on repairing your Lancia. Looks like a fine job and done right!

Hopefully I will hear word from Daniel on the NOS rocker soon. I will keep all posted.
 
Wrong panels...

Sorry for Mike,

It appears my rocker panel is for a Fiat Sport Coupe. I had the part number and Mike did his job. For 20 years, I was thinking there was a Fiat X1/9 rocker panel hanging on my wall. The size and curve seems really similar but the ends are different.

Good luck Mike!

Daniel Forest
Montreal
 
Rocker panel update...

OK, so I'm slowly progressing towards repairing my rocker panel rust. Since last time, I've decided to proceed with my patch panel that I had designed instead of replacing the whole rocker. The upper areas I left when cutting out the rust are totally solid and the factory fit and finish in the door jamb and the gap to the bottom of the door is hard to beat. I'm working on a way of coating the back side of my butt weld seam with POR15, so stay tuned for that.

So, right now I've drilled the lower spot welds out and cleaned up the surface rust, further examination reveals that the extreme bottom section of the right side fender had some rot too so that was removed as well:
5626291726_7a12797ca5_z.jpg


Next, I measured the thickness of the fender material and it seems to be very close to 22GA. I just happened to have a piece of new 22GA out ing the garage, so after some measuring, bending and grinding I have pretty good patch panel made up:

5625702197_8eb3e6d554_z.jpg


My friend who owns a sheet metal shop is still working on the rocker patch panel. I can afford to wait, and he's going to bend up the panel for next to nothing, material and labor $20! I will post more as soon as I have it done.:)
 
Paul, do you need another ?

A friend has a '76 Lancia Beta here in CA that can be had for $250. None of that rust stuff. Been sitting in the sun a lot. By the way call me when you want to sell the '74!
Bob T.
 
Patch panel is in!

Another tinworm battle update.

Here's the complete rocker patch panel I had made up at the sheet metal shop down the way from my house.

5691134699_dd4a38bea5_z.jpg


The sheet metal guy bent the profile from 18GA steel, then I added the front part that goes behind the fender by cutting and bending the patch metal while adding some sheet steel parts made from cardboard templates. (the thin cardboard that DA sanding disks come in is perfect for this). I punched the bottom flange for plug welding with my Habor Freight puncher/flanger. Total cost: $20.

Before welding the patch in I gave the inside and outside 3 coats of epoxy primer. On the areas where it was going to be welded I left it bare metal, but put on a coat of UPOL weld through zinc primer.

Here's patch after the first round of welding and grinding:

5691707656_61dca38e49.jpg

The nasty burn marks on the welds were all cleaned up and coated with POR15.

Reverse angle:

5691135957_f024b72674.jpg


There was a little warpage along the butt weld seam, but I kept the heat down by doing lots of little welds and skipping around randomly. After these photos were taken I did one more inspection and welded up the areas that were still unwelded from the first round. I did a bit of metal work on the high spots and then added a skim coat of filler. No pic of that yet. Today I also made up a makeshift rig to spray the inside of the rocker with POR15 to fend off future rust.

Now I'm starting the fight on the other side. I won't let the rust win!:lol:
 
Last edited:
Keep at it Mike

I am sure you are enjoying the project and it will feel great to get the car back to looking beautiful in the end. :)
 
Back
Top