lookforjoe
True Classic
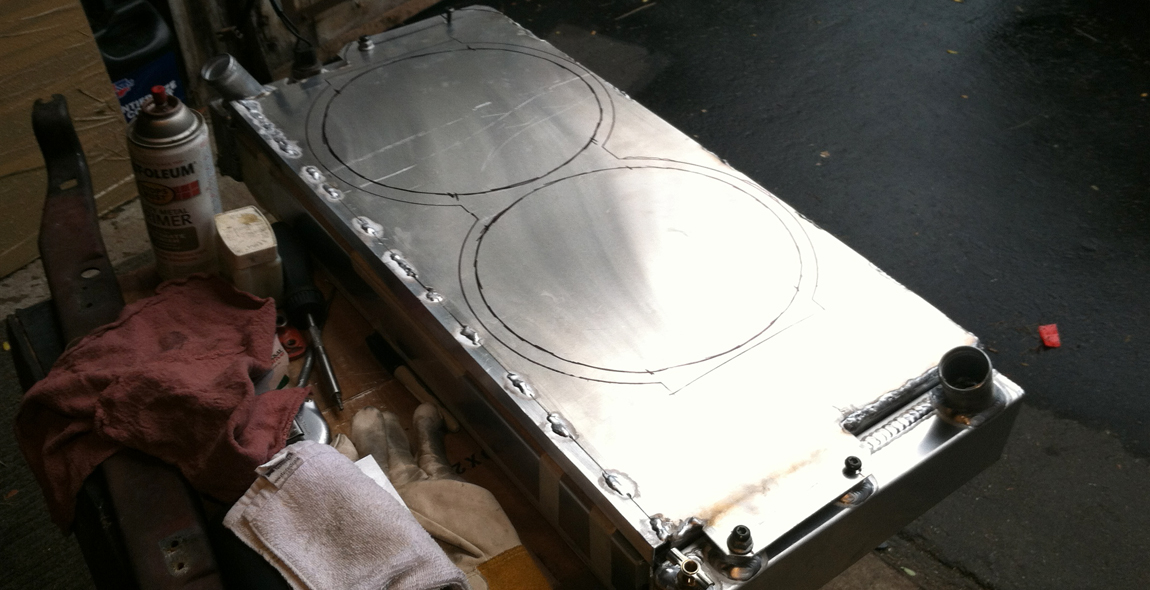
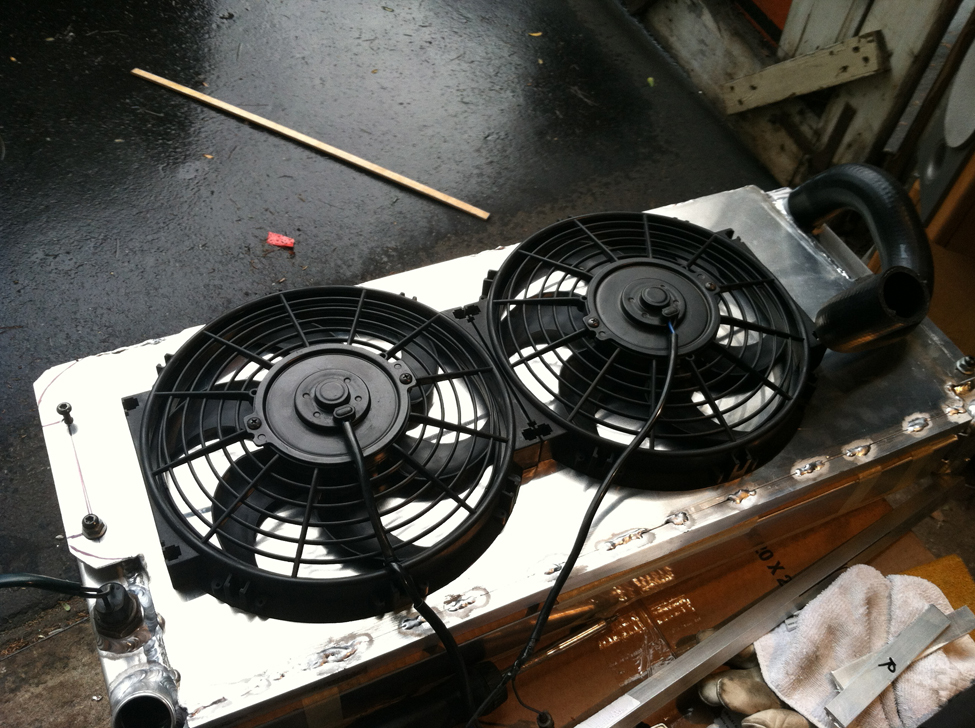
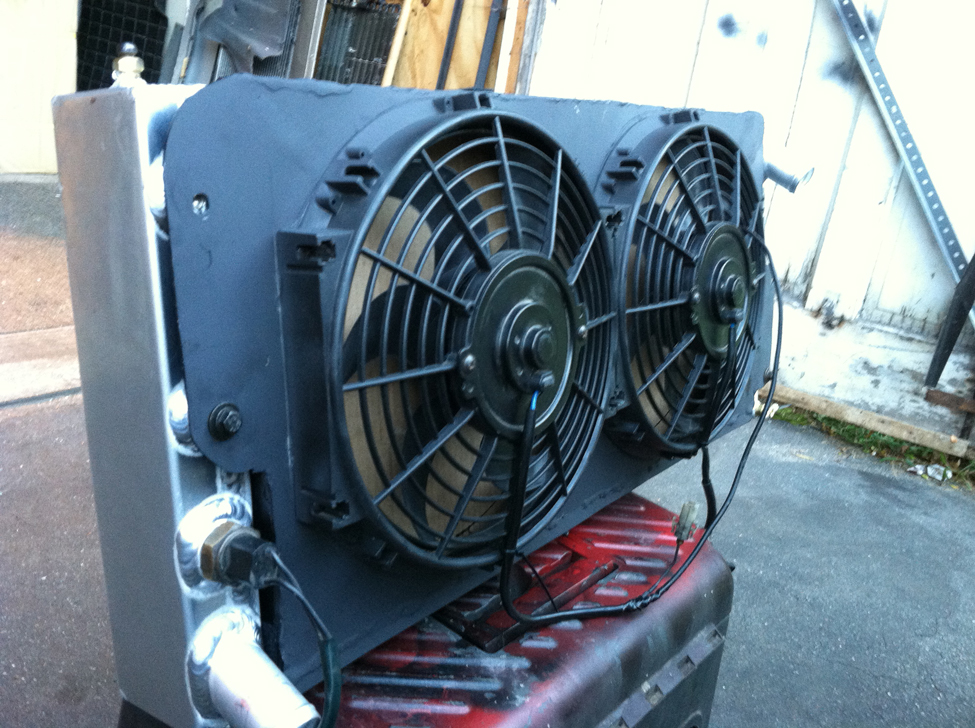
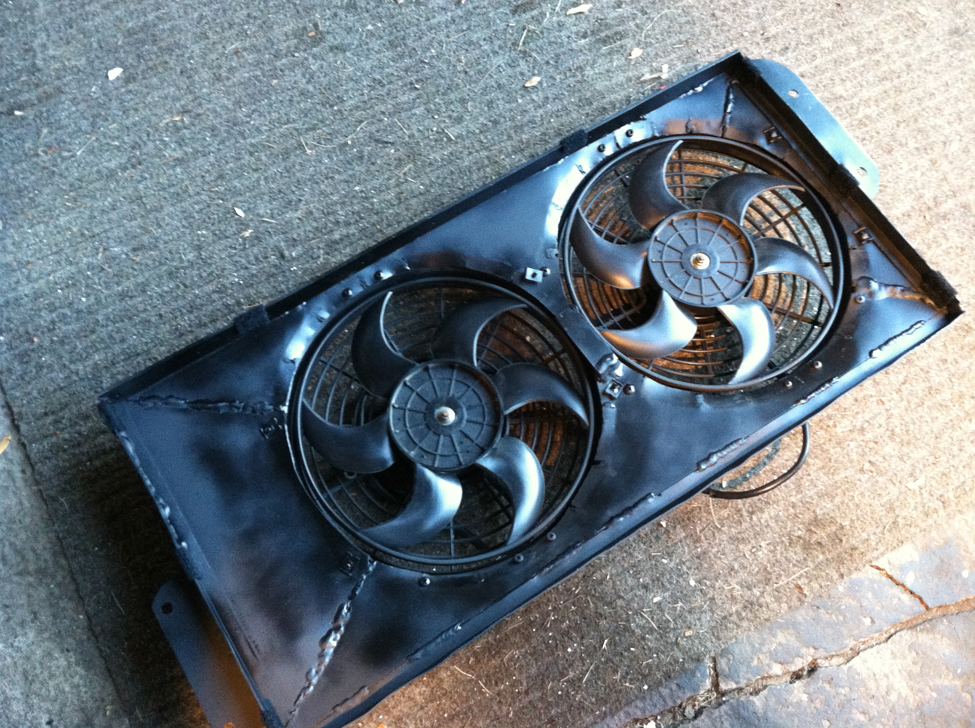
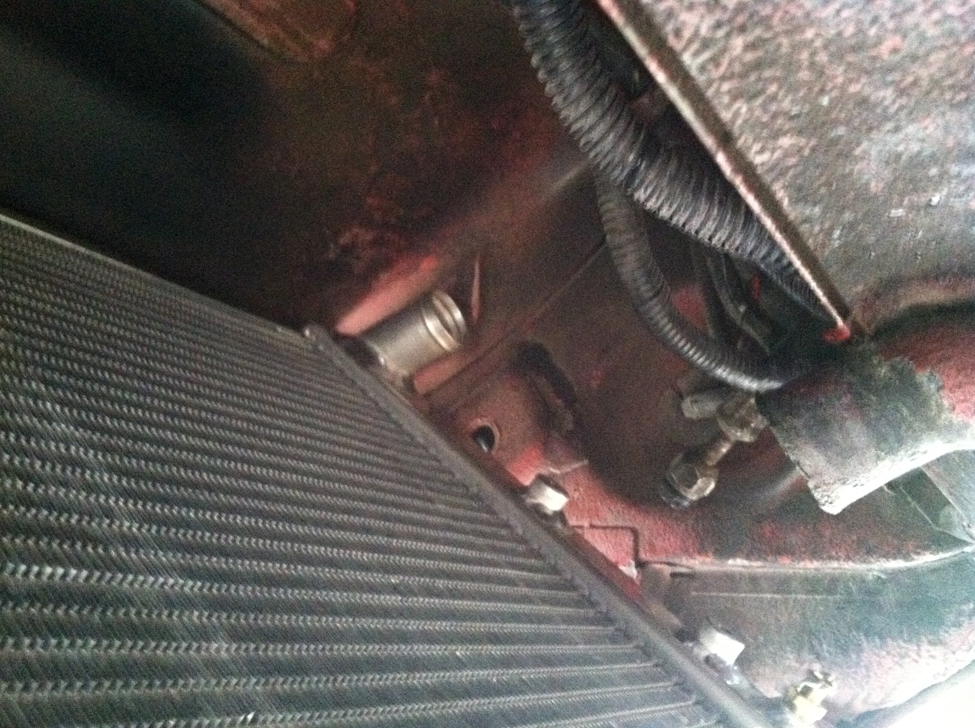
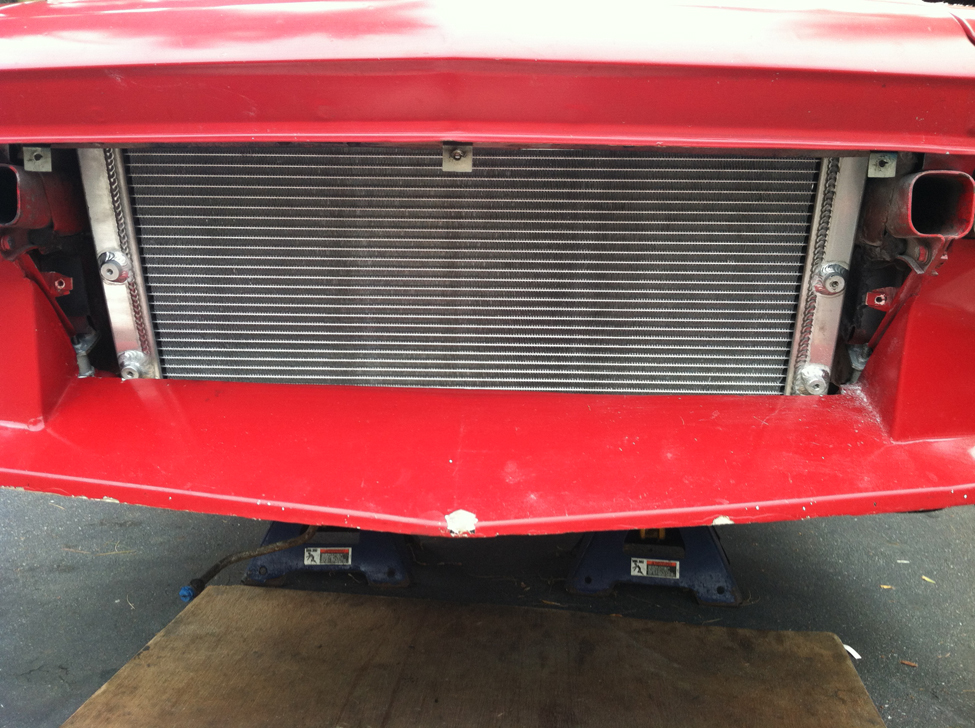
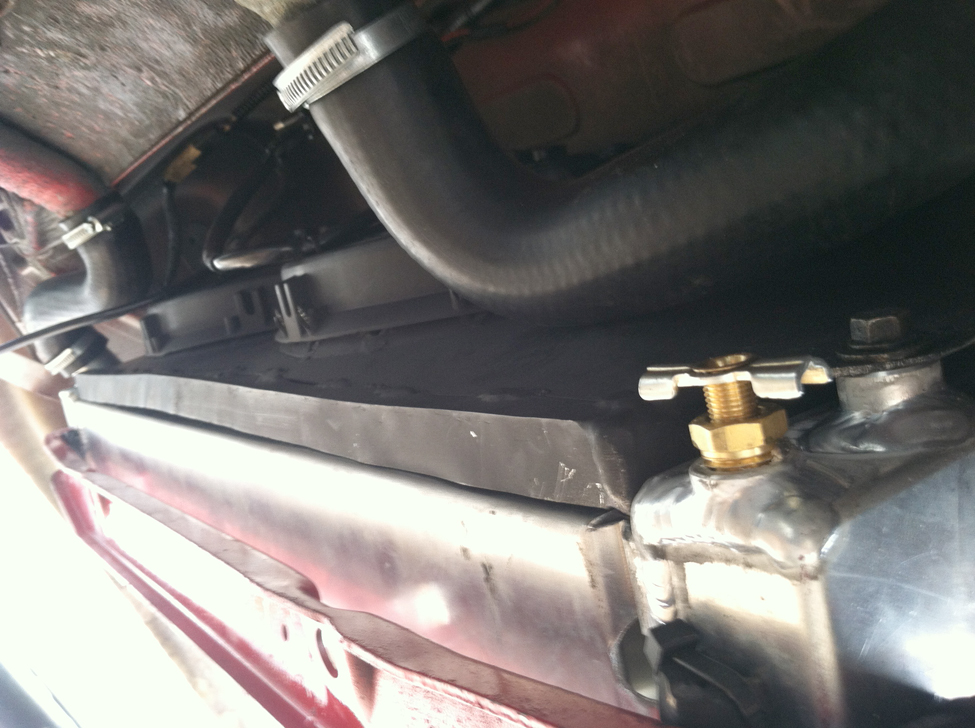
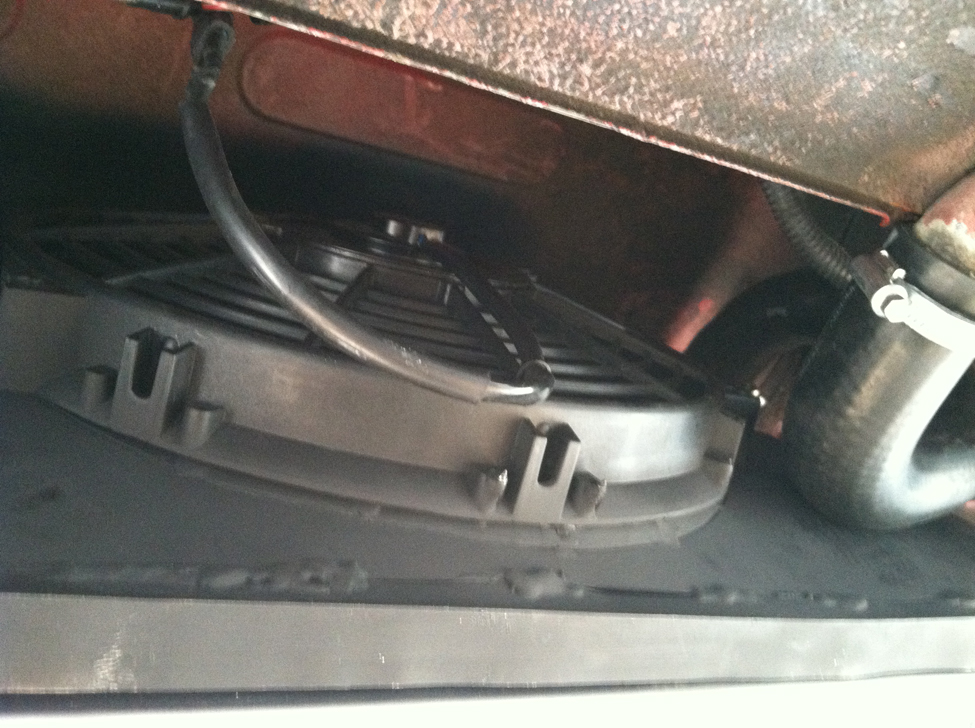
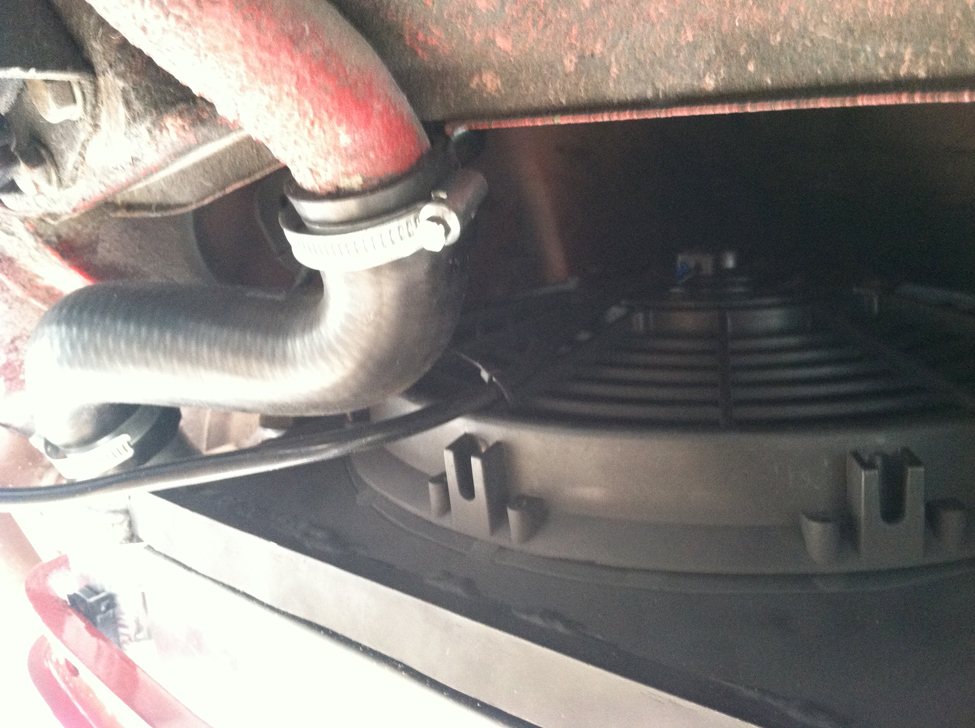
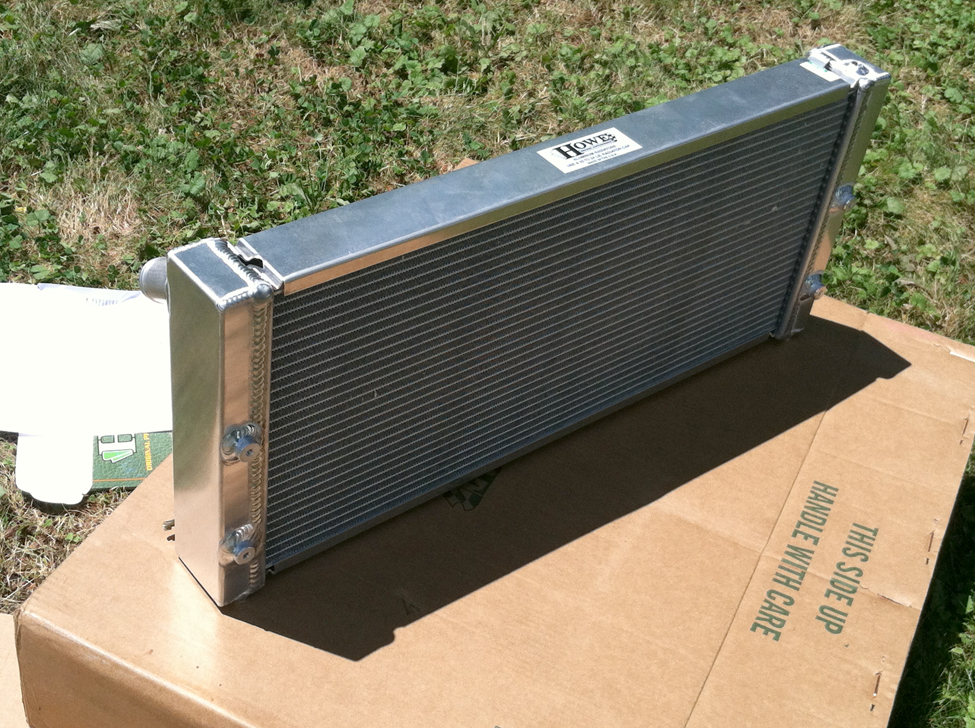
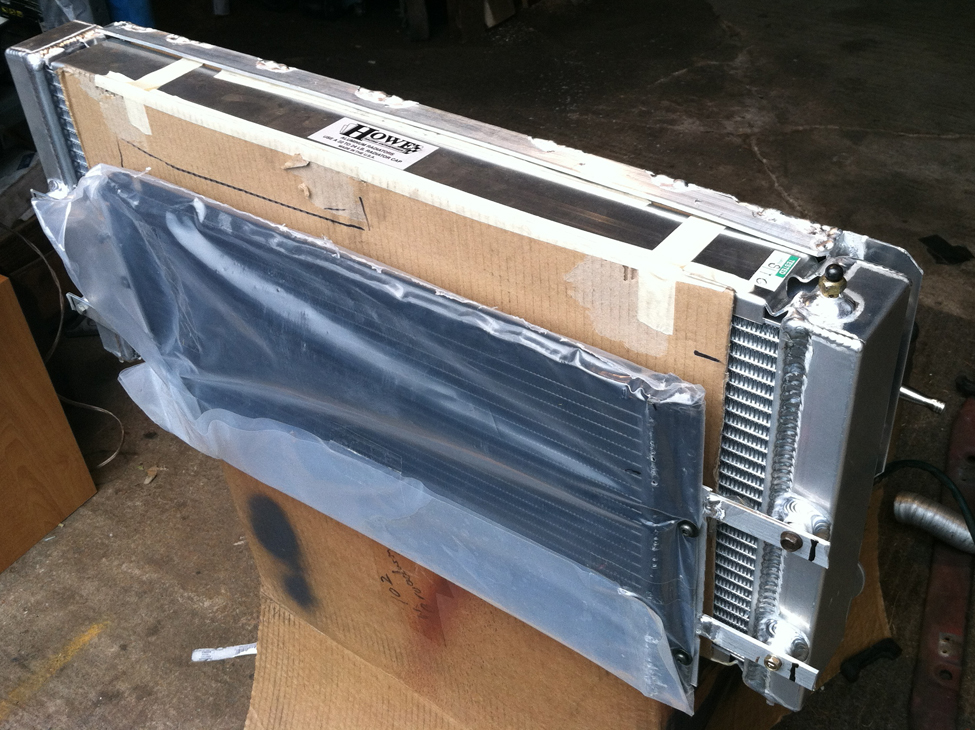
Finally broke down & had a custom rad made by Howe Racing. Mount tabs are designed to work with the Volvo rad brackets I use. Bosses welded on both sides for the AC condenser and a fan shroud (that I will be making)
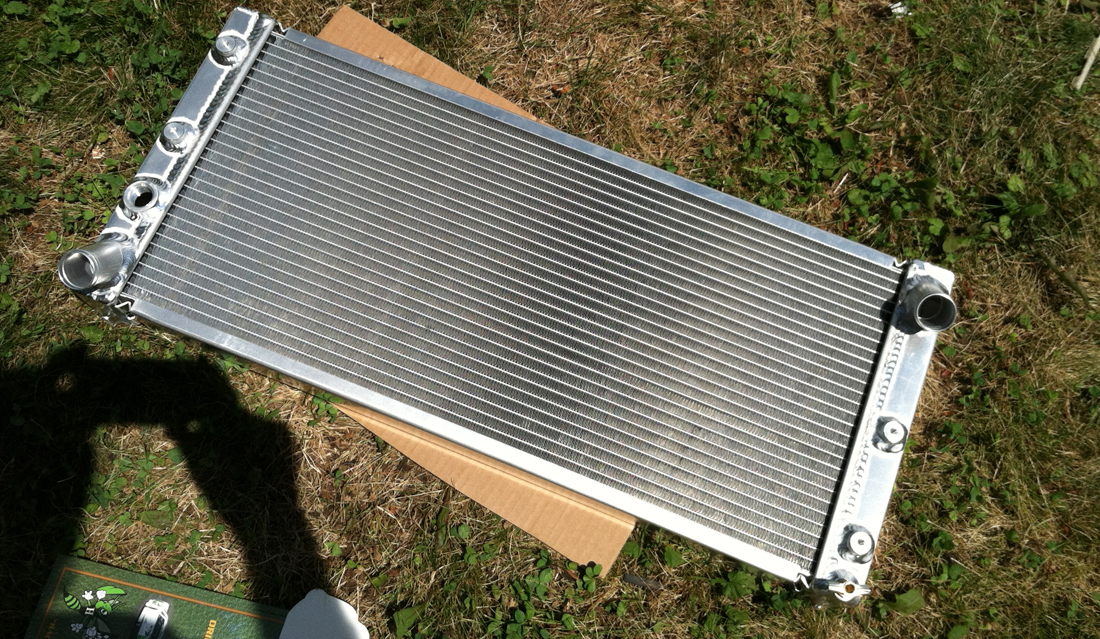
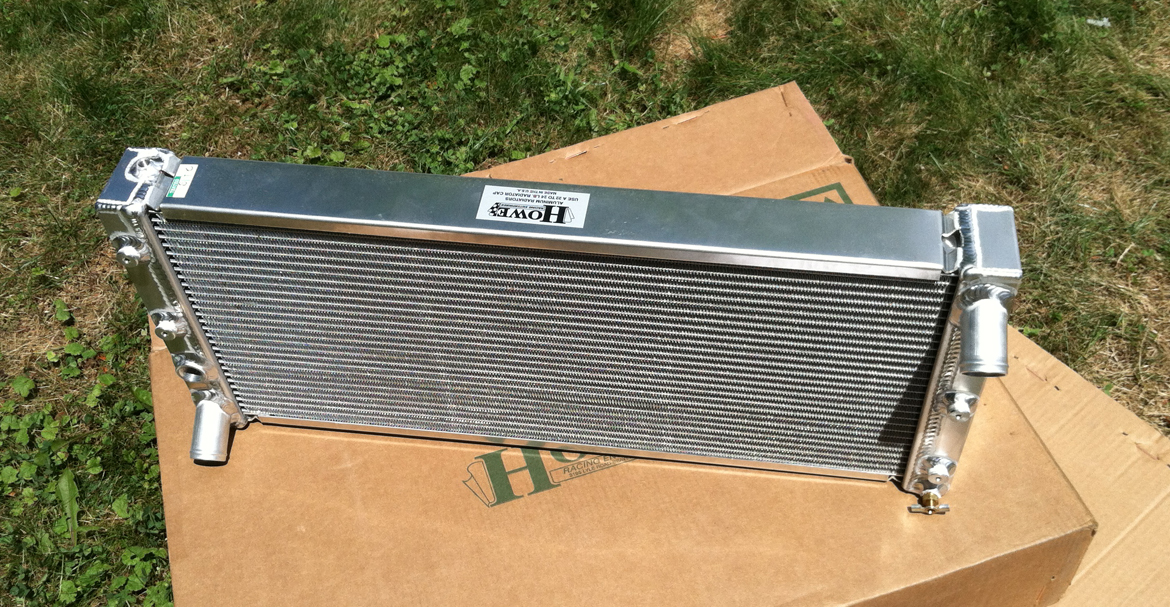
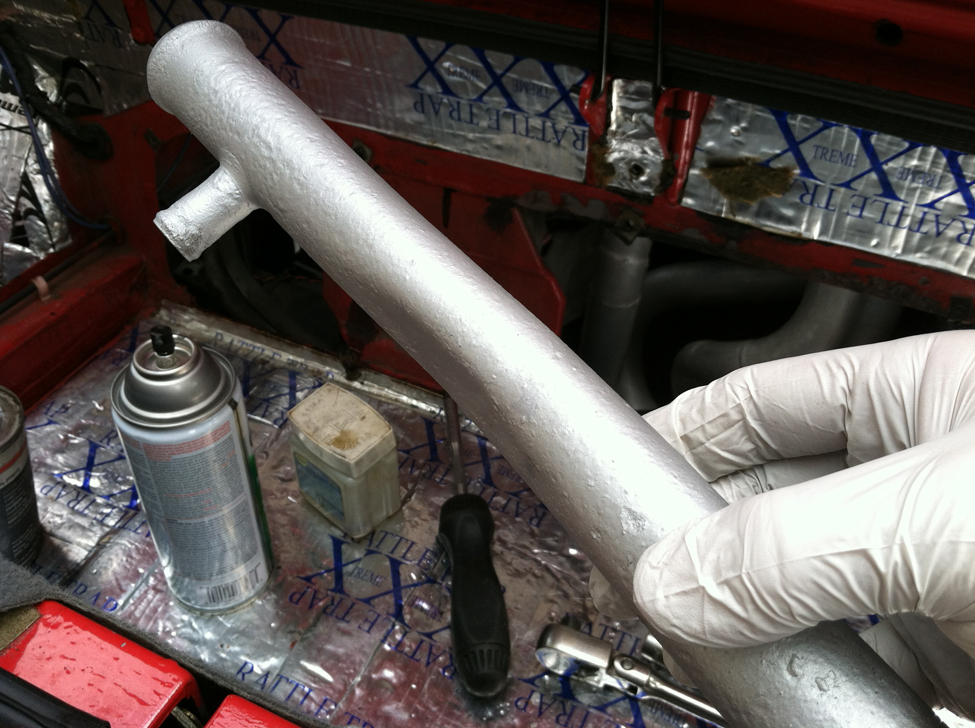
Sized overall to the VW specs, but with proper 1 3/8" I/O to match Fiat spec, and 22mm sensor port.
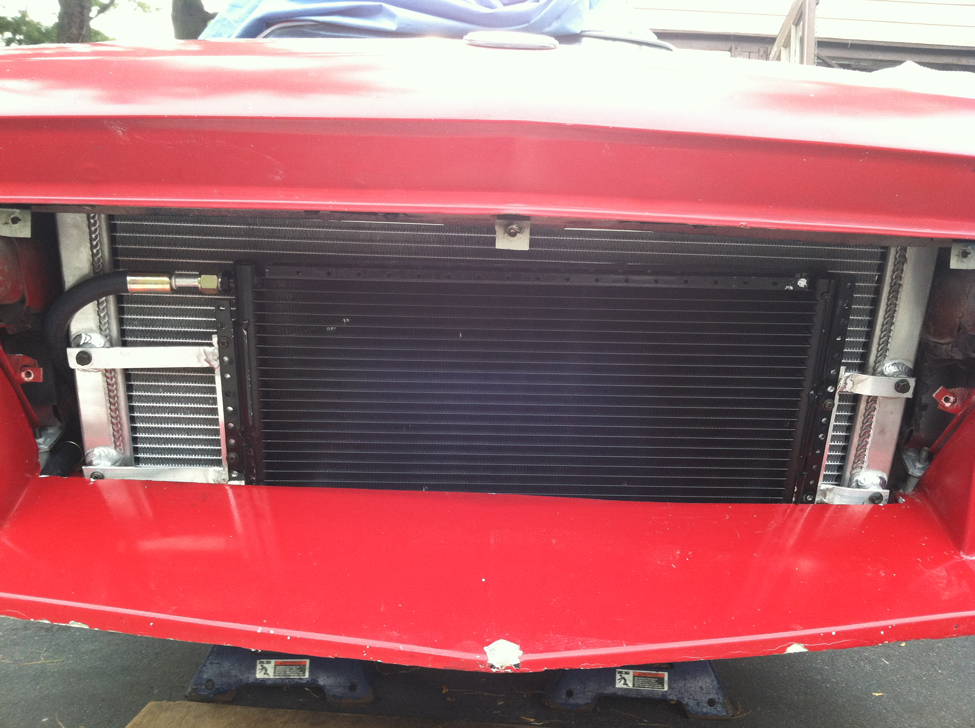
I'll be installing it soon, along with the AC condenser recommended by Larry.
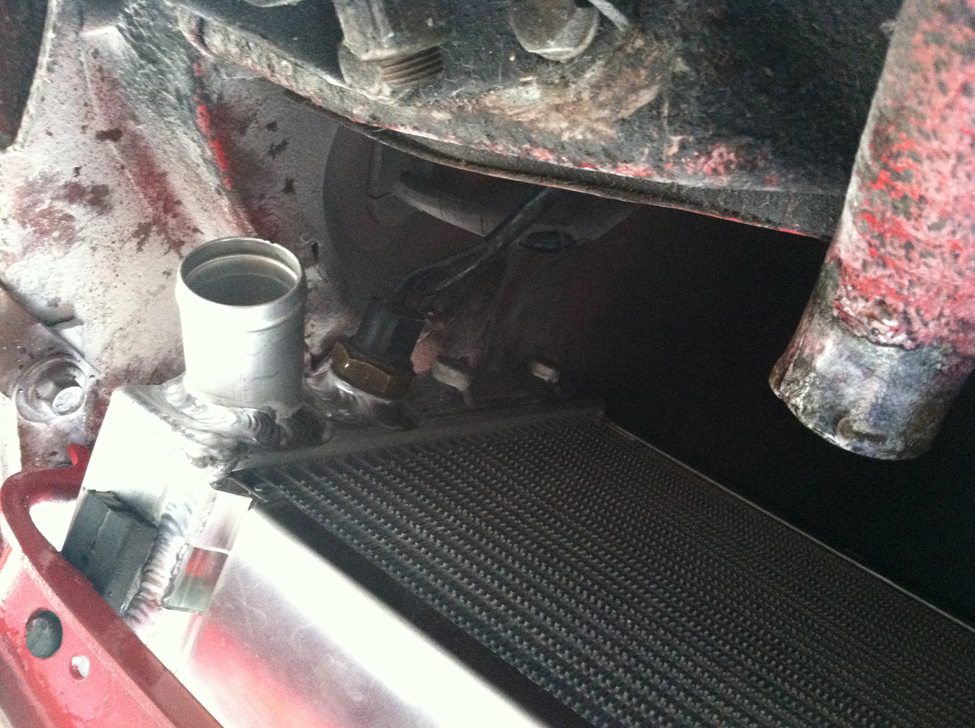
Sized overall to the VW specs, but with proper 1 3/8" I/O to match Fiat spec, and 22mm sensor port.
I'll be installing it soon, along with the AC condenser recommended by Larry.
Last edited:
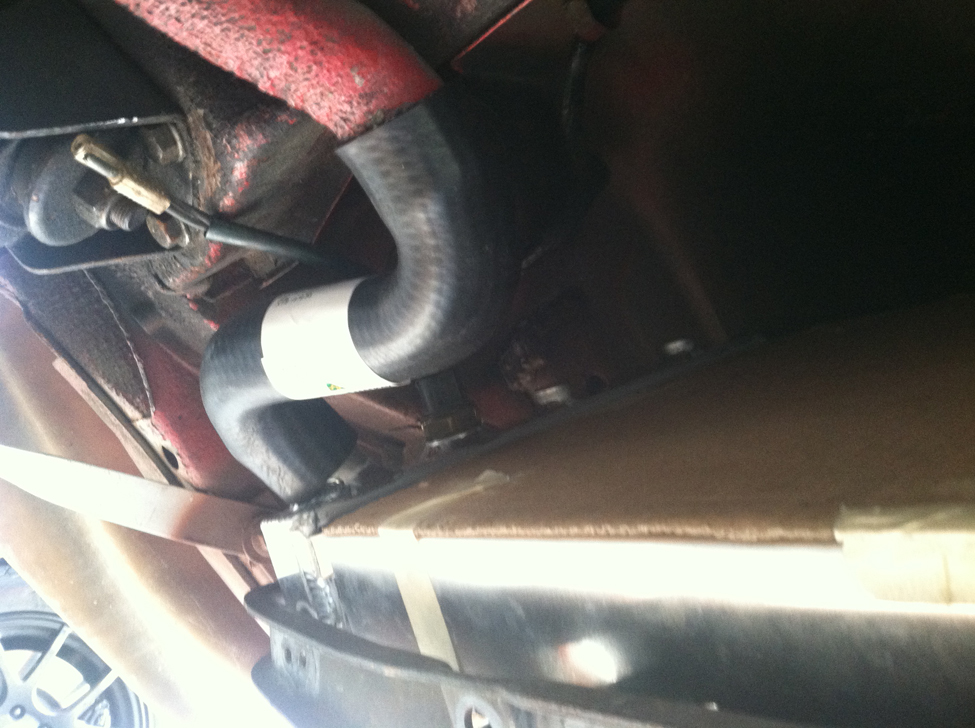
") ). Even running to 9K rpm & with 450AWHP, coolant temps didn't rise more than 9ºf from start to finish on extended pulls, so I think it will do the job in the X1/9.
). Even running to 9K rpm & with 450AWHP, coolant temps didn't rise more than 9ºf from start to finish on extended pulls, so I think it will do the job in the X1/9.