
You are using an out of date browser. It may not display this or other websites correctly.
You should upgrade or use an alternative browser.
You should upgrade or use an alternative browser.
Serpentine Belt / Pulley Conversion?
- Thread starter lookforjoe
- Start date
-
- Tags
- box engine
rjplenter
True Classic
Who you callin' crazy???
:wacko: hehehe
For me it's mostly a case of "can it be done?" I have no intention of coming up with a kit others can use, simply extending on Hussein's A/C version with a non-A/C version.
I find it an interesting and seriously fun exercise. Will it be a better system? Don't know. Maybe someone else can come up with a better version that could be offered as a kit. Ultimately I think the biggest benefit will come from a modern alternator adjustment system.
Cheers,
Rob
lookforjoe
True Classic
Any updates to your tensioner setup?
rjplenter
True Classic
Why yes...
I bought a $6 belt as a reference.

I modified the 1500 timing pointer bracket as a mount for the tensioner bearing. http://xwebforums.com/forum/index.php?posts/208288#poststop/
I'm happy with the pulley coverage I'm getting with this set up.
I will adapt this Toyota alternator bracket for the Fiat alternator.

Beats using a pry bar or large screwdriver to apply tension to the belt.
Obviously I still haven't found a machinist willing to turn down my crank pulleys. :sigh:
Cheers,
Rob
Any updates to your tensioner setup?
I bought a $6 belt as a reference.
I modified the 1500 timing pointer bracket as a mount for the tensioner bearing. http://xwebforums.com/forum/index.php?posts/208288#poststop/
I'm happy with the pulley coverage I'm getting with this set up.
I will adapt this Toyota alternator bracket for the Fiat alternator.
Beats using a pry bar or large screwdriver to apply tension to the belt.
Obviously I still haven't found a machinist willing to turn down my crank pulleys. :sigh:
Cheers,
Rob
Last edited by a moderator:
lookforjoe
True Classic
Obviously I still haven't found a machinist willing to turn down my crank pulleys. :sigh:
Rob, you can always mail it to me & I'll have my guy do it, if you want to.
rjplenter
True Classic
I think I'll take you up on that offer Hussein!
At least your guy is experienced. The last "machinist" I went to wanted to turn down the original crank pulley (after attempting to grind off the timing marks) first despite my protests. He spent, and I'm not exaggerating here, 30 minutes trying to work out how to configure the blade on the lathe. He would line it up, realize it was wrong, loosen everything and change it, and it would still be wrong because he kept going in 360 degree increments. Finally I couldn't take it anymore and told him not to bother!!! So I will PM you about shipping and payment details.
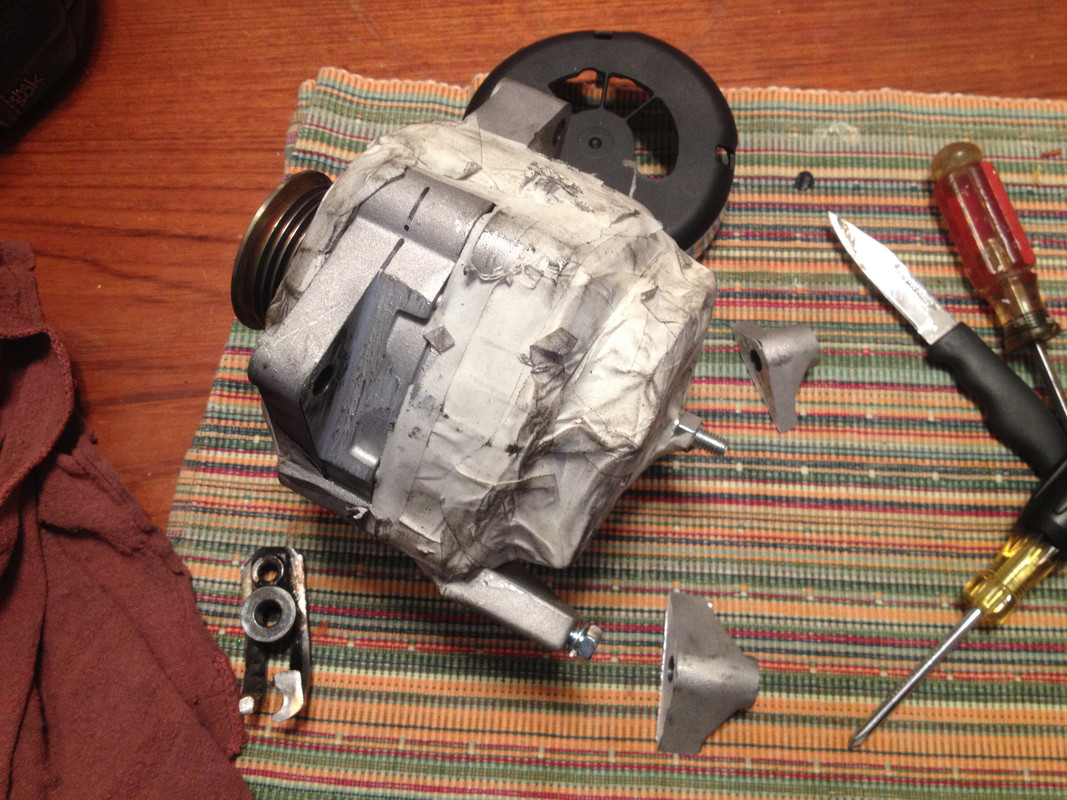
In the meantime, I made some progress today with my Toyota alternator adjuster bracket. First I removed the alternator from the Fiat, the one I have been using previously is the dead one which I bolted on just for mock-up purposes. This alternator also has the correct shaft diameter for the pulley I bought.
Even with the slightly smaller crank pulley in the works this $6 belt is clearly a little short.

This looks good. I added a nut (the slightly darker one in the middle) because this bracket is designed to add tension in the opposite direction.
Hmmm, my alternator is not Yves-worthy, I better fix that.

Now I just need to fabricate a bracket to mount this end to the water pump housing.

Cheers,
Rob
Rob, you can always mail it to me & I'll have my guy do it, if you want to.
At least your guy is experienced. The last "machinist" I went to wanted to turn down the original crank pulley (after attempting to grind off the timing marks) first despite my protests. He spent, and I'm not exaggerating here, 30 minutes trying to work out how to configure the blade on the lathe. He would line it up, realize it was wrong, loosen everything and change it, and it would still be wrong because he kept going in 360 degree increments. Finally I couldn't take it anymore and told him not to bother!!! So I will PM you about shipping and payment details.
In the meantime, I made some progress today with my Toyota alternator adjuster bracket. First I removed the alternator from the Fiat, the one I have been using previously is the dead one which I bolted on just for mock-up purposes. This alternator also has the correct shaft diameter for the pulley I bought.
Even with the slightly smaller crank pulley in the works this $6 belt is clearly a little short.
This looks good. I added a nut (the slightly darker one in the middle) because this bracket is designed to add tension in the opposite direction.
Hmmm, my alternator is not Yves-worthy, I better fix that.
Now I just need to fabricate a bracket to mount this end to the water pump housing.
Cheers,
Rob


lookforjoe
True Classic
Nice work!
The only thing I would add is an extra plate to turn the "L" bracket into a two point mount on the water pump housing, to prevent it from 'cocking'.
The only thing I would add is an extra plate to turn the "L" bracket into a two point mount on the water pump housing, to prevent it from 'cocking'.
kmead
Old enough to know better
Nice work!
The only thing I would add is an extra plate to turn the "L" bracket into a two point mount on the water pump housing, to prevent it from 'cocking'.
Agreed, there are the other two holes there that would serve well, you will need some shims to bring them all up to the same height of course
lookforjoe
True Classic
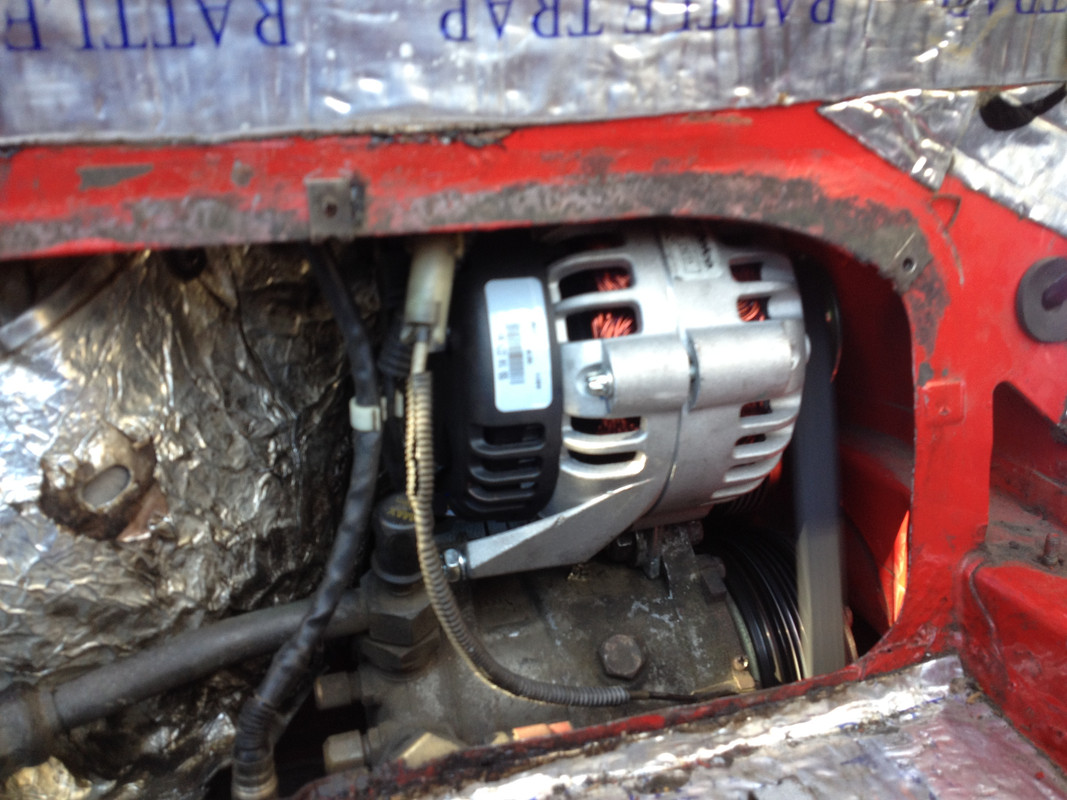
Just to allay any fears that the serpentine setup could possibly have interference issues with the frame
plenty of room to push the 5 rib belt up into place between the pulleys and the frame, even though it appears otherwise in the pics. 5 rib Belt rides in on the 6 rib crank pulley & alt, and outwards on the AC pulley for proper alignment

(+) batt cable from starter to alt is uprated & relocated along inner fender well, instead of over the engine, seems safer to me.


Mine (Serpentine belt, Gates K050523) ended up being tighter than in the test mock ups - the AC compressor could not be positioned less than 1/2 tensioned in it's adjustment range due to interference with the Allison Header O2 bung - this meant the belt is pretty much tensioned with very little push in on the alternator.
The lower timing cover needs shaving to clear the inner lip of the crank pulley in the bottom forward corner, and along the diagonal rise to the rear to clear the serpentine belt.
The down side to this is that there is maybe not enough room between the alt B+ terminal and the R134a line fitting to get the adaptor on if I need to service the AC again.
If I replace the belt down the road, I'll go 5-10mm longer.
plenty of room to push the 5 rib belt up into place between the pulleys and the frame, even though it appears otherwise in the pics. 5 rib Belt rides in on the 6 rib crank pulley & alt, and outwards on the AC pulley for proper alignment
(+) batt cable from starter to alt is uprated & relocated along inner fender well, instead of over the engine, seems safer to me.
Mine (Serpentine belt, Gates K050523) ended up being tighter than in the test mock ups - the AC compressor could not be positioned less than 1/2 tensioned in it's adjustment range due to interference with the Allison Header O2 bung - this meant the belt is pretty much tensioned with very little push in on the alternator.
The lower timing cover needs shaving to clear the inner lip of the crank pulley in the bottom forward corner, and along the diagonal rise to the rear to clear the serpentine belt.
The down side to this is that there is maybe not enough room between the alt B+ terminal and the R134a line fitting to get the adaptor on if I need to service the AC again.
If I replace the belt down the road, I'll go 5-10mm longer.
Last edited:


lookforjoe
True Classic
How is that horizontal section connected to the vertical? Unless it's seam welded on the backside, I wouldn't say it will be stronger than the previous. Just added a bead over the seam would do it.
Your pulley should be done Mon/Tues, he called today.
Your pulley should be done Mon/Tues, he called today.
rjplenter
True Classic
Welded
Tiny tack weld on the front then welded solidly on the back to keep a tidy look.")
Brilliant! Thanks Hussein.
Cheers,
Rob
How is that horizontal section connected to the vertical? Unless it's seam welded on the backside, I wouldn't say it will be stronger than the previous. Just added a bead over the seam would do it.
Tiny tack weld on the front then welded solidly on the back to keep a tidy look.
Your pulley should be done Mon/Tues, he called today.
Brilliant! Thanks Hussein.
Cheers,
Rob
lookforjoe
True Classic
Finally started the X a couple of days ago. I found that the belt alignment was off - -the alternator sat too far out

So, I removed the alt & had the backside milled an additional 1/8"

Much better now, however the AC compressor seems like its also set back about 1/16" - the belt is riding right on the outside edge of the pulley. So, I need to shim the compressor outward to improve the belt alignment.
So, I removed the alt & had the backside milled an additional 1/8"
Much better now, however the AC compressor seems like its also set back about 1/16" - the belt is riding right on the outside edge of the pulley. So, I need to shim the compressor outward to improve the belt alignment.
Dan Sarandrea (Phila)
Waitin' On Parts...
Belt Drive and Engine Build
Keep going, you're in the home stretch with both of these interesting projects!:excited:
Hopefully when it's "done" (is any X ever really done?), you'll post a "wrap up" with specifics about what went into the final product such as part numbers, sources, etc.
Keep going, you're in the home stretch with both of these interesting projects!:excited:
Hopefully when it's "done" (is any X ever really done?), you'll post a "wrap up" with specifics about what went into the final product such as part numbers, sources, etc.
lookforjoe
True Classic
I've been updating the info in the first post, to include parts used for the conversion .
.
Last edited:
lookforjoe
True Classic
Updating thread.
Switched to GM 335-1068 alternator back at the end of December . Larger casing means belt tension is now set using AC adjustment.
Using a PK 1300 Continental belt. EDIT - Continental PK 1345 (K505530) due to the smaller OD WP pulley.
With 'Sense" wire circuit connected to switched power feed formally used for ignition coil, now puts out close to 14v no matter what load is on it.

High load (high beams [100w], fan, AC, etc), at idle

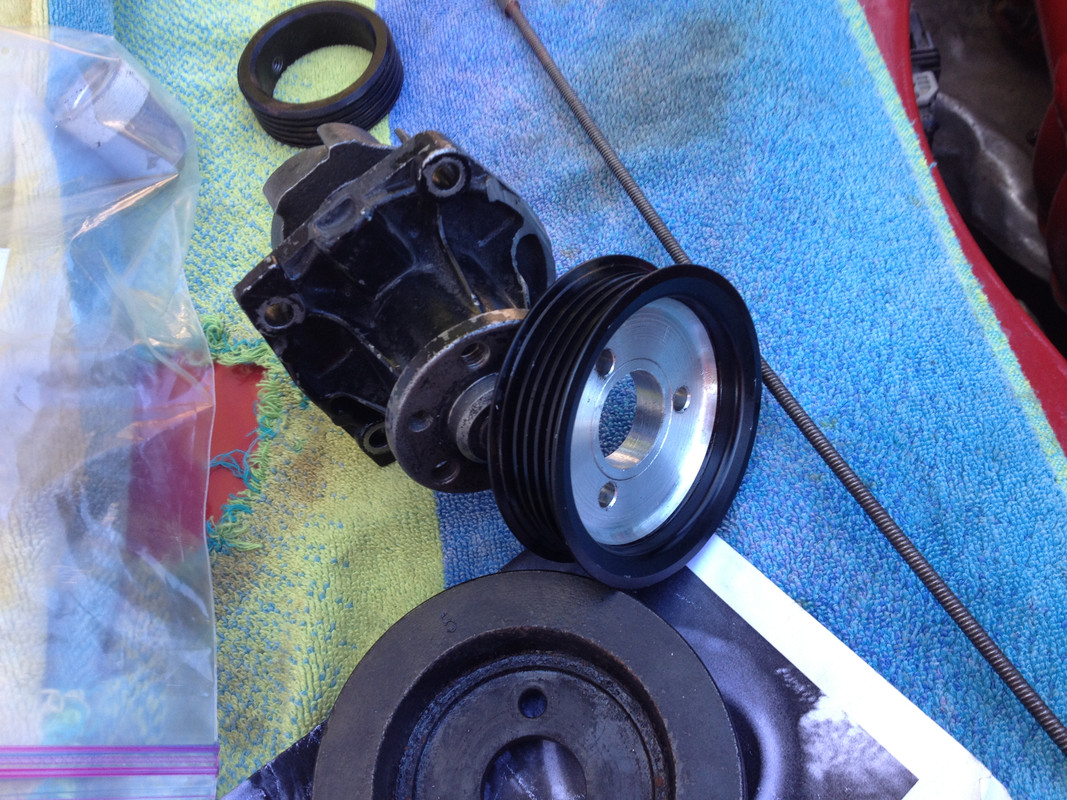
Smaller OD water pump pulley 5 rib 3.25"

EDIT: Using a GAtes K050530 (OD 53.52) belt with the smaller W/P pulley. upper idler pulley is a 2" Volvo T/Belt (all steel) tensioner pulley, not the Delco 36322 shown earlier. Need to revisit that.
Switched to GM 335-1068 alternator back at the end of December . Larger casing means belt tension is now set using AC adjustment.
Using a PK 1300 Continental belt. EDIT - Continental PK 1345 (K505530) due to the smaller OD WP pulley.
With 'Sense" wire circuit connected to switched power feed formally used for ignition coil, now puts out close to 14v no matter what load is on it.
High load (high beams [100w], fan, AC, etc), at idle
Smaller OD water pump pulley 5 rib 3.25"
EDIT: Using a GAtes K050530 (OD 53.52) belt with the smaller W/P pulley. upper idler pulley is a 2" Volvo T/Belt (all steel) tensioner pulley, not the Delco 36322 shown earlier. Need to revisit that.
Last edited:
lookforjoe
True Classic
I like the alloy insert in your water pump pulley. :thumbsup:
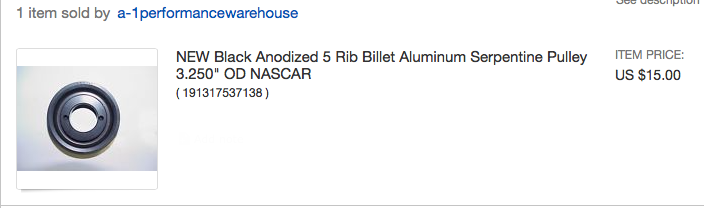
It's a billet aluminum pulley, it was listed as 'Nascar Billet 3.25" pulley" had to have an insert made & redrilled to fit the WP bolt pattern.
Last edited: