What did you do to your X1/9 today ?

Fun stuff

I just did mine too. Easy to take apart, not so easy going back together. Definitely practice getting the top (left) case half all the way mated together with the bottom before you put the Hondabond sealant on. Ask me how I know :mallet: What brand LSD did you go with?
 
K20 LSD

Yep, I hear that. I found that the big problem was that the shift forks would slide down while putting the case back together. Solution: I cut a piece of wood the perfect size to hold all of the forks in the neutral position where the shift mechanism attaches (smoothed the wood piece and cleaned it of course) then it slid right in. Pop the wood shim out once in place and all was good.

I went with the Wavetrac LSD. (cheesy PowerTV video here).

I was gonna go with the Quaife, but after some research and seeing this video, decided to give the Wavetrac a try. I'm sure it won't matter in my driving regardless. Figured having *any* limited slip diff will help in my style of street driving.
 
Last edited:
I have done several transmission rebuilds, four and five speeds, and after I have buttoned each one up I immediately start worrying if I got the interlock pins in and right.
 
Well made some progress. flushed out the nasty black stuff that used to brake fluid. Good solid brakes now. Was a good time to swap out for some used un-weather checked tires.

Thinking about DMV tomorrow to get the plates current.

IMG_0561.jpg

IMG_0560.jpg


IMG_0559.jpg


Not a lot of progress. But it's some, and it's forward progress.

Not to bad for someone with a new chunk of steel in the arm.

IMG_0556.jpg
 
Last edited:
Moved my Saratoga Top

Just moved....
Had to move my Saratoga Top, New in 1976, rarely used, stored in a Blanket since 1980!
All there. Weather striping coming free, whatever the glue they used in the 70's
is shot.
Every 5-7 years I wonder its Value.
LOL...at some point it is VERY Rare, then no one is left that's interested.:nuts:

Just moved it to another storage unit :sigh:
Not trying to make my Rent Payment, but it such a Cool Accessory !
...well cool on a Cali Night, not a Phoenix Day
 
Had the master and slave cylinders replaced, all new coolant hoses, fixed a gas leak, oil and filter change. THEN took it out for a nice drive on the North Shore of LI.


Here are some pictures of the bushing lube job. I did the fronts but have not got around to the ones on the back.
This is the dirty bushing. It has been in the car for about 6 years. the bushings started squeaking about a year ago and that is when I started squirting all kinds of different lubricants trying to stop the squeaking. The bushing look good enough to keep using. Only one had a slight split on the outer edge but I deemed it ok.

Here it is cleaned up. I used soap and water.

All greased up.

Cleaning the bracket and arm.
Radius bushings cleaned and ready.

Cleaning the flange. Put it all together and repeat on other side. Other than it being several hours work it seems rather anticlimactic. I didn't take a lot of pictures as it is a bit bothersome stopping every so often and taking off the gloves, making sure I didn't get grease on the camera, putting back on the gloves.

I used this stuff. I ordered it on line but I have since found that it is available at NAPA and most likely other parts stores as well as Wally world.
 
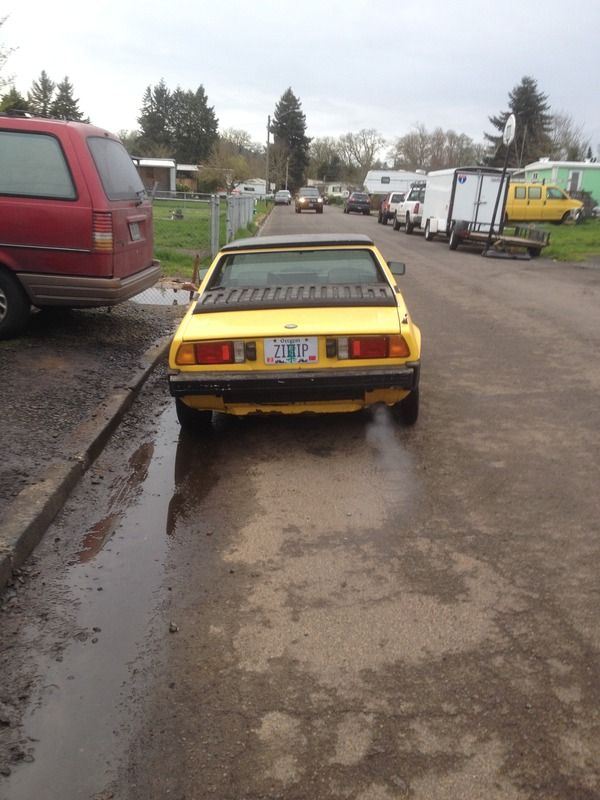
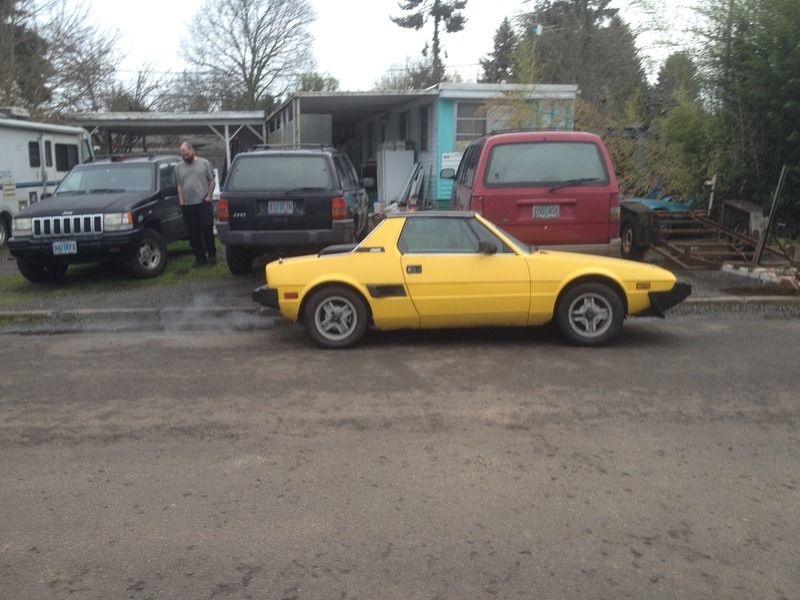
what I found for the day!

Well I am trying to get my X more in line for a road trip. The other day I decided to tackle the gauge cluster. Many of the lights were burned out, Fuel gauge in-op(reads full all the time) and all the screws were missing, clear plastic face has rounded stress cracks though the entire piece.

removed it and came into the house with it to clean, and L.E.D. the thing. I swapped fuel gauges from another cluster (other one looks better) and maybe the problem is on this end, ok done.

It lights up SOOOO much better now.

I installed it only to find the oil psi light is now on with the key all the time, Break light is on all the time, and now the charging system is no longer working. grrrrrrr ok it HAS to be what I just did.. ok charging, I remember this being talked about how the stock alt needs the dash lamp to work, so I swapped that back, still no go. (about now the sun is going down and I am working out side so in for the night to stew on it all.

This morning I tear into the rear access hatch to gain access to the wires on the alt, (at this point I am SURE it's something I messed up at the dash but I can't find it for the life of me. all the bottem bolts on the access hatch are rusted in three of them I was able to visegrip them to start them, then a screw driver, (one of them I had to grind the head off {I was able to extract it after the hatch was removed})

Just before I go to try to access the alt wires I take a close look at the belt (that is sitting VERY low in the pully) reach over and give the fan a fling and it spins,,,, oh my God The alt was working fine the day before I started the L.E.D. upgrade.... oh well easy fix (tightened the belt, re-started the car and now it works boy did I feel dumb, but three unrelated things stop at the same time I am fixing a 4th things.... ok off to town to get a belt and new hardware for the hatch. (Did you know those metric threads fit perfect into a standard thread pitch as well). (Did buy the metric thread and they went in perfect).

Ok.. Alt Check and fixed.

Now about that darn break light. Well I tugged and pulled, pushed and wiggled the e-break thinking maybe I did something or nudged that switch.. nope.. Pull the wire from the break fluid holder and the light on the dash goes out.. (what the heck) take the cap off and the float it no longer attached and is stuck in a corner of the holder, (bring it back to the center where it will push up on the switch in the cap and now the light it out) (ok not really fixed but some time down the road. not an issue and the light will come on if I get low on fluid so I'm ok with that one).

break light,, ok check.

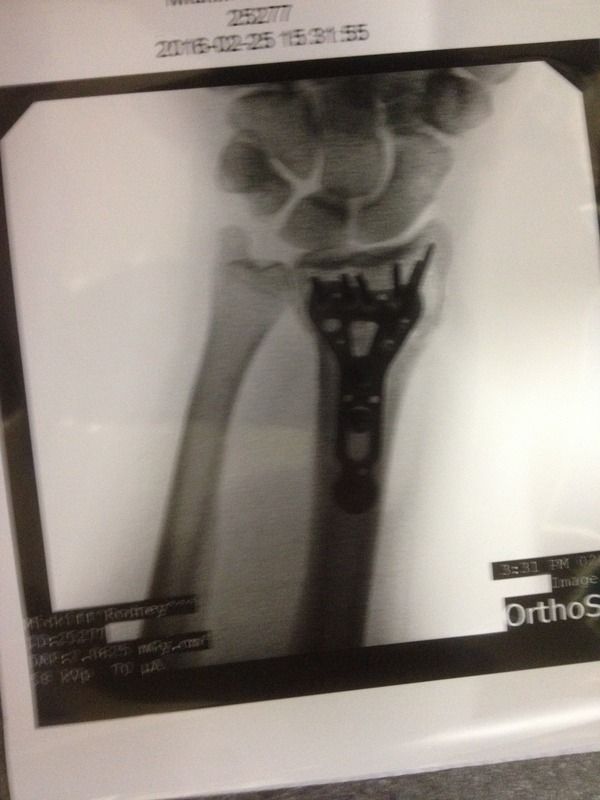
Ok oil light. Well next step would be to unplug the sending unit and I can't quite reach it with my left hand (I"m right handed and recovering from a broken right wrist so in the brace is NOT going in their).
both seat tilts are rusted in place have not been able to tilt the seats. so another trip into town got some wd-40 penitrating oil, (and some hardware to install the drivers door card (more on that later))

I soak the working parts a BUNCH. Carpet is already trashed, seats are nasty so as long as I don't get the oil where it's going to get on the clothing I am good with stains under the seat. I am sure their already their. After a lot of soaking I still can't move them by hand, so I get a large pry bar and tell My self be gentle don't break them if they don't move a little today maybe in some time they will, I get a little wiggle, more oil, more wiggle (got them and the seat belts freed up!! So now I can get into the spair tire compartment, WHAT THE HECK their is a brain box, must the Fuel injection controler. ok focus Rod, focus get the access to the dizzy removed and I can unplug the oil sending unit and the flipping light goes out......


Grrrrrrrrr Three totally seperate systems all malfunction at the same time I update the dash board... ?? anyone here good with math. what are the chances!!!.

When I was in their I also swapped speedo's As the old one I could not re-set the trip meter and I don't know if I have a working fuel gauge yet so next best is a trip meter.

The speedo I removed had two wires going out of it (one went to ground on the cluster) (the other Yellow with a red strip went behind the radio to a screw together connector that I sorta remember seeing things similar on my 79. (I am guessing that has something to do with the mileage counter to do emissions maintenance. (If anyone knows please confirm) I have not been able to test the speedo yet.) I think I saw the mileage counter behind the ash tray in the center console. I f that is indeed what that is I should be able to safely removed it.

I did get the drivers door card installed and looks way better then a bare door (turns out 1 of the 3 screws is stripped for the arm rest) so I will be going back in their, but the power windows now work.

Did not take a lot of progress pictures (should learn to do that) Kinda feel a little embarrassed with the quality of the work some posters put. I hope to get part that good but this is what I got and doing what I can with what I have!!

0403161827.jpg

unplugged the wiper motor (you know how nasty dry wipers with stuff sitting on them sound when your working on the dash and bump the wiper switch!!

0403161826.jpg


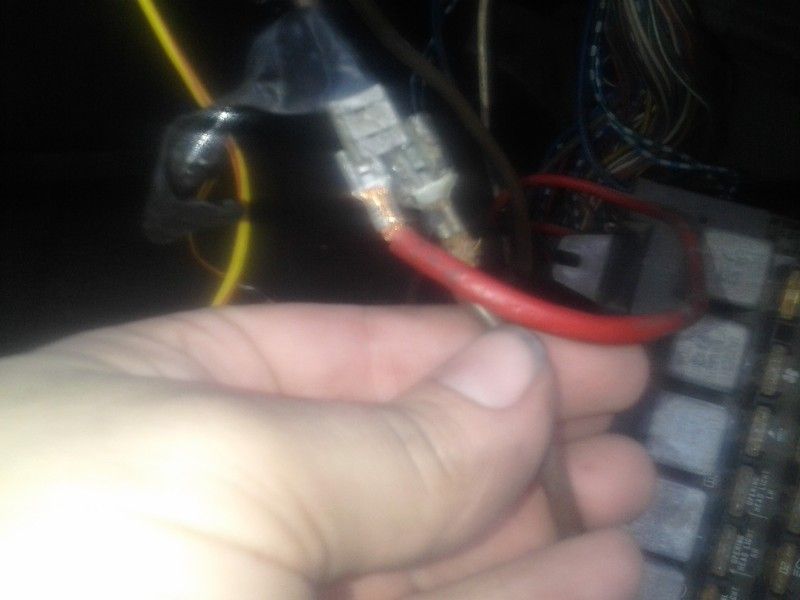
I did find a posting (can't find it now of course) where this set of three wires is soldered into a round terminal (where is the round terminal then supposed to go) And where is the best place to add another power wire to the fuse panel. I will be using relay's to take the head lights, wipers off the stock system maybe the rear defrost, head light motors and heater fan).

0403161826a.jpg


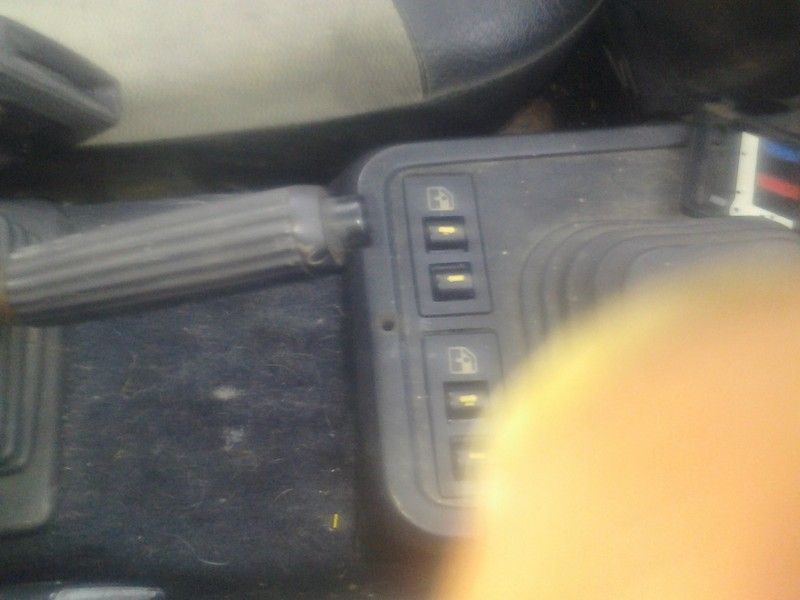
I did take the windows switches apart as described here (thank you very much for that great wright up. I am sure I would have destroyed at least one before figuring out how to take them apart! I was surprised how well Vaseline did for cleaning up the appearance of the switch. Filled the contacts and a little lube at the movement points and they work great (still think I am going to do the relay upgrade though was not supper impressed with the voltage at the motors)

0403161824a.jpg

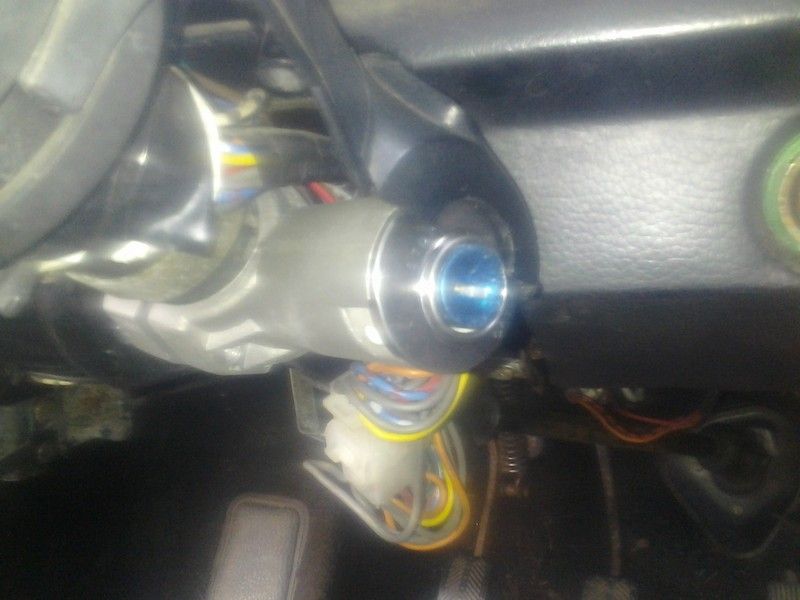
Kinda what started this part of the adventure removing the toggle switches and installing a NEW after market ignition switch. (though I did remove the only start once "safety" fetcher) and no key in the ignition harness, I would have unplugged that if it had it before anyway).

0403161825.jpg


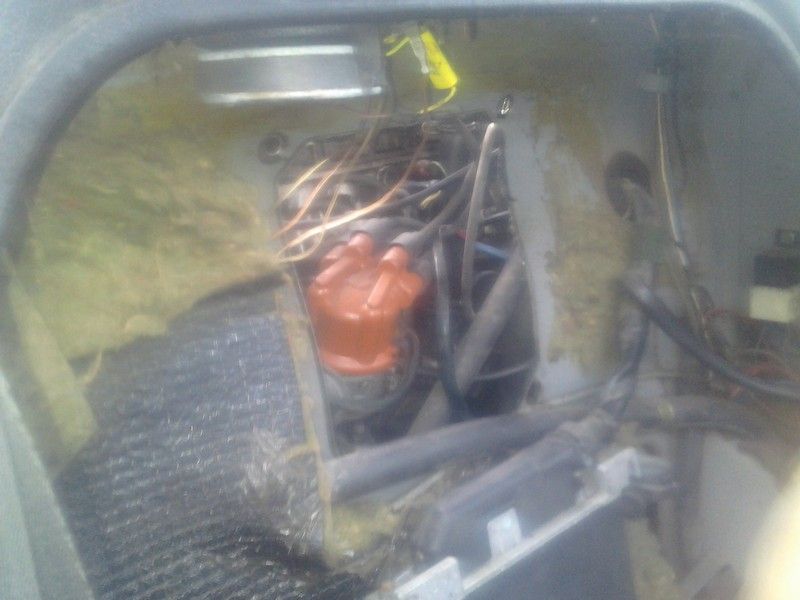
somewhere back their. their is now an open hold where the oil sending unit used to be. need to replace it. I don't think it "needs" to be a fiat part it just run's an idiot light. Not sure if you can see it their is an uninsulated connection I need to check into Blue wire on the right of the picture.
0403161824.jpg

Still need to take it off again but I just had to put something together!!! It already had holes for screws so I got new screws and attached it the same way it was before.
0403161823.jpg

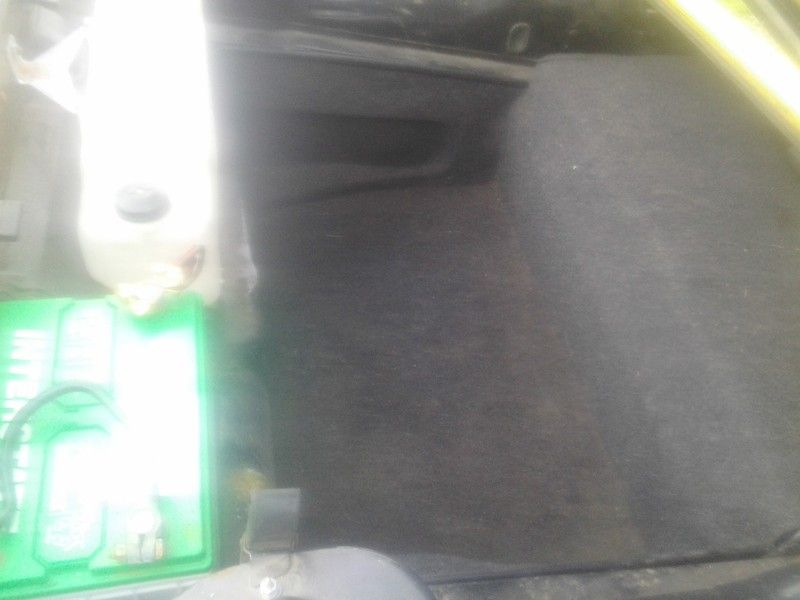
Boy sun glare is bad. but It still has the frunk carpet and vacuumed out nice and found no rot under. (a few plugs were missing that I think helped to keep the frunk drained.

Very pleased that I have found VERY little in the way of PO wire cutting/splicing!! even the after market radio was installed with spade connectors into the harness connector! (would love to find a harness to plug into that!)

Any thoughts, sugestions, see something I missed. please say so!!

I am feeling SOOOOO much better then last night!!
 
Last edited:
cylinder head removal

Last nite, I removed the cylinder head on my 128. Dropped valve was making all sorts of fun noises. On to cylinder head work...
 
finished replacing the 4 injectors, replaced the injector cooling tubes that were missing, fixed that fan, then the radiator fan.

Then to finish off the day. installed lights in the car port so I can work after dark if I chose. (next but to do is under the front.. to dark time to go inside and call it a night!)
 
got a few more things done today. still more to do.

made a LOT of progress today. Fan indicator works now (that beat Me up) wanted to use the old o2 light but it's ground switched and I did not want to hack up the circuit board. so I used the seat belt light (and robbed a plastic from another cluster now it's yellow with the pic of driving lights).

Both door card's installed with all three bolts holding the arm rests on (2 broken) (1 striped out) (I had the heli coil!!) stereo working though only the rear deck speakers and they are not very good) dash all together safe the glove box lock has an issue.

As per your warning I pulled the fuse panel plastic and drilled holes in the bottom. no way will it hold water now. But boy what that a job putting back together.

1 more screw for the under/over wheel plastics.

Was going to drive it. But some one was listening to the radio now that it works and forgot to put the battery charger on it.. (drrrrr)

Might have to pull the passenger door panel and adjust the window will see if it wind whistles.

You know the tail lights will not turn off with the switch when the battery is low.. kinda thought that was strange.

Oh and I am going to add a fuse or something. the brown/red wire coming off the battery is an UNFUSED wire.
 
Just got home from the fiat gathering in Washington. Zip ran great!! Did develop a small water leak. Had to add a gallon before we left the event. (and another galleon at another stop) but temp never got over 190 (actually ran at the lower mark most of the trip) even the wide open 2 mile stretch when I was almost home. (I just had to do it).

The new purchase was a BLAST!!!! to drive with the wide tires, and header it feels to have a LOT more power.

http://xwebforums.com/forum/index.php?threads/29936/
link to the car. All the custom lightened parts that were custom made for this car were very well done!!
I did have to replace the motor cycle battery the next day to make it to the show. (but it did start for the sale. and the car drove great!)

I will be turning it back into a driver car with parts from parts cars.


It was great to see how interested people were in the little blue car still covered in moss/fir needles (though a lot of them entered the cabin when I opened the vents when on the free way). Will post some pic's later. (after midnight so off to bed).
 
Last edited by a moderator:
Haven't done much this week except order parts. Here's my list. Bigfoot strut doublers, carb rebuild kit, cylinder head tool set, steering wheel boss, enamel emblems, 4qts Redline MTL, GM 10-12Si 1 wire 120 amp alternator, and still deciding on a set of BWA sport stars and a set of 3 chamber headlights and plug in relayed harnesses. Oh and Mark fixed my account so Eastep is back and no more TheAmishSasquatch :grin:
 
A ton of electrical work

I installed a new fuse block


As found by a forum member.

I also fixed the courtesy light, the low speed for the def. fan, and got my retro fitted clock to work properly.

At least for the time being I think all the electrics are currently working, but as we all know, that won't last long! :laugh: :mallet:

Cheers,

Rob


Anyone else ever have this happen? There are a lot of hills here and with out compression to help hold the car in place I tend to ratchet the emergency brake pretty hard. As usual it broke when I needed it the most but I managed to chalk the wheel against the curb and get the brake pulled to some degree. Getting it to release when I was ready to go home was tricky though. Luckily I had a spare so it was just an R&R job. I managed to do it under an hour with out loosening the cables by using long forceps.
 
Auto Shop

Sam,

Can you steer me in the direction of the auto shop you use for this kind of stuff? I'm handy enough to do basic maintenance and some mechanical repairs, but I don't have the knowledge or skill to replace masters and slaves. Thanks!

-Bill
 
Put my 74 X on a flat bed tow truck today

It is off to get a nice paint job! The purest won`t like it, but you`ll know it`s mine! Millennium Yellow (2000 Corvette Yellow) with a 12" with 1/2" yellow and 1/2"black stripe down the center in Tuxedo Black (ford metallic black/gray). All clear coated. Carbon fiber side mirrors and carbon fiber rear spoiler and, naturally, carbon fiber license plate frames. Oh ya, also a carbon fiber muffler (you will see it through the bottom vents). Getting new tinted windshield installed so the area around the wind shield can get cleaned-up and sealed well. I have had this car since about 1980 and over the past 3 years have rebuilt the entire car! Every mechanical part is new or rebuilt back to new. Mild motor, 1300, big valve and ported euro head, 35/75 cam, computronic distributor, Allison`s header, dual 36 webers (still working on the webers) koni adjustables, and wilwood front brakes. In all the time I`ve owned this car I have driven it less than 100 miles.
 
Back
Top