New member introduction and car restoration.

Brayden_connolly

True Classic
Hello all, my name is Brayden Ive been a part of the Fiat club for many years but never created an account until recently. Most of you have met me at FFO or at Midwest Bayless working on the race cars. I currently have three Fiats a 1971 850 Spider, a 1979 ITC prepped X19 and a 1985 X that I just finished restoring.
 
Last edited:
IMG_20150326_172812630_zpsol9zcvqm.jpg

IMG_20160417_143209703%20-%20Copy_zpsqc8uu7d8.jpg
 
This is how the car looked when I bought it in March of 2015 it had suffered a hard life in Michigan but only had 44,000 original miles and some decent looking shock towers so I decided to get it up and running. It was rough but had potential and after cleaning out all the nests replacing the starter and giving it some fresh gas she fired right up.
IMG_20150309_180426396%20-%20Copy_zpskwzccgwz.jpg


After replacing the floors adding a few personal touches and giving it a very good cleaning here she is a few months later at the Midwest Bayless open house with the 850. This was a few weeks before I bought the ITC car.

IMG_20150606_105001666%20-%20Copy_zps72e6evj0.jpg


Fast forward another few months I decided to remove the bumpers and install some scorpion wheels.

IMG_20151126_135740244_HDR%20-%20Copy_zpsumgrelqq.jpg


And again a few months later I decide to cut the rusty fenders off and put PBS flares on the car so I called Diamond Racing and got a custom set of 15" wheels. The fronts are 15"x7" and the rears are 15"x8".

IMG_20151217_103844173%20-%20Copy_zpssgwlu3ad.jpg
 
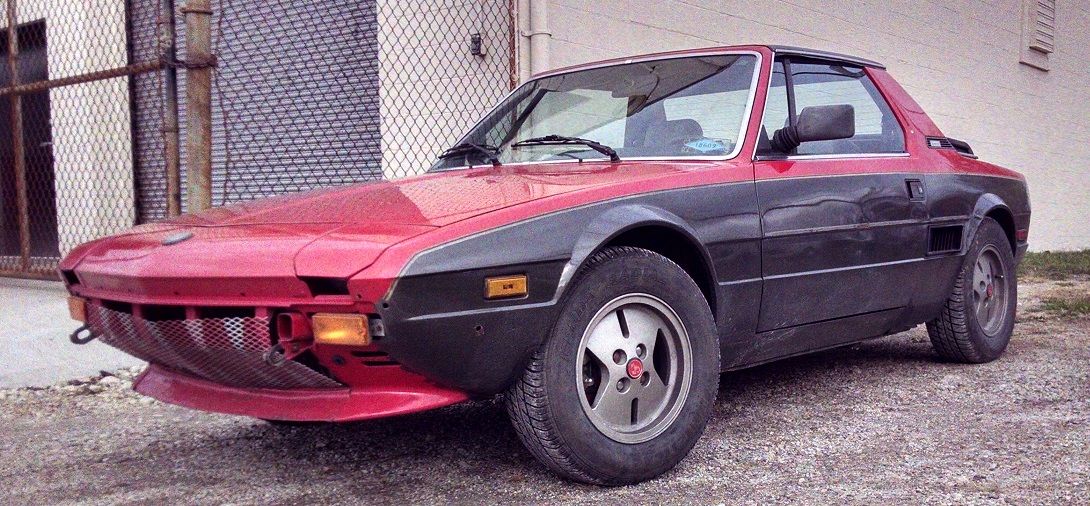
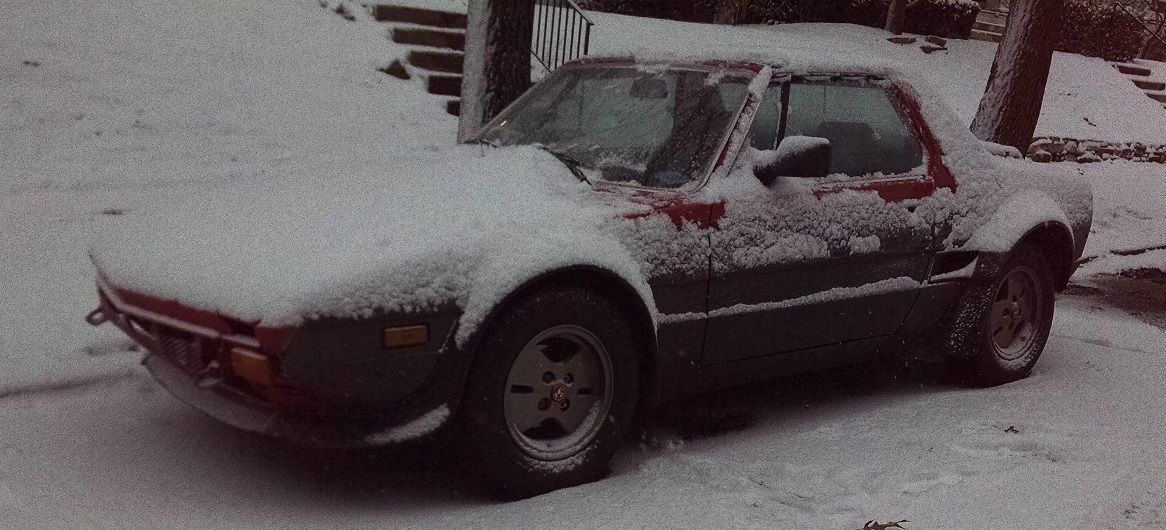
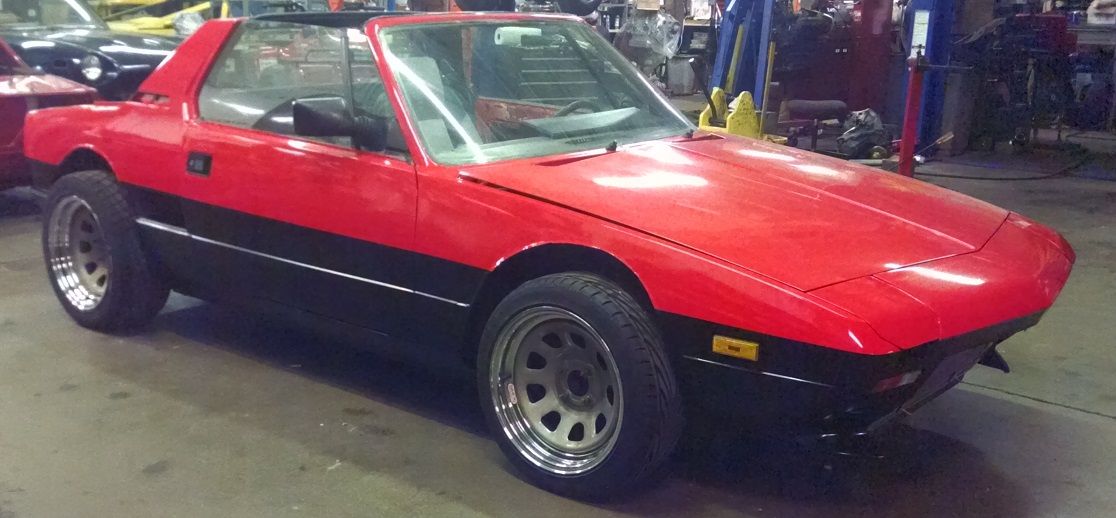
Unfortunately we have winter here in Ohio and my beefy summer tires weren't cut out for the snow so back to the Scorpion wheels it was.

IMG_20160112_080819636%20-%20Copy_zpsm7dvm4tg.jpg


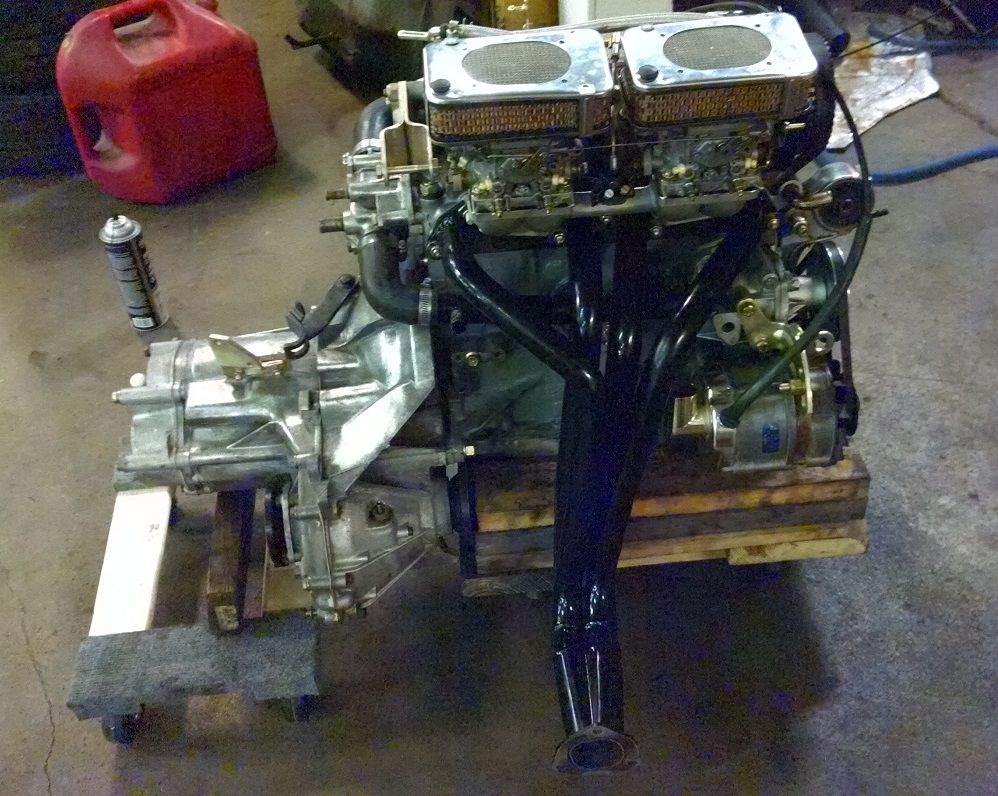
While my poor x19 was sitting outside in the salt and snow I was in the garage building a more powerful engine a few of the things I did include an over bore to fit 88mm 11-1 compression pistons, lightened connecting rods, lightened flywheel a ported and polished big valve head (39mm intake) a PBS 110 S2 cam and adjustable pulley, a set racing headers and the cherry on top, a set of 40 DCNF carbs.

IMG_20160510_213626709%20-%20Copy_zpsdgv6ime6.jpg


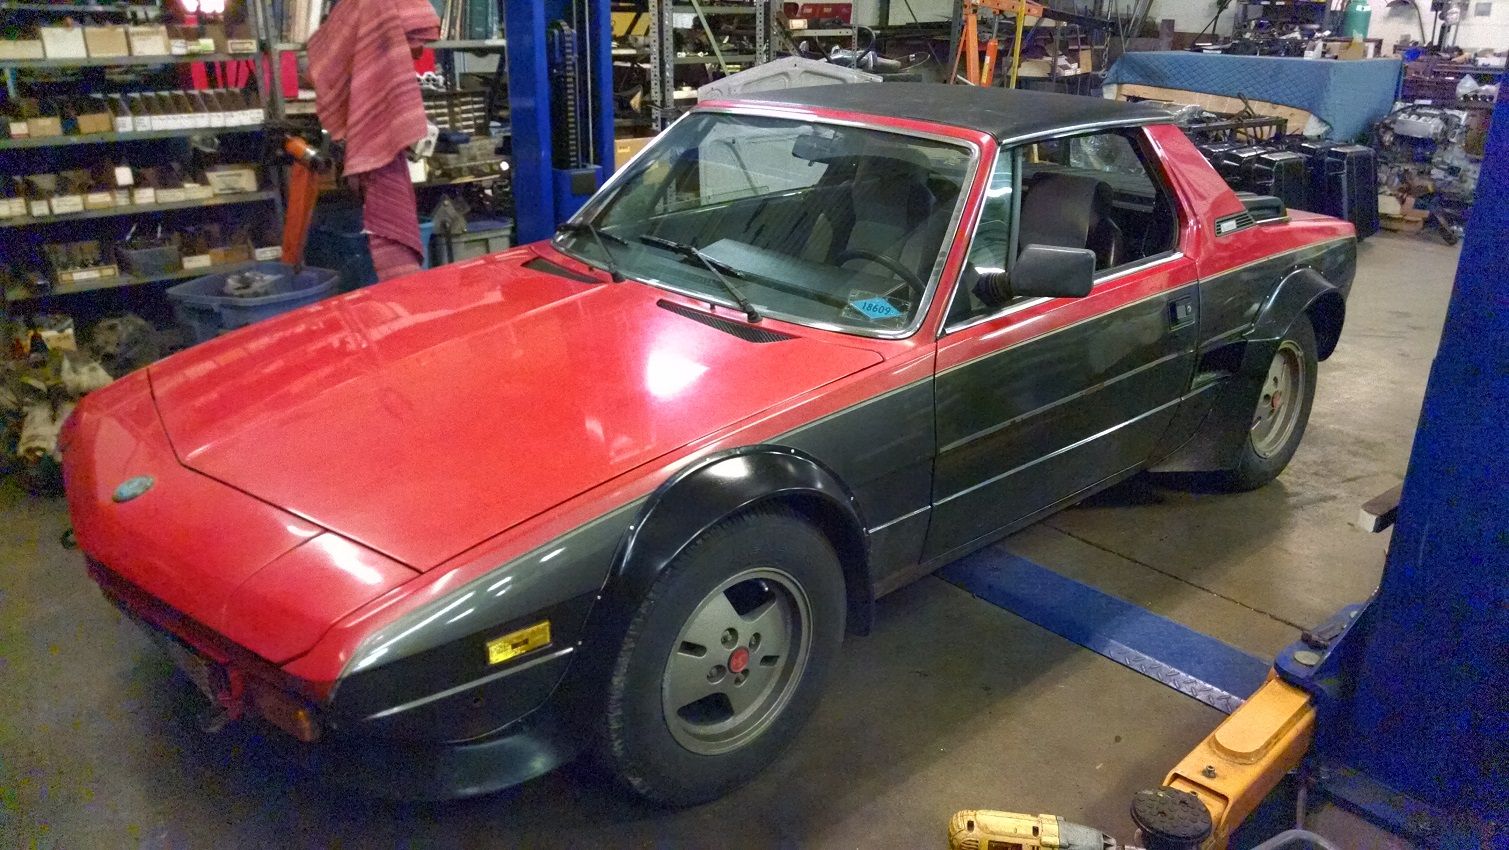
once the motor was finished I decided while the car was down for a bit It wouldn't hurt to do some body work, the original plan was to fix a few rust spots and give it a quick paint job (surprise that plan didn't last long :rolleyes2:) 
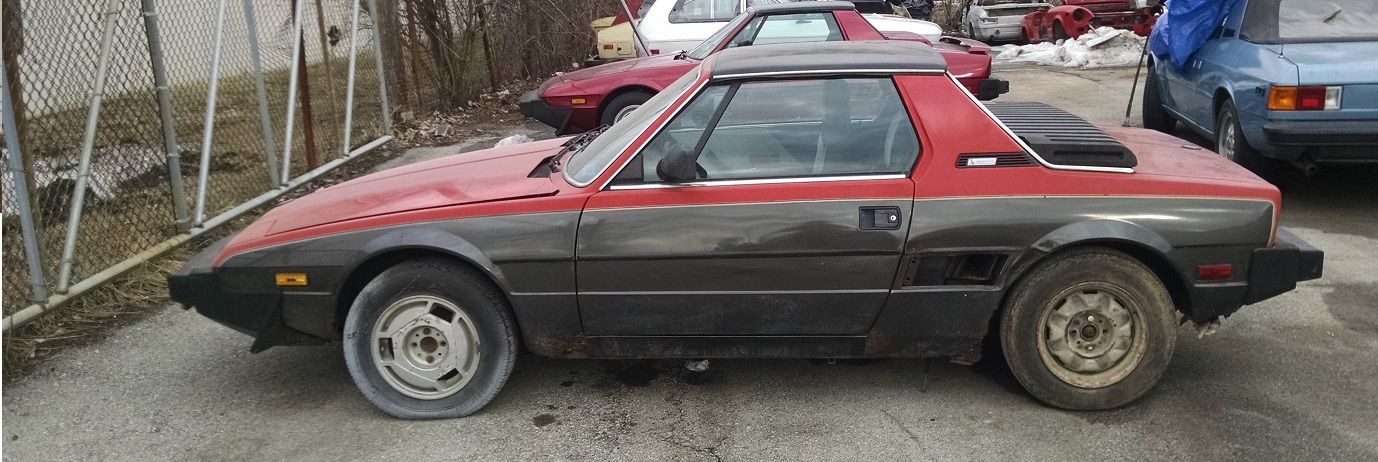
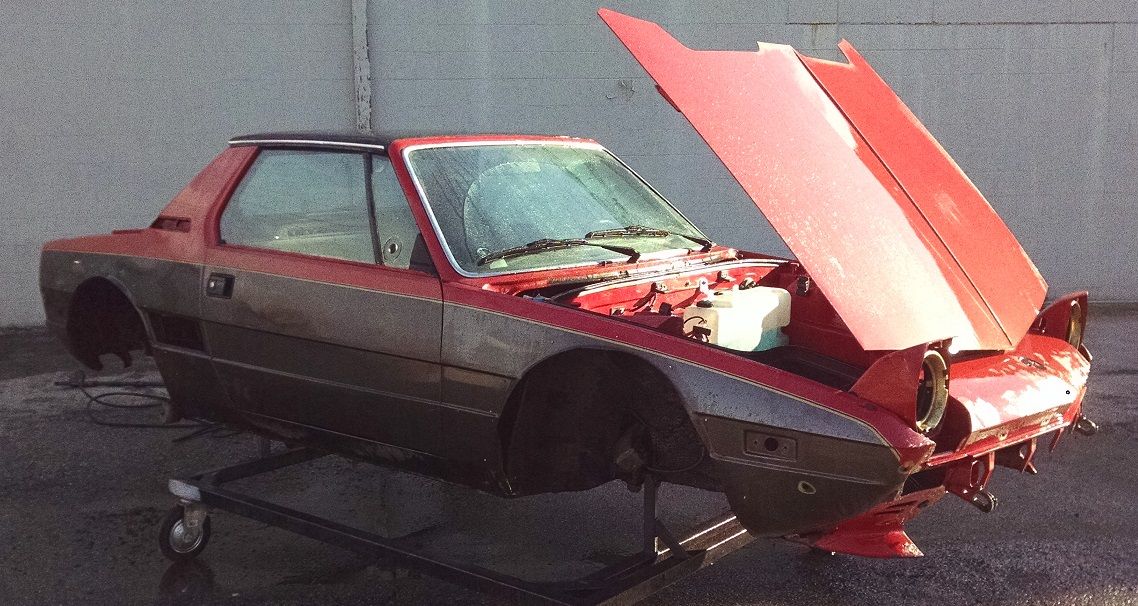
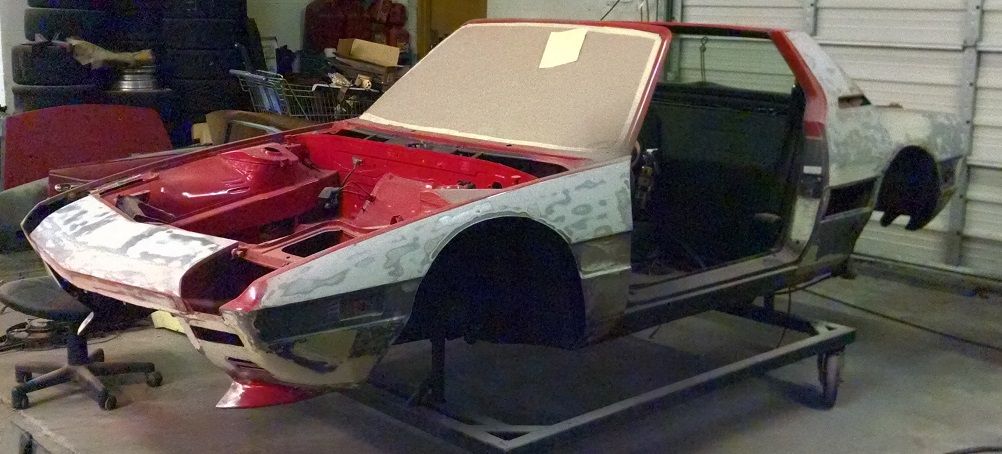
this is what she looked like on March 18th 2016 just before I began pulling it apart.

IMG_20160318_172655640%20-%20Copy_zpsqwyqeb6k.jpg


and here it is the next day after being power washed

IMG_20160319_181145634%20-%20Copy_zpsbeykpzzv.jpg


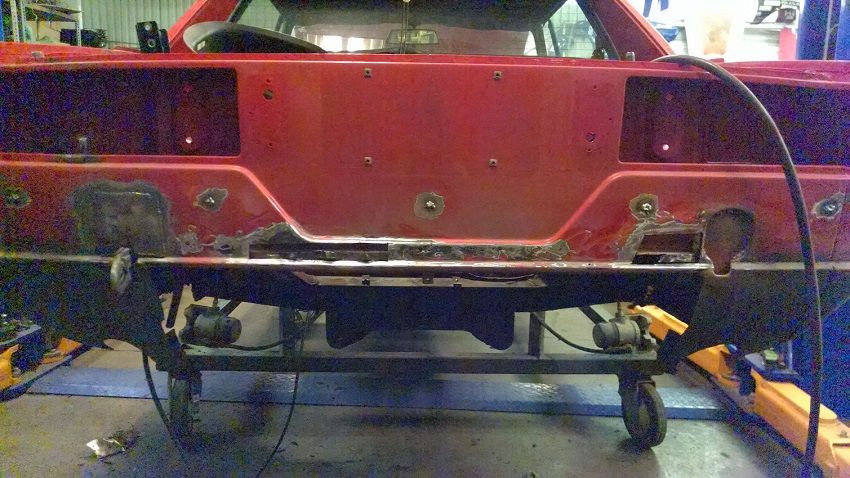
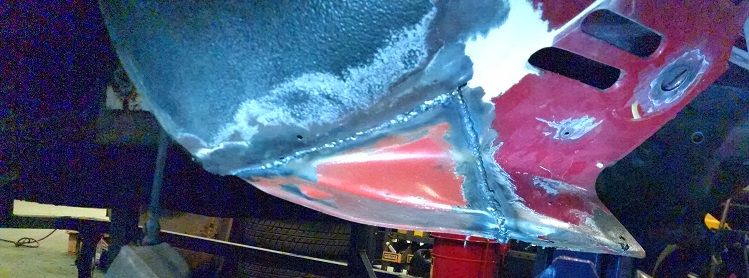
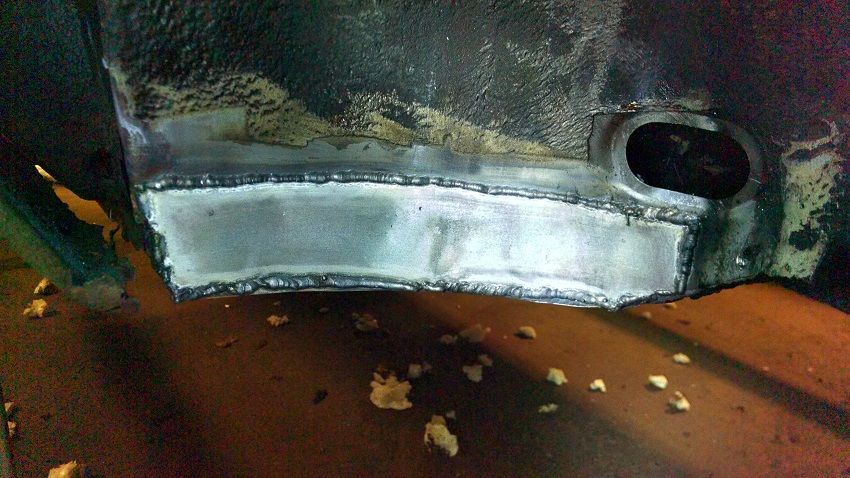
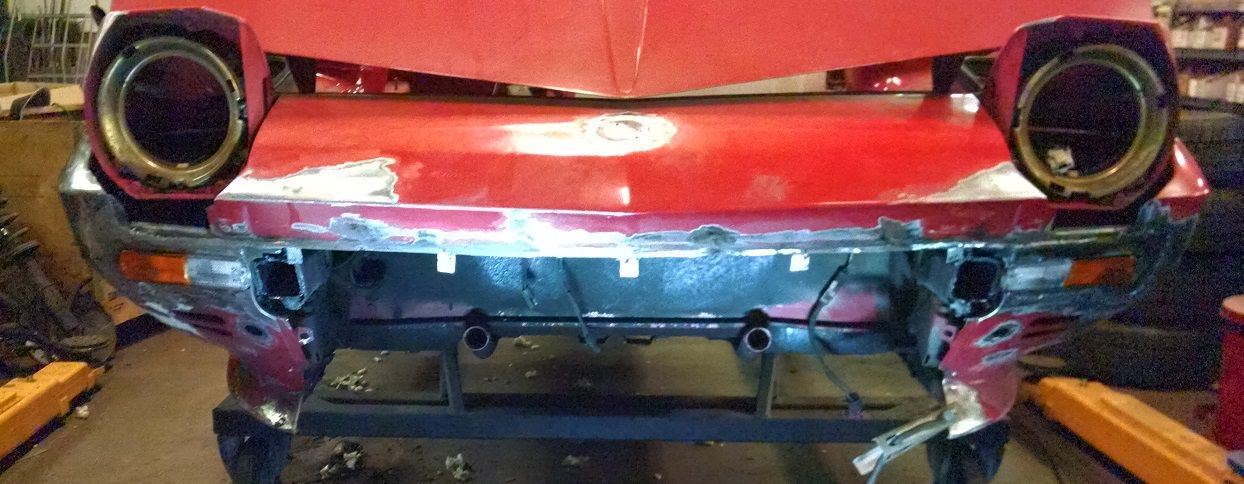
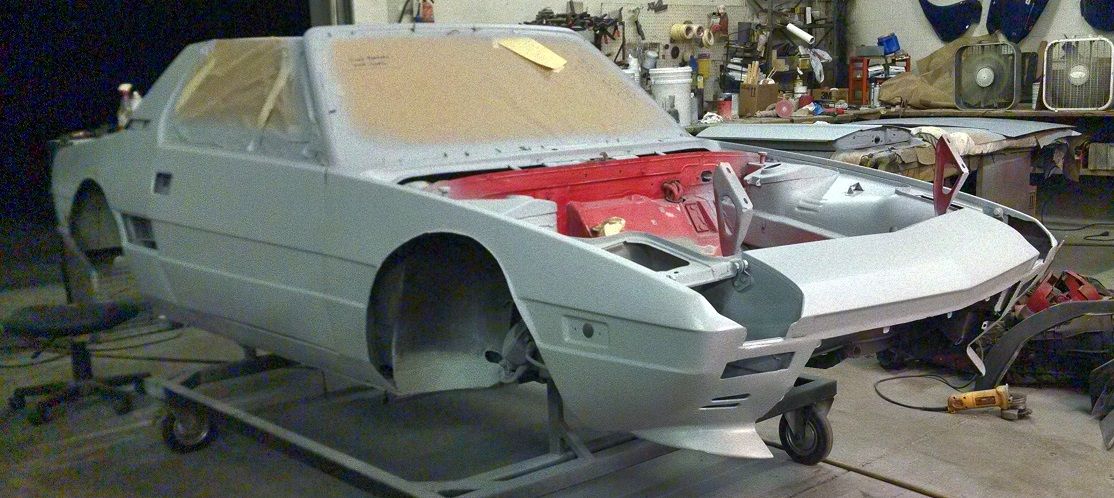
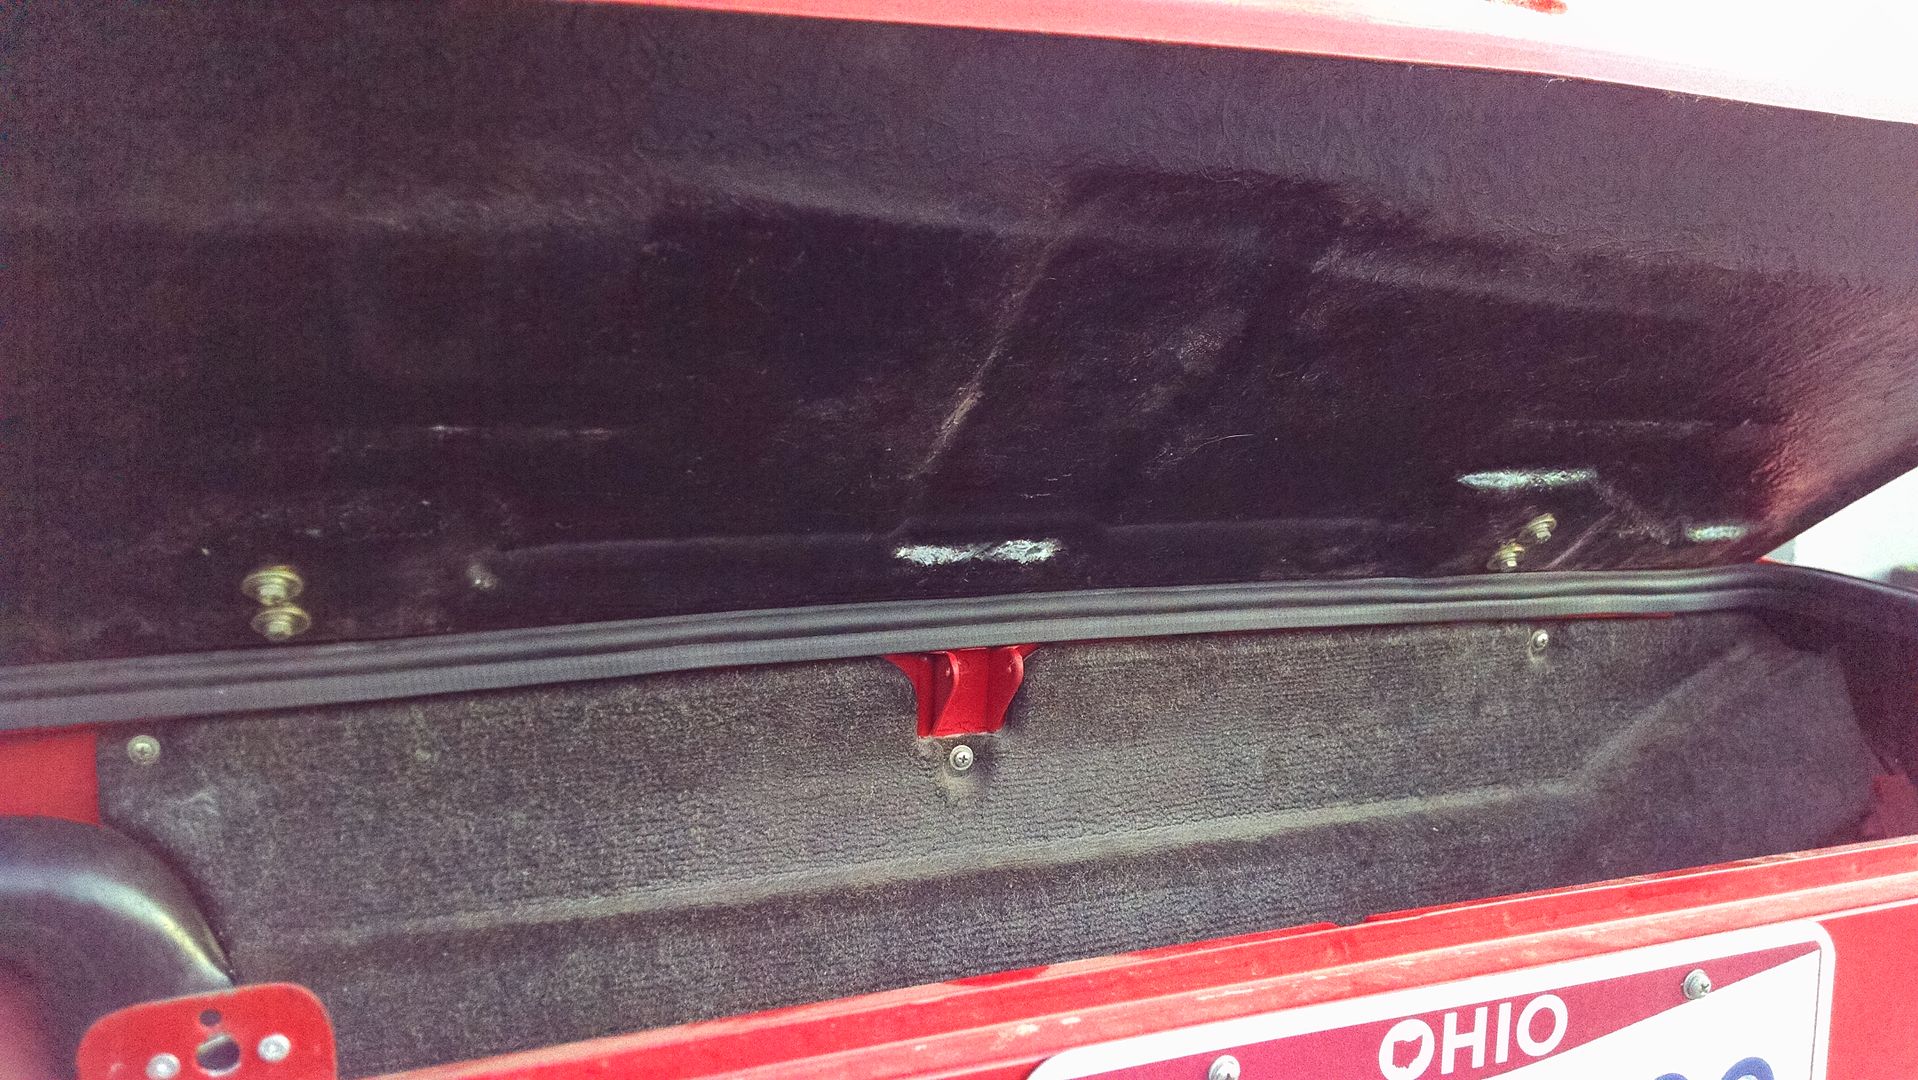
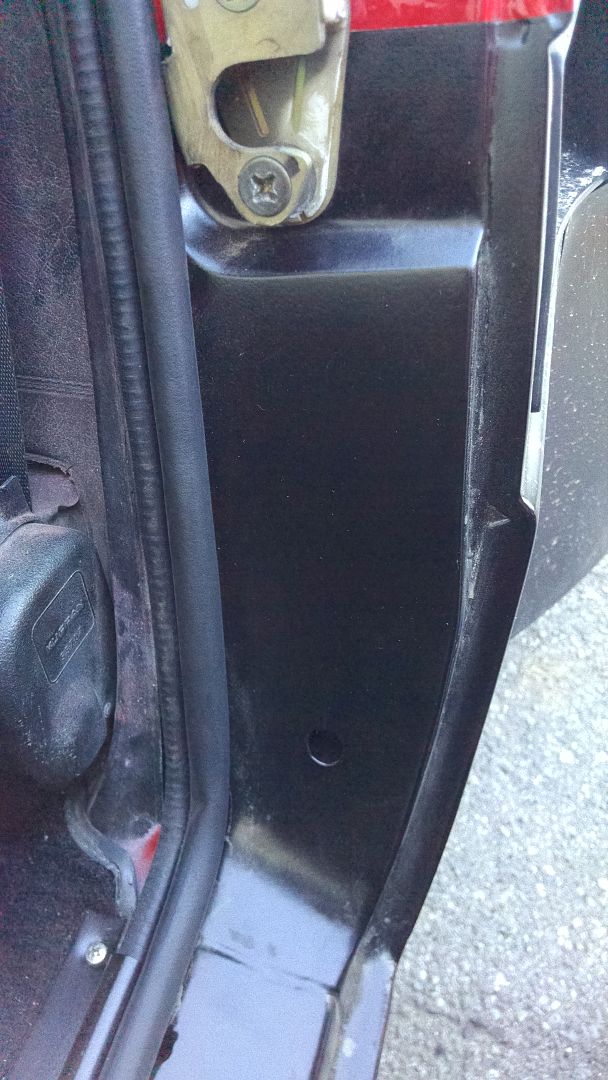
Once the body finished drying I began the extensive metal repair process. (these are just a few pictures I also completely replaced both rear trunk pockets and the rockers both sides)

IMG_20160321_190830328%20-%20Copy_zpsho7jatcl.jpg

IMG_20160322_201721564%20-%20Copy_zpsqgmqfcez.jpg

IMG_20160324_201426694%20-%20Copy_zpsmrdcdgrf.jpg

IMG_20160325_171428810%20-%20Copy_zpsb3wjz4my.jpg

IMG_20160325_174427797_HDR%20-%20Copy_zpstajq0jrv.jpg


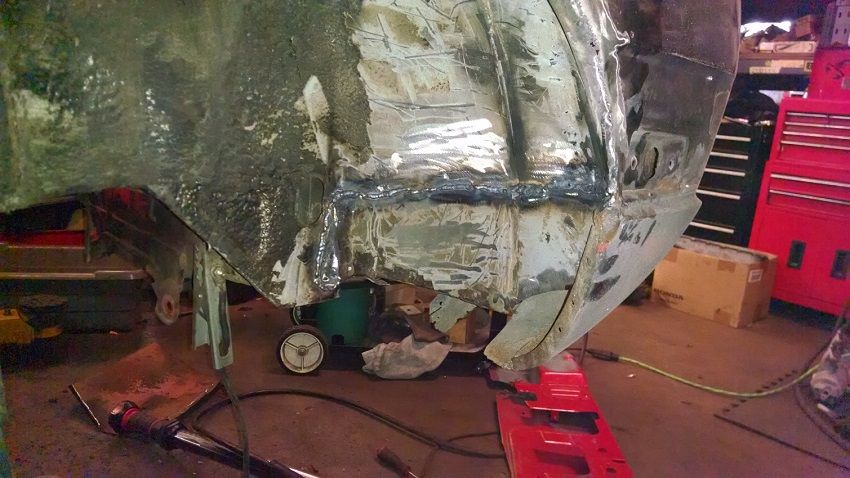
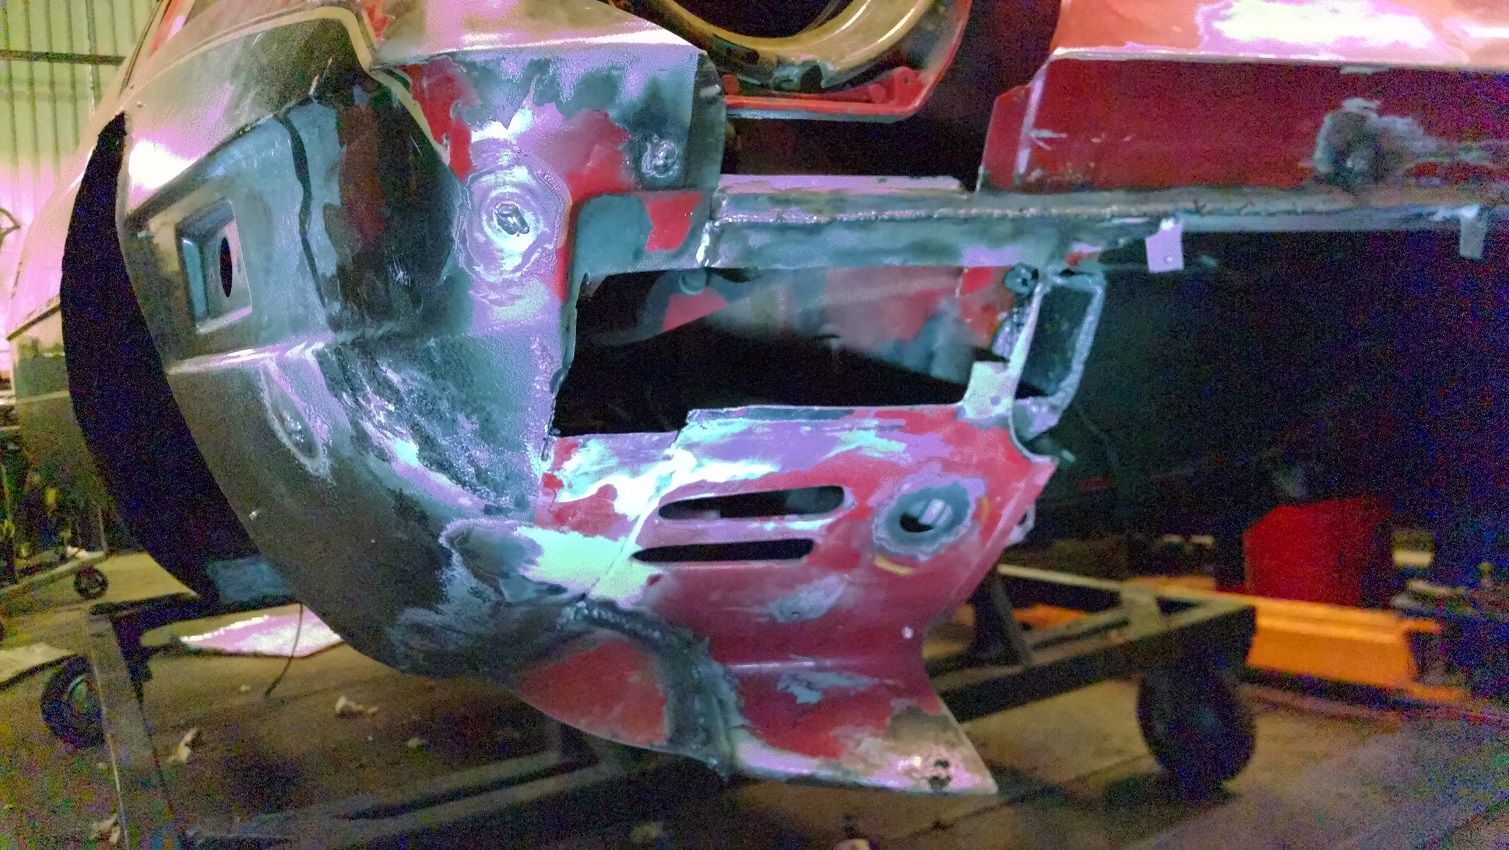
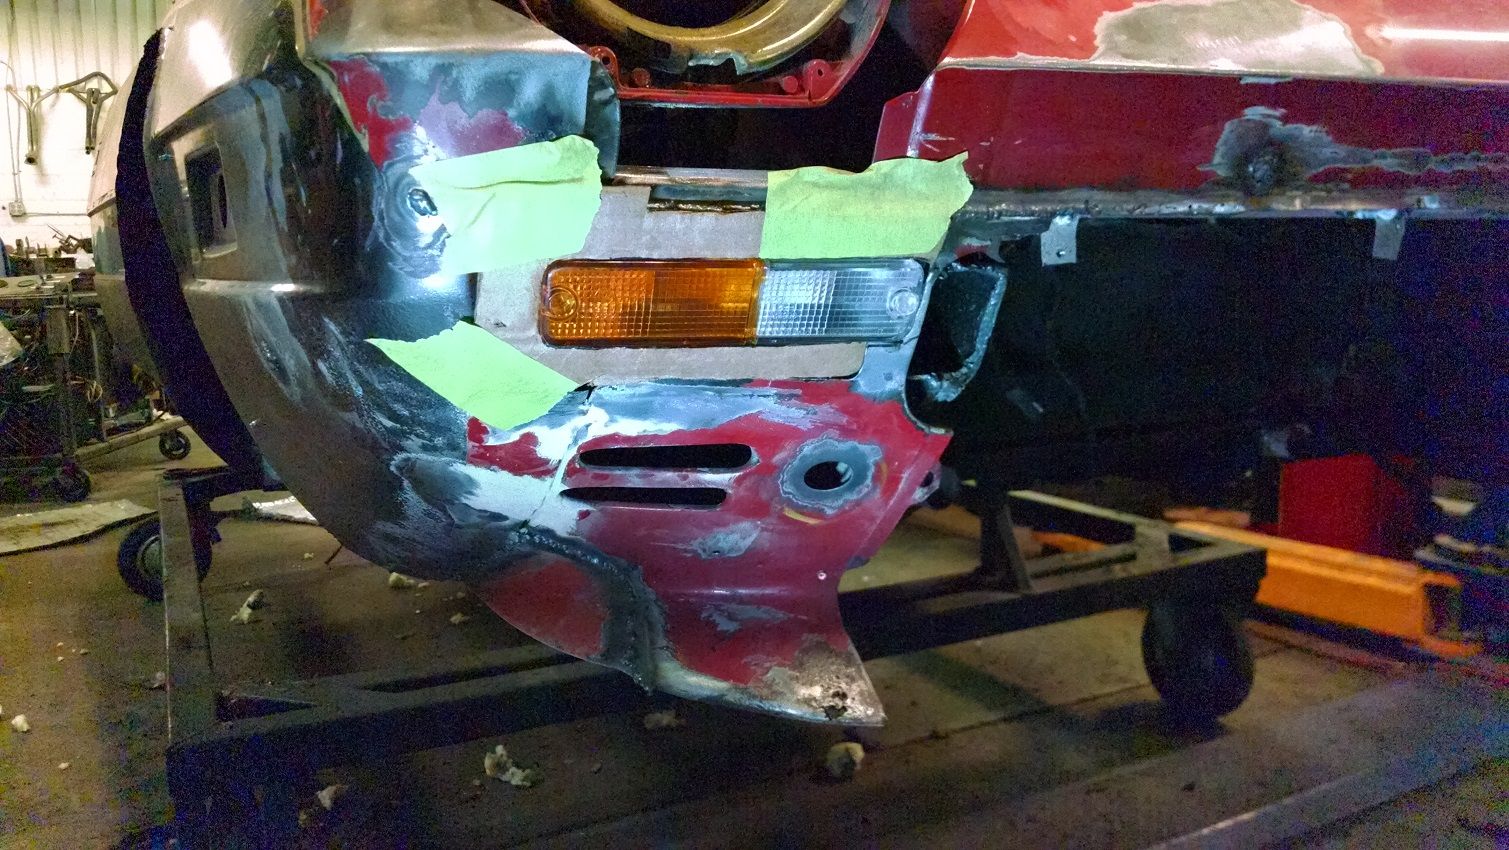
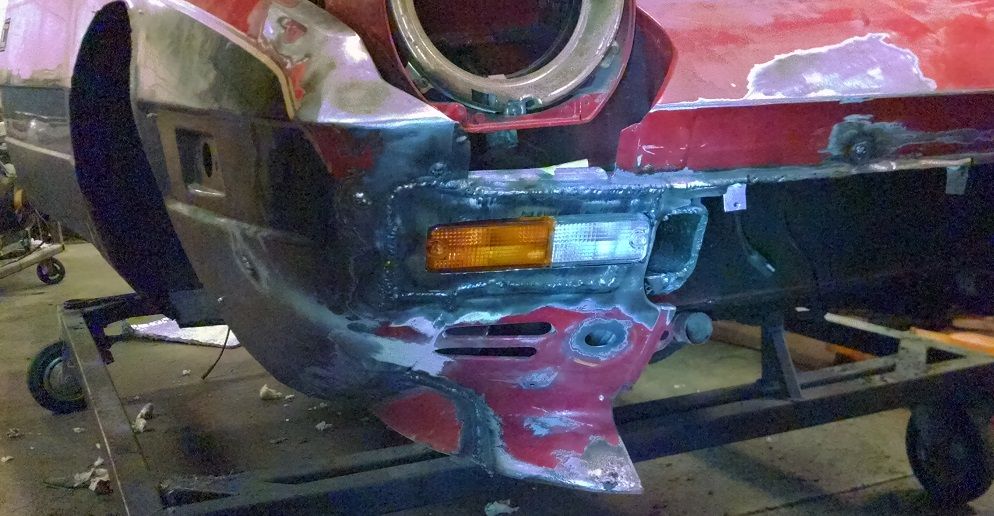
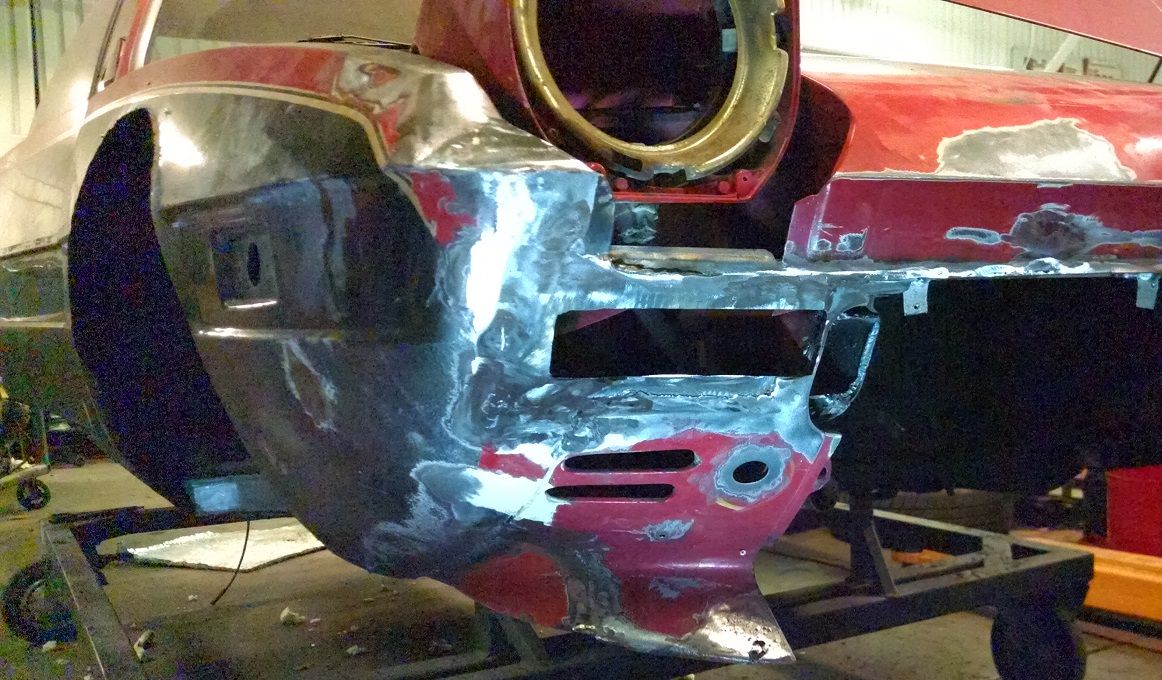
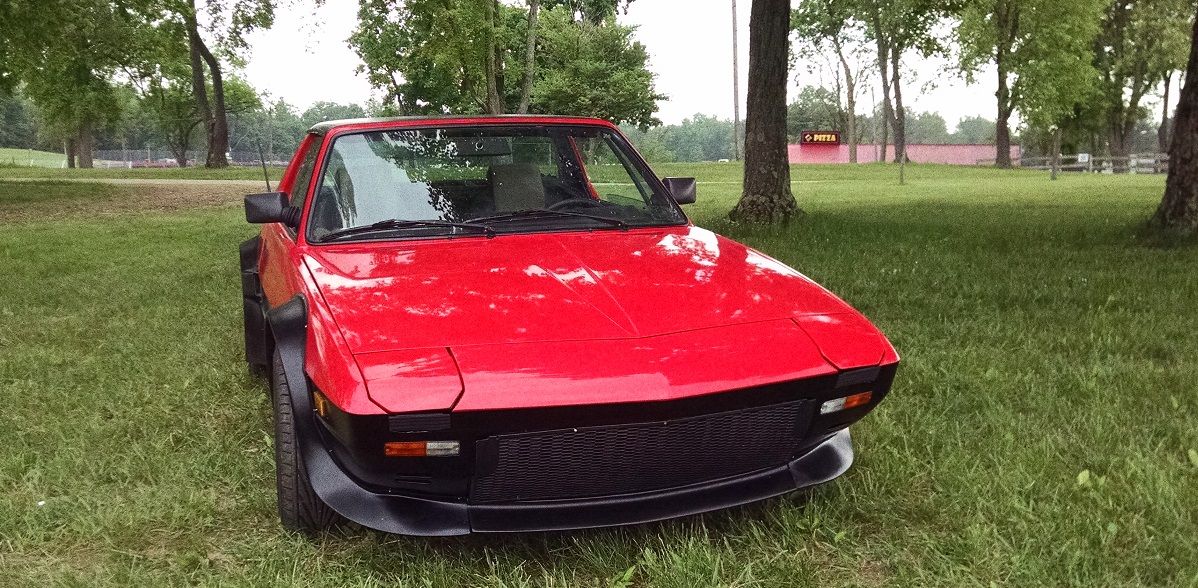
Then I cut and shaped the front for the sunk in turn signals.

IMG_20160325_183710165%20-%20Copy_zpsd1xvblrk.jpg

IMG_20160325_185316700%20-%20Copy_zpscjhiuo9c.jpg

IMG_20160325_202205409%20-%20Copy_zpsu3p5twfz.jpg

IMG_20160325_210547784%20-%20Copy_zpsj1zyiofi.jpg


And the same to the other side.


IMG_20160326_163245979%20-%20Copy_zpshiewgvlp.jpg


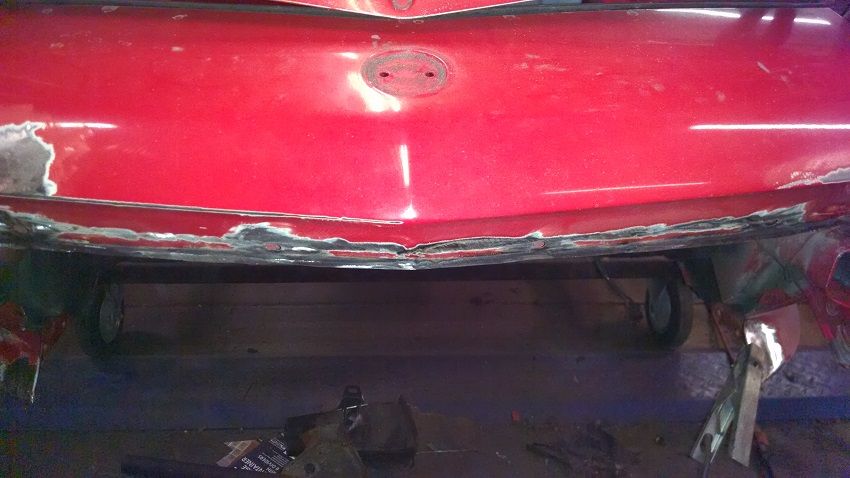
After that I started sanding and applying a bit (lot :hrmph:) of mud.

IMG_20160406_204244678%20-%20Copy_zpsb3uipyuv.jpg


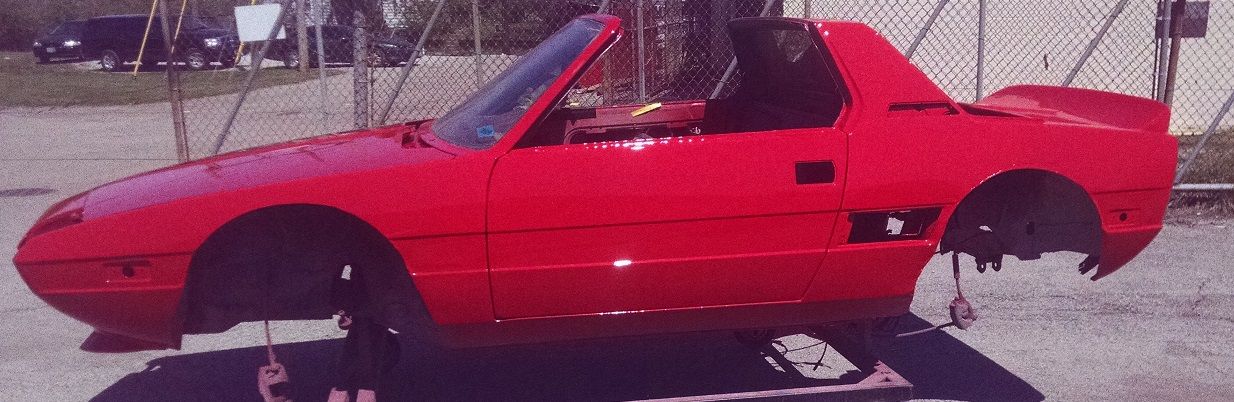
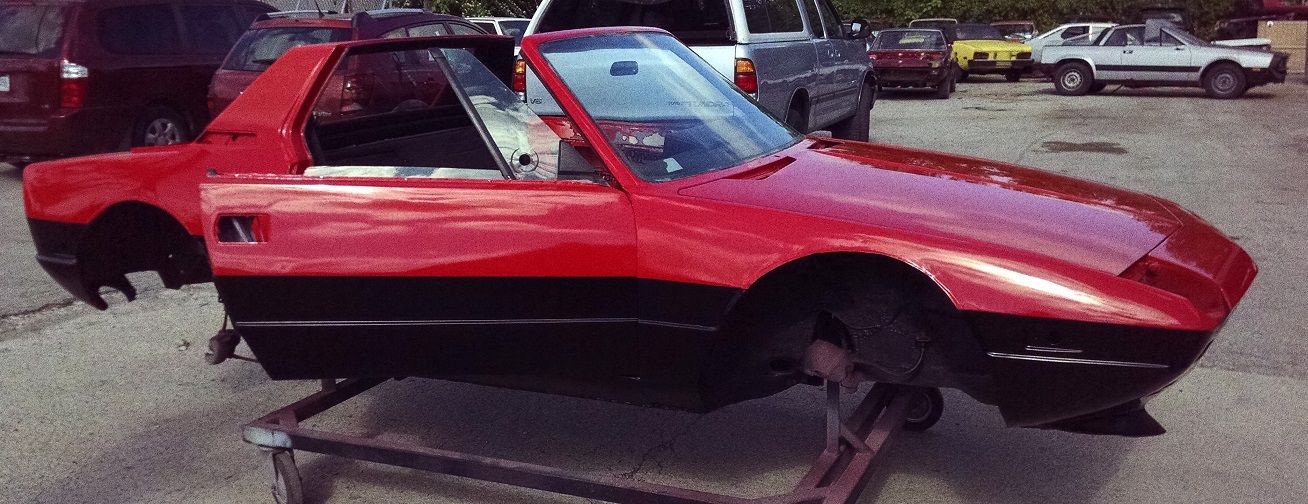
Then primer and paint, I chose C6 Corvette Torch Red and it turned out to be very close to the original Rosso Arancio.

IMG_20160414_205031637_HDR%20-%20Copy_zpsov1cumaj.jpg

IMG_20160415_215935354%20-%20Copy_zpsd42nqrif.jpg

IMG_20160416_122828095%20-%20Copy_zpsk3b7on2i.jpg


But wait there's more!

IMG_20160513_171824834%20-%20Copy_zpseqla5vzo.jpg


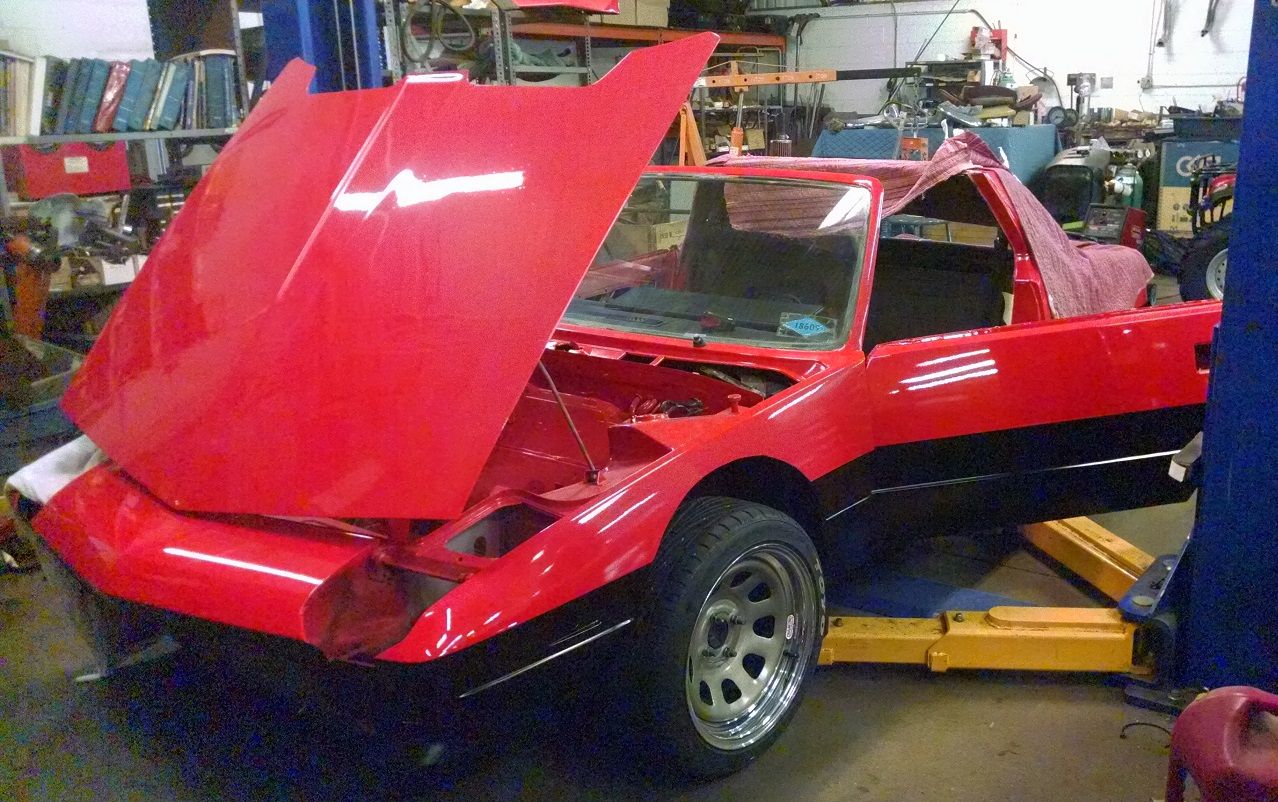
Then the fun began of putting the mess back tougher ill just skip to wheels on the ground.


IMG_20160519_193118573%20-%20Copy_zpsfebajkbw.jpg

IMG_20160524_233731664%20-%20Copy_zps9q88tory.jpg


For those of you who are still reading I appreciate your time. In total it took me about 70 days to complete the restoration all of the work was done during weekends and evenings usually 4-5 hour increments since I am still attending High School and unfortunately that took up the majority of my day. I know that the work Ive done will irritate the purists but I built my car the way I dreamed of.

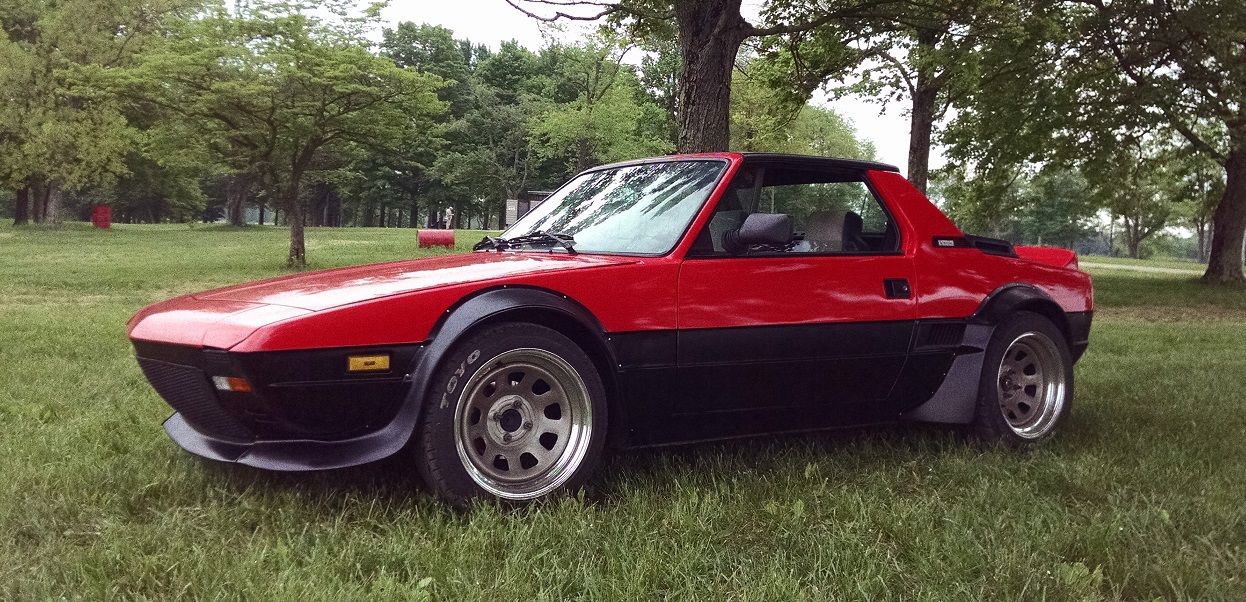
Here are some pictures I took over the weekend on the completed car enjoy.


IMG_20160604_132640583%20-%20Copy_zpspjjv4gat.jpg

IMG_20160604_132655142%20-%20Copy_zpsa9crf0nw.jpg

IMG_20160604_132721306%20-%20Copy_zpspn3omeyv.jpg


Additional info for those who are interested...
In addition to the engine build I also added KYB coil overs to the front and regular KYB shocks to the rear I installed drilled and slotted brake rotors with Porterfeild performance street brake pads and while I had it all apart I went through the rest of the suspension and rebuilt the transmission, it has a Vibrant Performance dual outlet exhaust that makes great sound and is surprisingly pleasant around town and on the highway, the deck lid is a Midwest Bayless Faza "duck tail" fiberglass with hard points for hinges I also installed a MWB Aluminum radiator witch keeps the car running around 170 :woot:.
 
Nice work Brayden

Looks good from here Brayden. I will check out your work in person on the 18th at this years Open House. See you there.

Just in case the rest of you guys don't know Brayden, here he is in his first car back in 2007. He even had a pit crew. ;)
IM001947.jpg
 
Last edited:
OK, this is just not fair....

You did an excellent job on the car, congrats. When you said that High School got in the way and slowed you down, that's the not fair part. You're obviously one very talented young man. I am envious! Now go drive the snot out of that think and have a blast.
 
Great Job!

It's always nice to see the re-birth of an X-1/9, especially one that is to be enjoyed!
Nice post.
 
Nice Work!!!!

Very impressive given your age, you are obviously a dedicated young man :)

", the deck lid is a Midwest Bayless Faza "duck tail" fiberglass with hard points for hinges"

Any pics of this? I'm using the same lid on my car, but haven't gotten around to cutting the old frame off the old lid. Always interested in seeing alternative options ;)
 
Brayden Brayden Brayden, I will buy all the pizza and beer for your first year of college if you come out and do that to my car.

Sent from my SM-G920V using Tapatalk
 
man o man

I don't know if I should hate him, or admit my envy for his skills and work ethic.
epic ride youngster.... well younger than me anyway.
o.k ..envy. here I sit and type when I should be in the garage.
wakeup call to self. GET OFF YER BUTT and start finishing what I have here!!
one member has said he would buy beer and pizza for your college tenure..how about finish mine and I pay for tuition?:worship:
mikemo
 
Well I know, I HATE him! I vote to ban him from the site!

Seriously though, great work and welcome to the Dark Side.
 
Thanks everyone, to answer a few questions...

On the deck lid I decided to only have the hinge points installed to save weight and use hood pins to keep it shut

IMG_20160607_202305781_zps4kx4gqro.jpg


I also used a hood pin on the engine cover and shaved the latches.
IMG_20160607_202350271_zpsw3rg010u.jpg


As for the wheels the fronts are 15"x7" with 0 offset and the rears are 15"X8" with -12 offset. The front tires are 195 45 R15s and the rears are 225 45 R15s
 
Offset...

So basically, since Diamond measures backspace from the widest part of the wheel lip.... 15x7 equals 8" overall width up front, 15x8 equals 9" wide in the rear... at 8" wide up front with 0 offset, you have 4.00" backspace... At 9" wide on the rear with -12 offset, you have 4.50" backspace.... I went 3.50" backspace on both my 15x7's and 15x8's... No need for coil overs as they clear the struts... And they hang out a tad more and fit the flares a bit tighter... I also noticed the tire diameters are about 1" difference in diameter front to back... Any reason you didn't go with a 195/50R15 up front? Just curious...

Looks good none the less!!!

When I ordered the wheels I didn't plan on installing coil overs but knew the backspacing would be enough to run stock struts however I was worried about them rubbing on the body when turning so I went with smaller tire to try and prevent that. I still ended up having to clearance the flares and body. I also liked the look of slightly taller tires on the rear of the car so those are the reasons hope that answers your question.
 
Back
Top