Selling the X & Bought an 75 Datsun 280Z

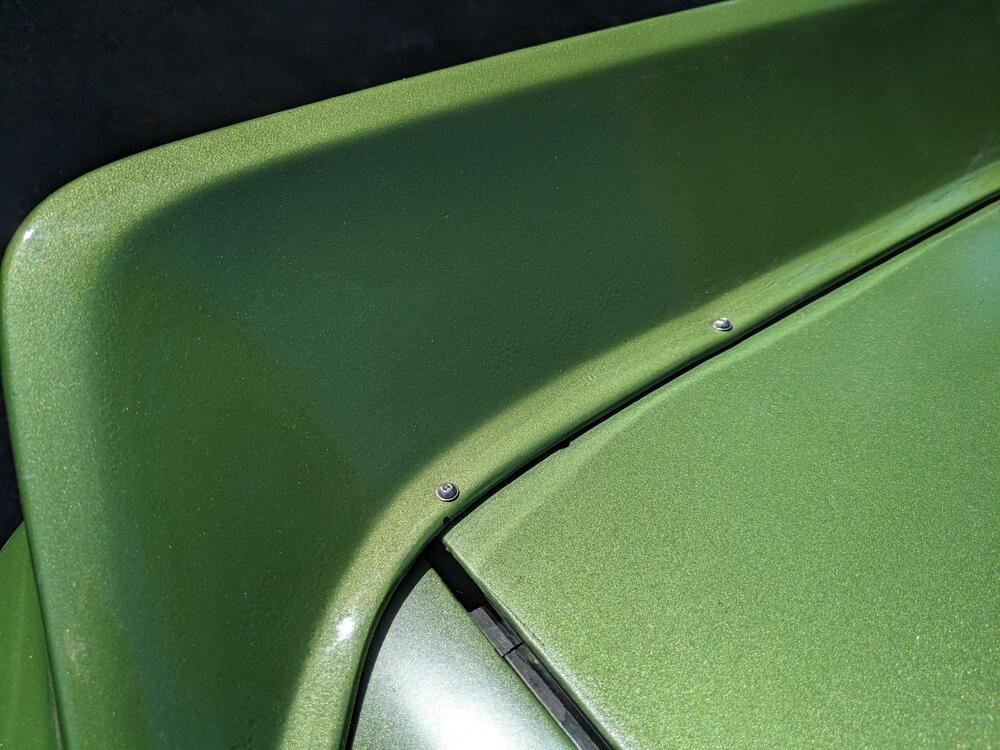
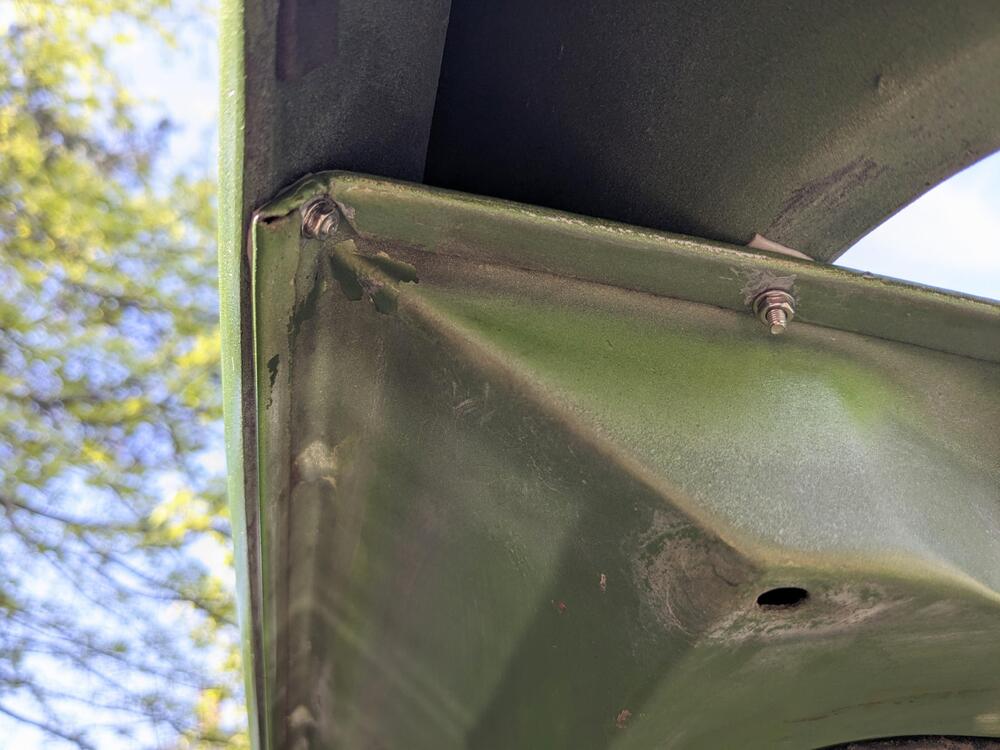
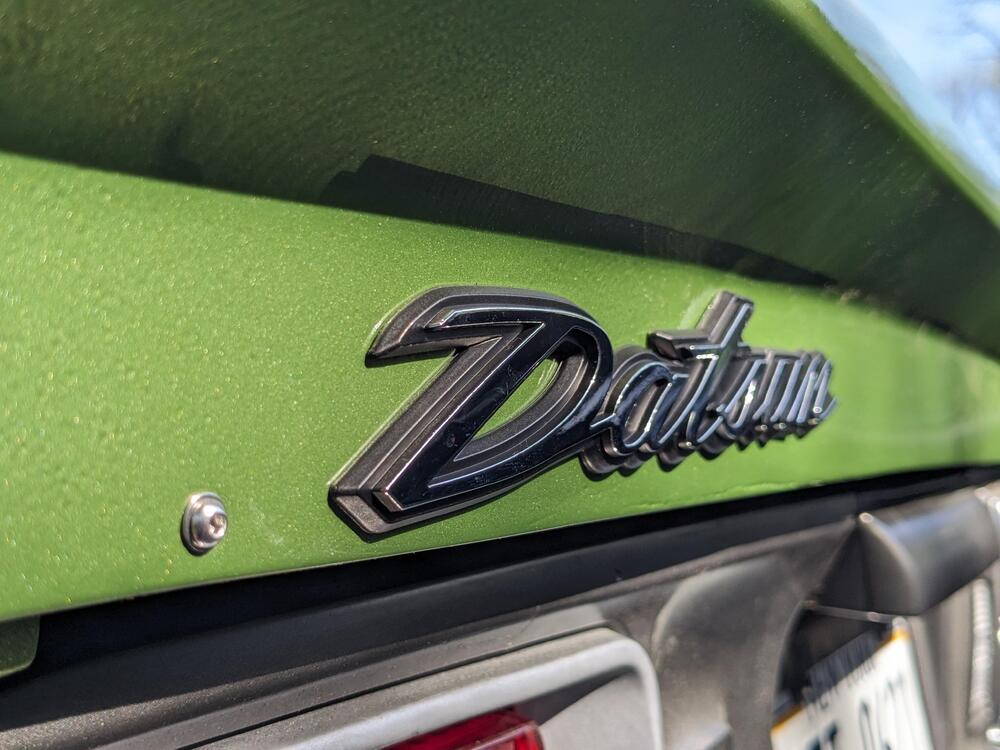
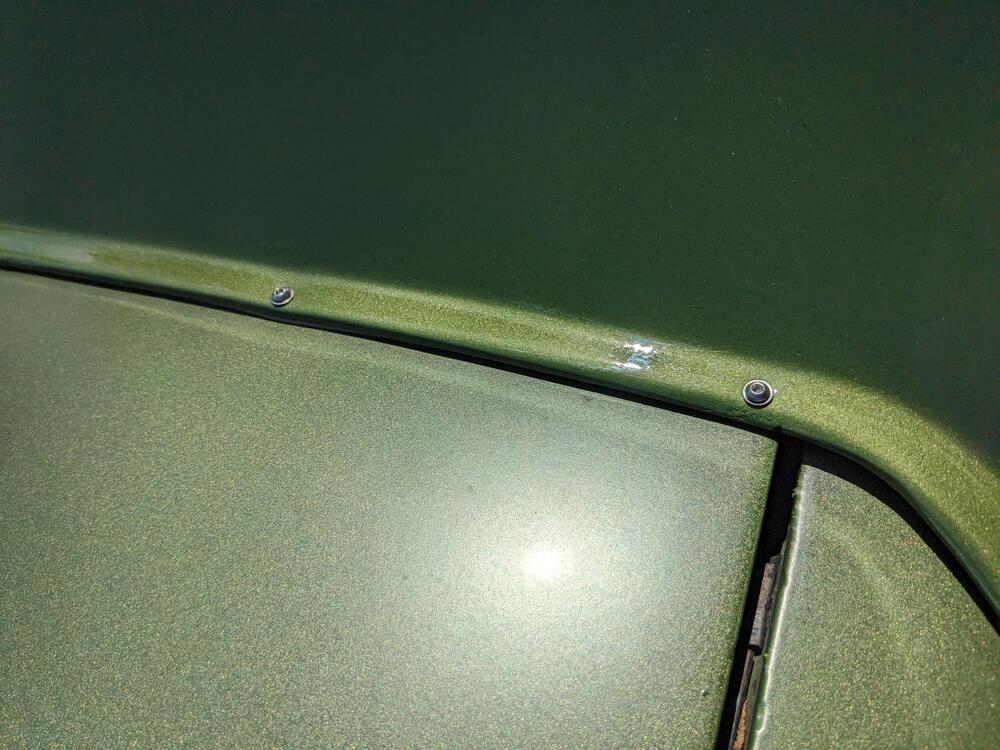
Details on the Xenon rear spoiler install. The way it's designed, the end caps press against the rear quarters. The issue there is that the pressure causes the spoiler to pull away from the hatch along the top, and on the back edge. To counter that, I added two more M3 SS machine screws to the outer edge of the hatch, and to the vertical outer edge.

PXL_20240503_194213071.jpg

PXL_20240503_194223704.jpg

PXL_20240503_194238466.jpg

screw heads are visible from the outside, however I'm OK with that.

PXL_20240503_194132140.jpg
 
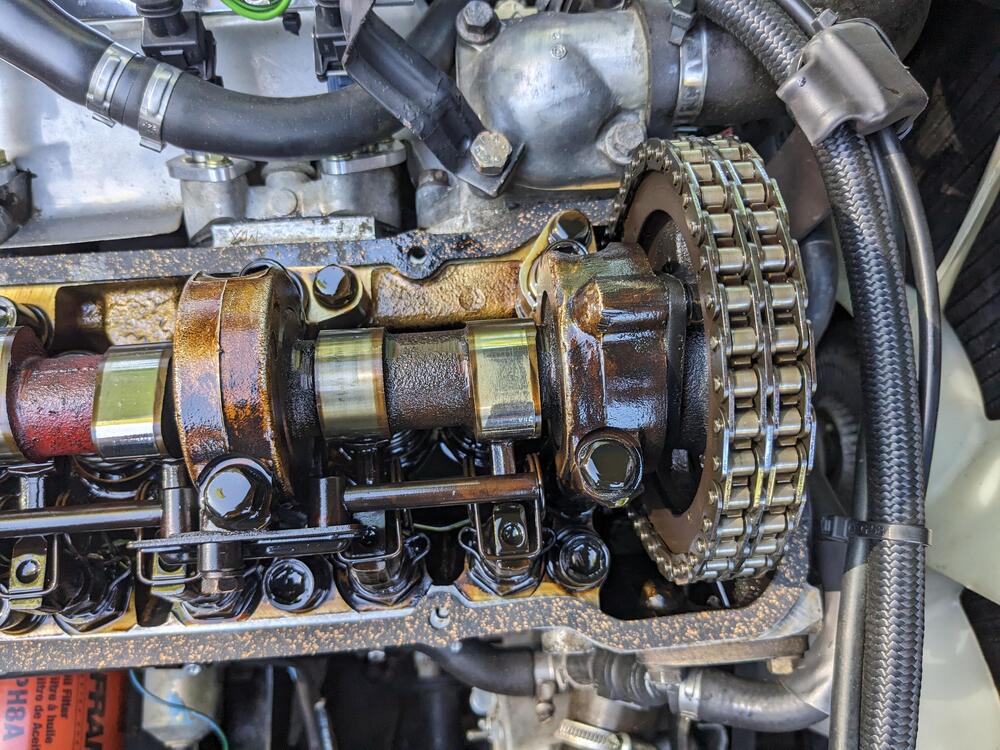
Cork/rubber composite gasket arrived last night, so I changed it out after work

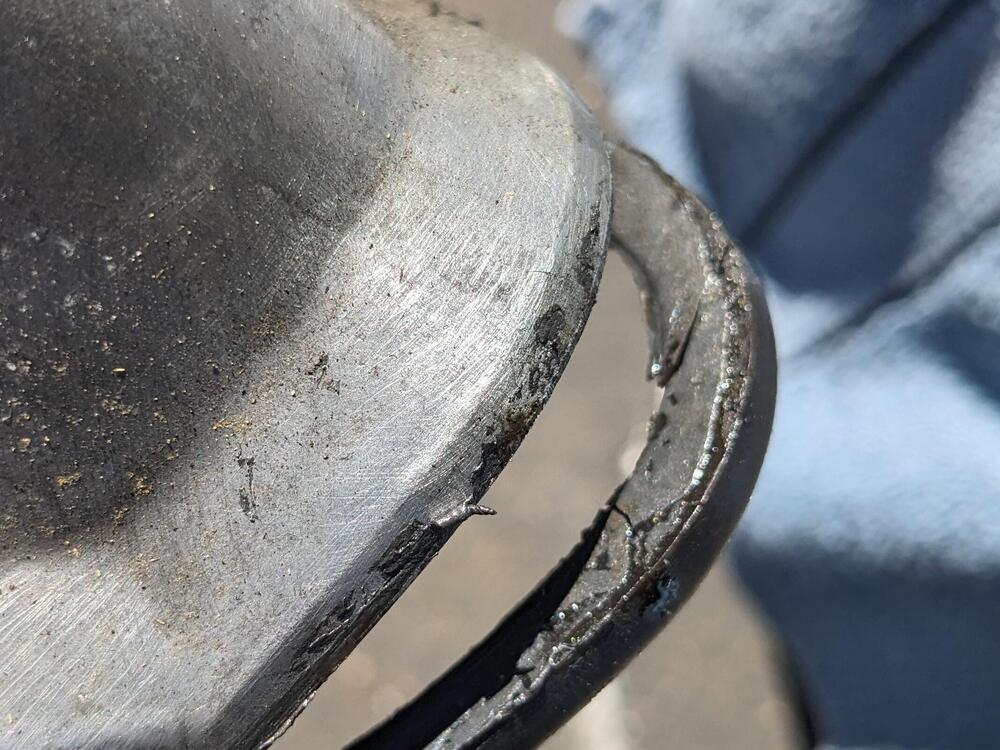
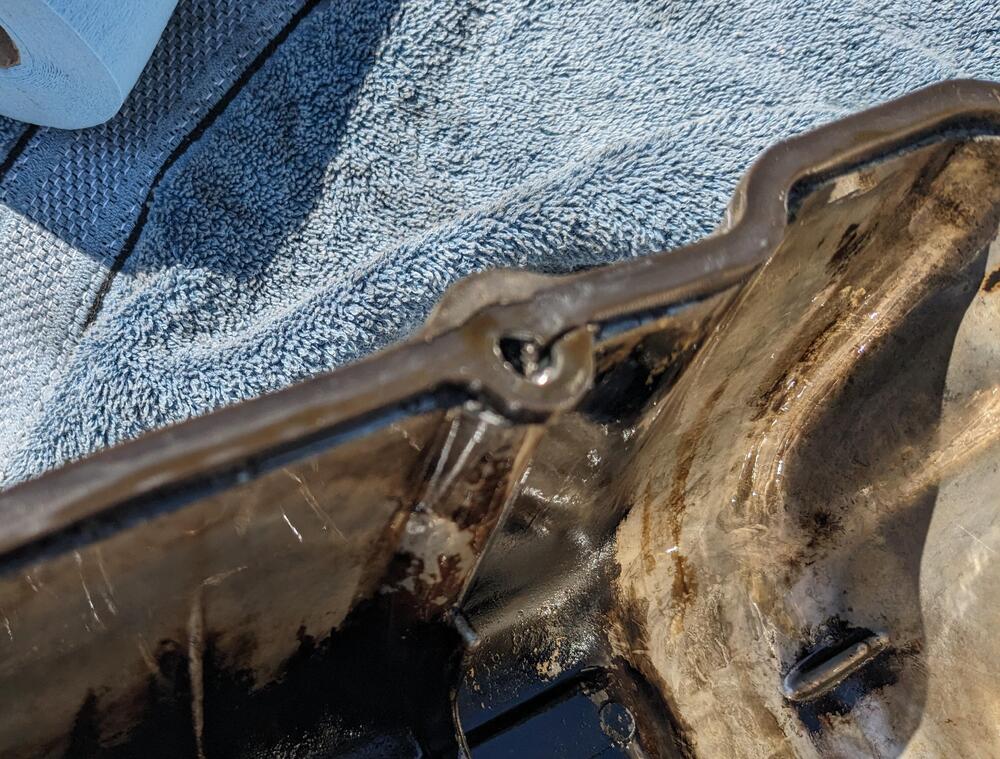
The silicone one (Milkfab is responsive to my inquiry) has torn in several places - note that I did not over torque the cover, in fact they probably could have been snugged tighter, as it took minimal effort using a 1/4 short rachet to crack them free.

Main tear that was pushing out in the left rear corner - note that they spec a bead of silicone to adhere the gasket to the cover. That was allowed to set up prior to install.

PXL_20240507_193028062.jpg

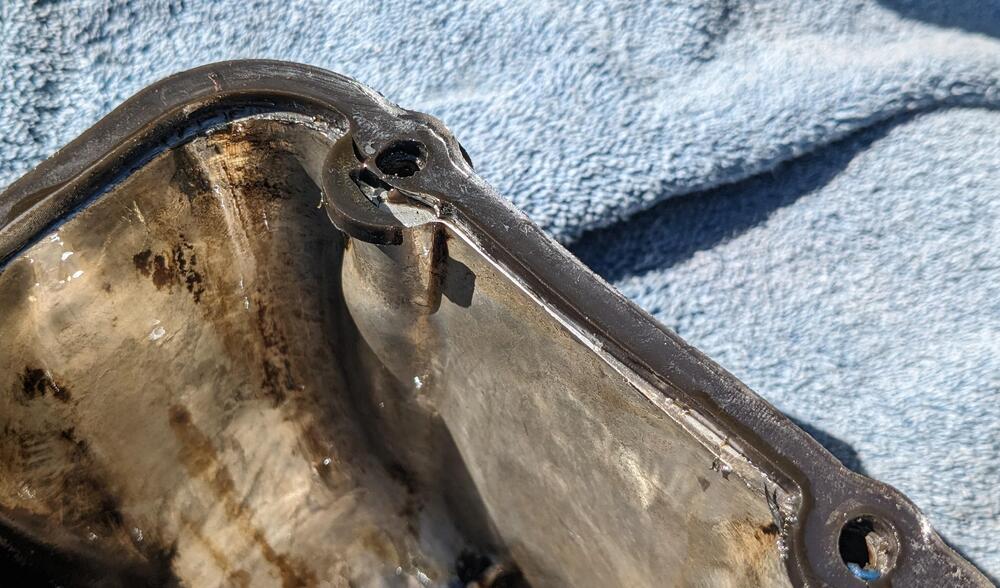
Other internal tears

PXL_20240507_192909819.MP.jpg

PXL_20240507_192912023.jpg

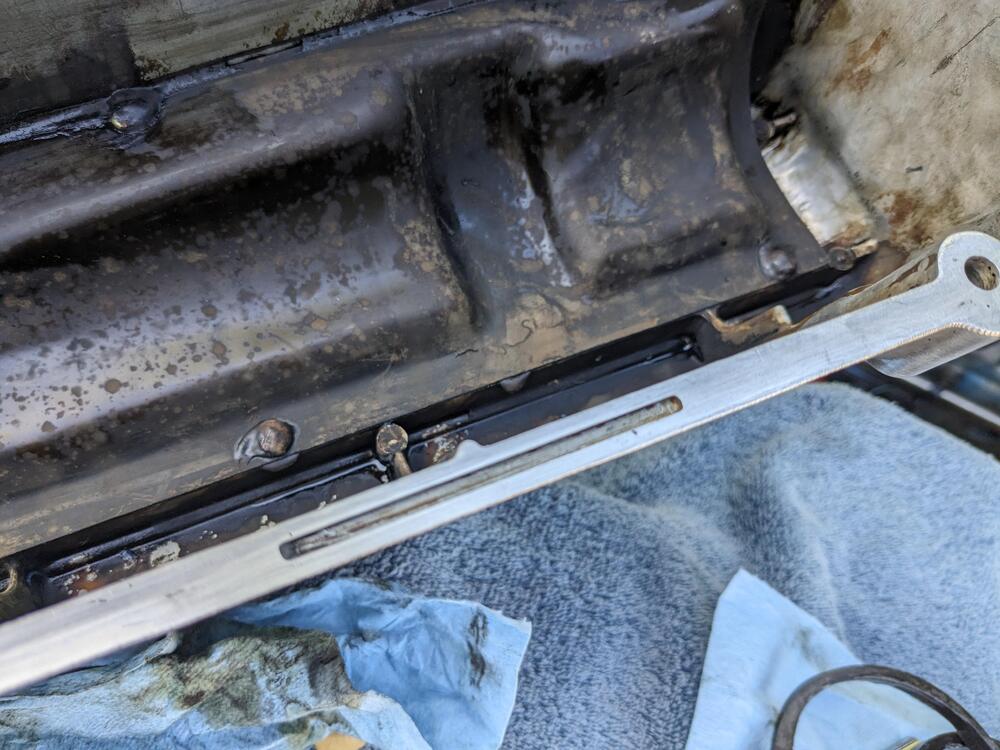
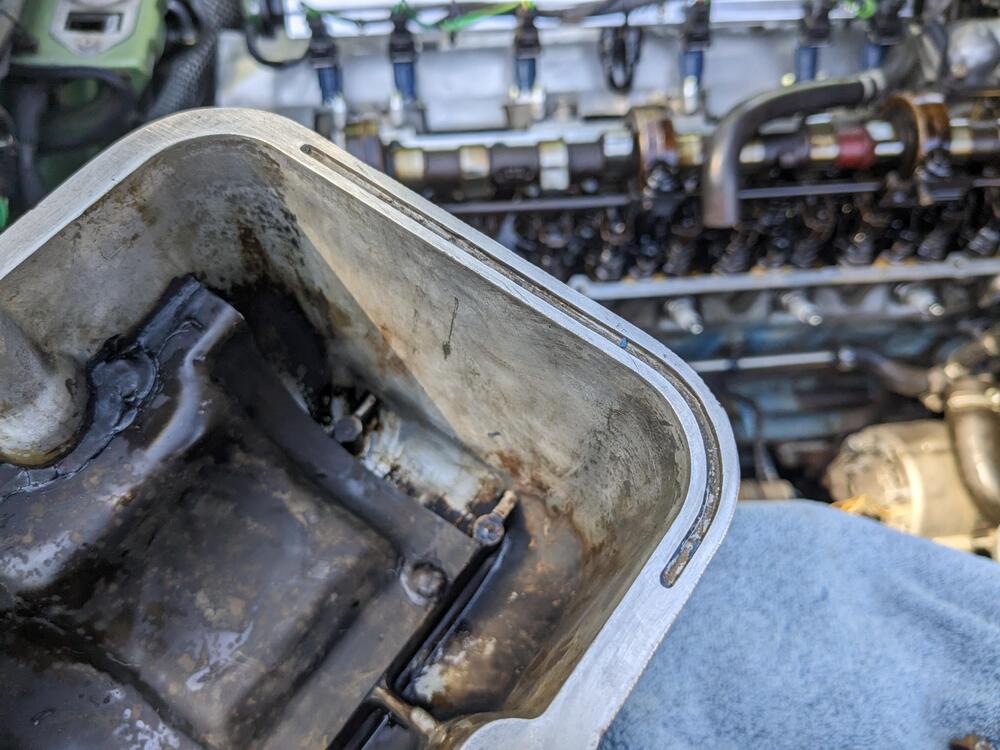
I thoroughly cleaned out all the silicone from the gasket retention grooves in the cover. I could find nothing in the factory manual that referenced using any sort of silicone or other agent to secure the stock type gasket.

Noting the staggered offset of the gasket at the gear end

PXL_20240507_201607787.jpg

PXL_20240507_201305931.jpg

PXL_20240507_201307576.jpg
 
  • Like
Reactions: 86X
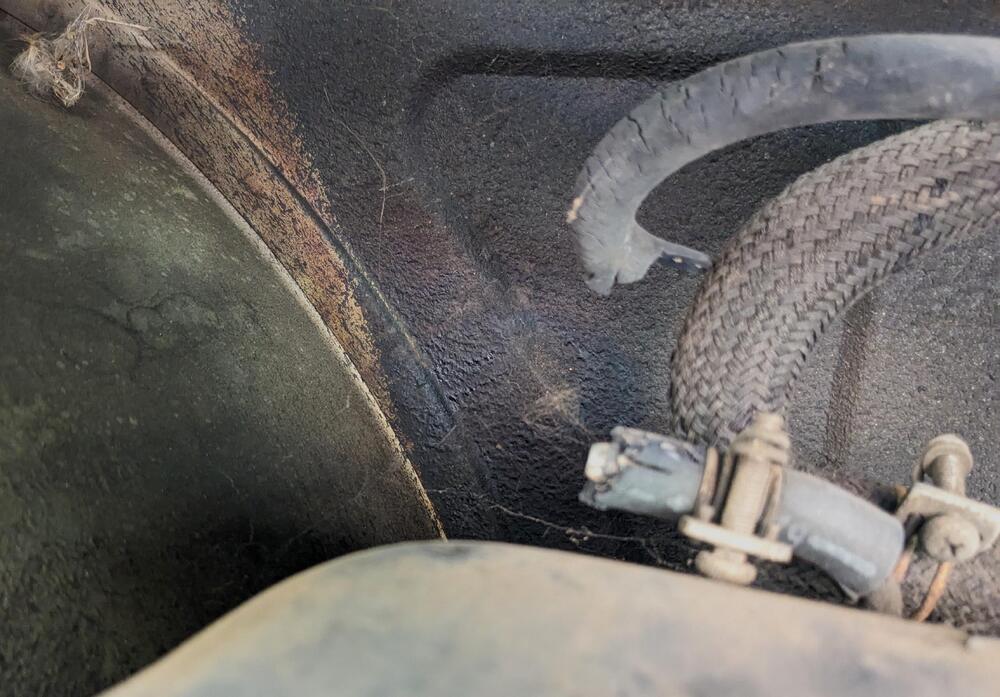
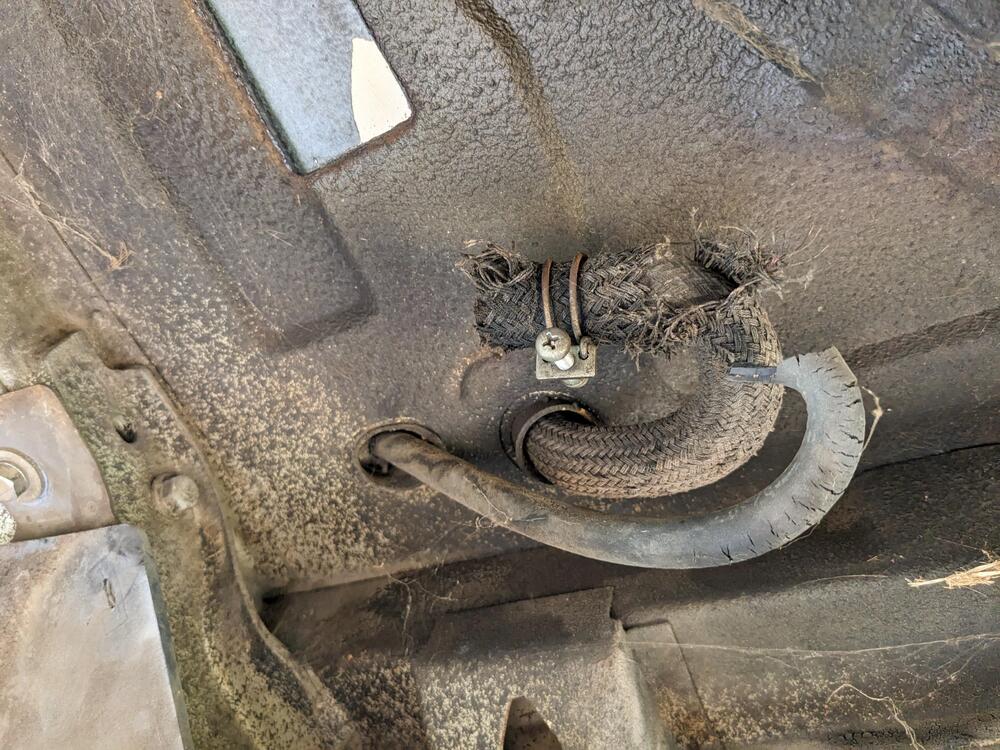
Dropped the tank today, and found the source of my gas fumes/overflow when filling. Smaller vent line off the tank was ruptured. I actually realized I could have seen that if I looked through the louver slots in the tail panel. Didn't want to drive to Carlisle without being able to fill the tank.

Manual for reference
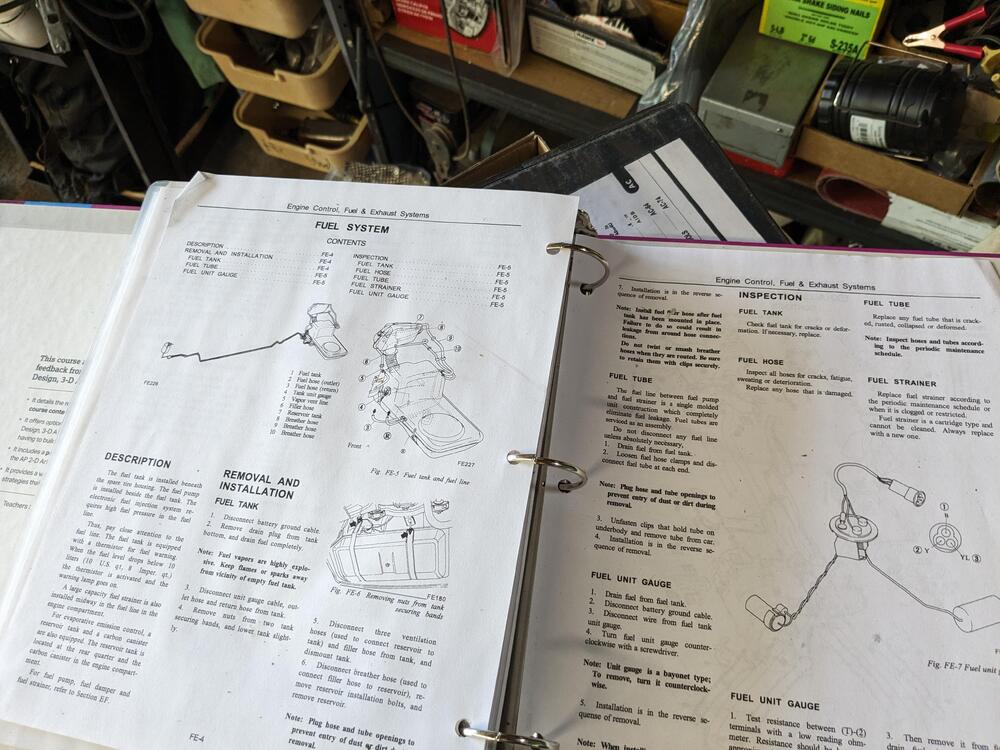
PXL_20240508_165850275.jpg

PXL_20240508_161300630.jpg

PXL_20240508_164056739.jpg

filler neck base & clamp in great shape.
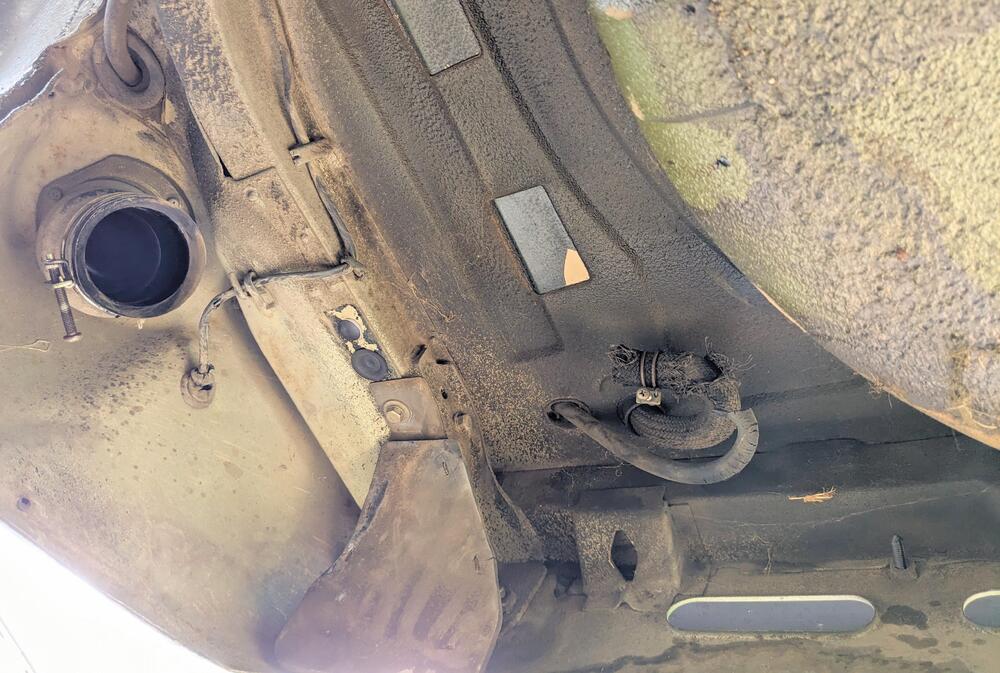
PXL_20240508_164101780.jpg

Removed the remnants of the right side bumper shock, and plugged all the holes. Added butyl to ensure a seal
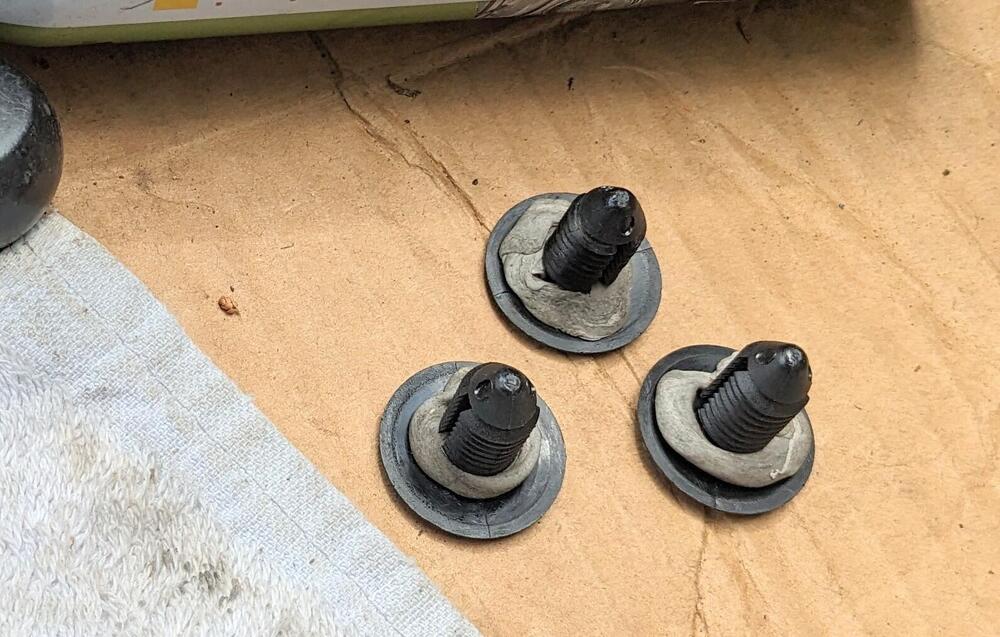
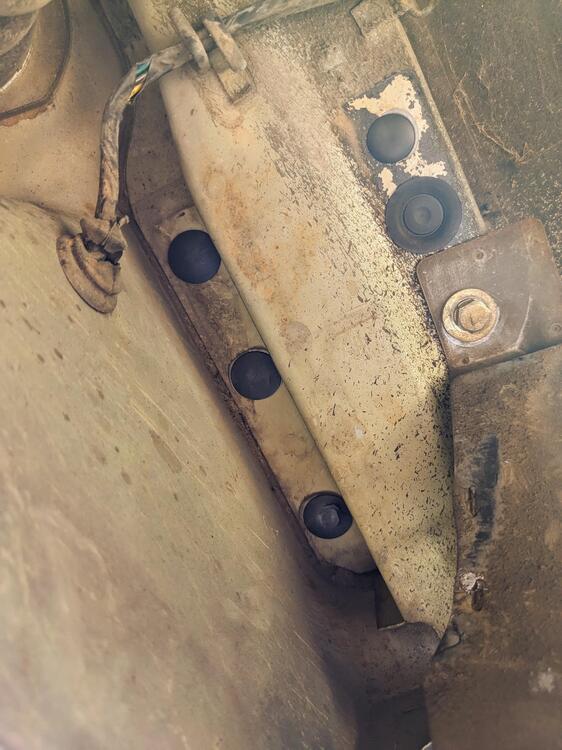
PXL_20240508_163641071.jpg

PXL_20240508_164037350.jpg

Had to pull out the bottom of the tank a little. I realized there was no way to lever in there from the fuel sender port as there is a baffle in the way. So I just put a threaded bolt in the drain plug and levered the sucker out evenly working around the circumference of the bolt/plug hole
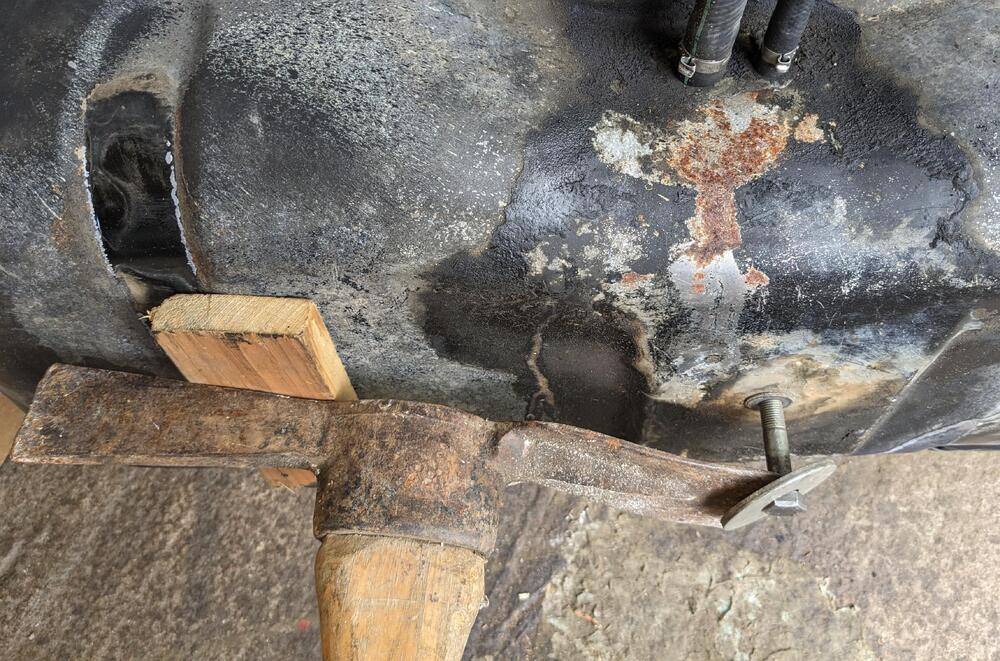
PXL_20240508_165759309.jpg

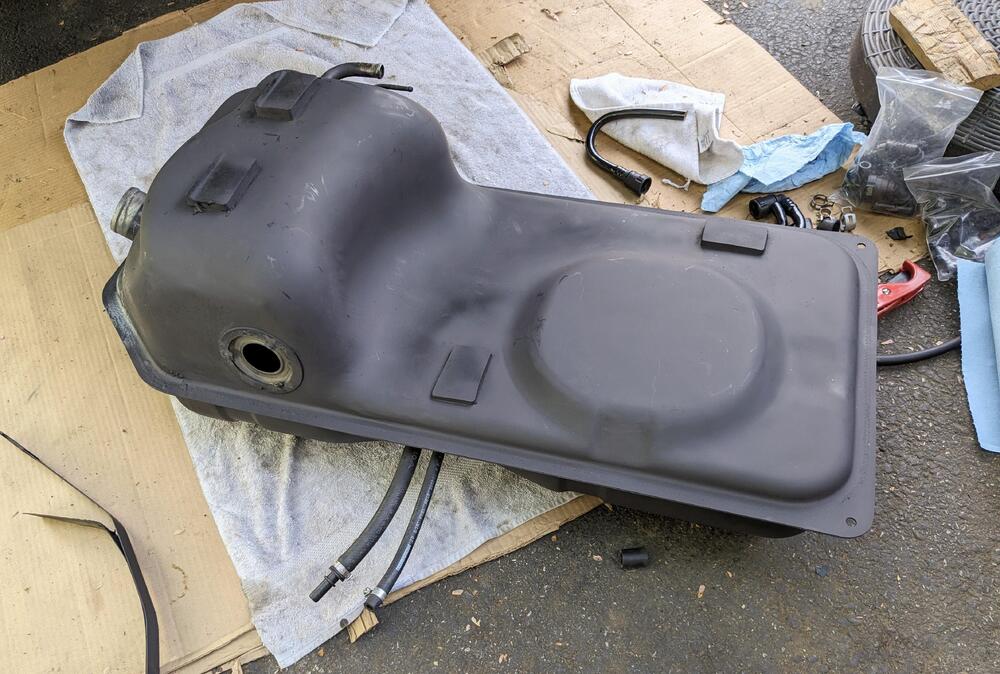
Degrease / clean and paint tank.

PXL_20240508_211804715.jpg

Made an elbow to replace the original large loop, the small line I just ran a longer piece, so it could loop gently
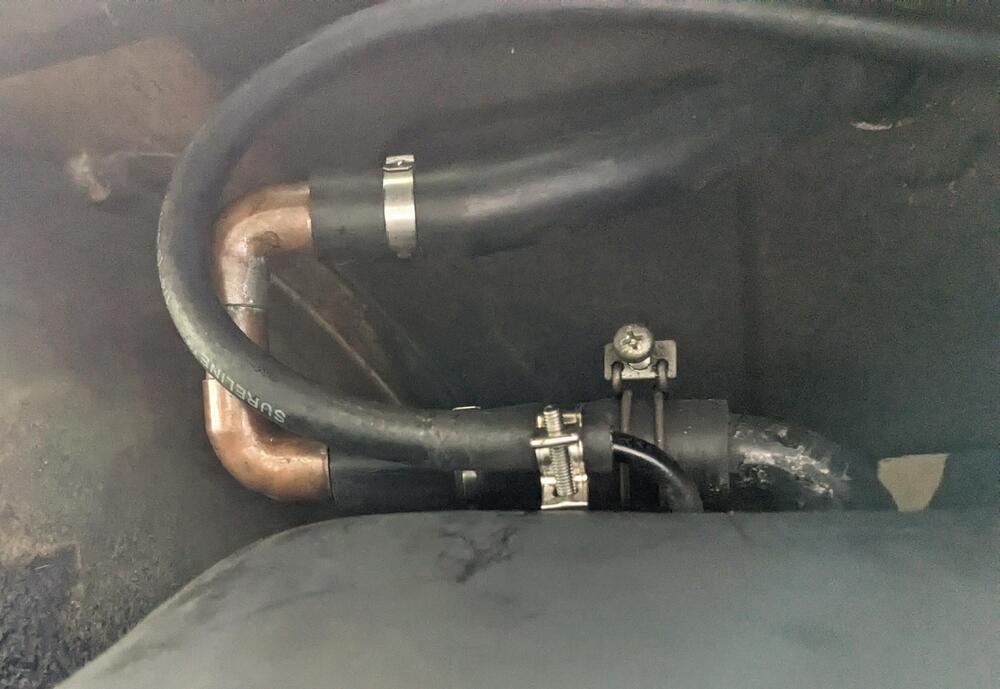
PXL_20240508_213016774.jpg

Visible through louvers beneath bumper.
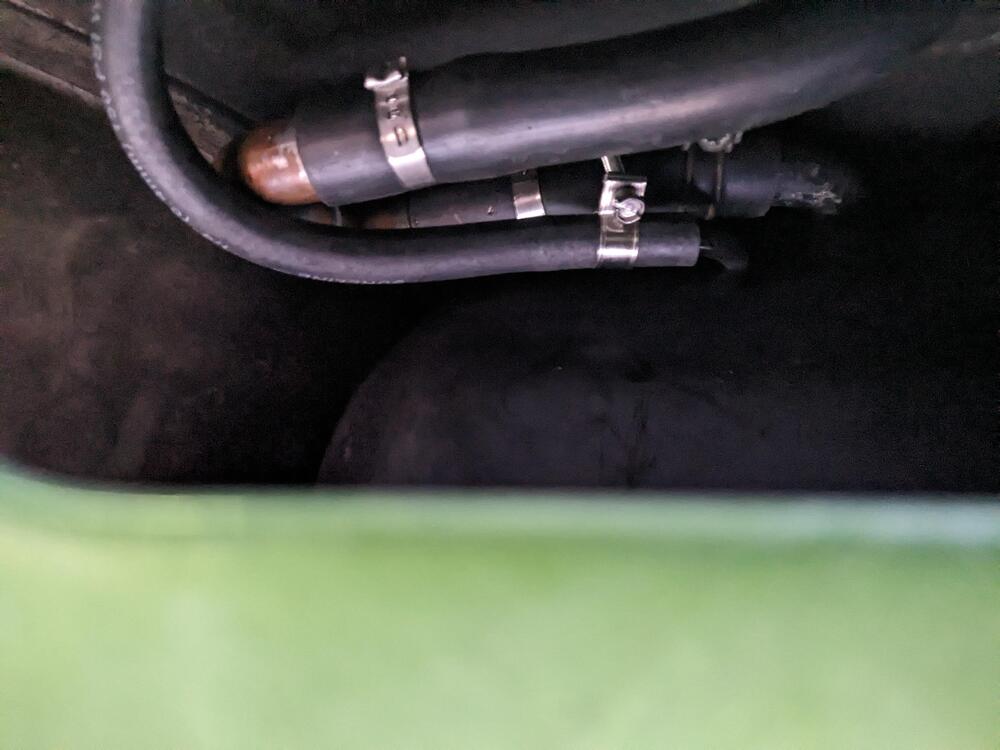
PXL_20240508_215219568.jpg

For the inside, I cut the original hose - most of the inside was perfectly good there was no cracks in the the material, so I just ran a splice section from the tank, and used a large quick connect to join the two. new grommets for the lines from ZcarDepot.
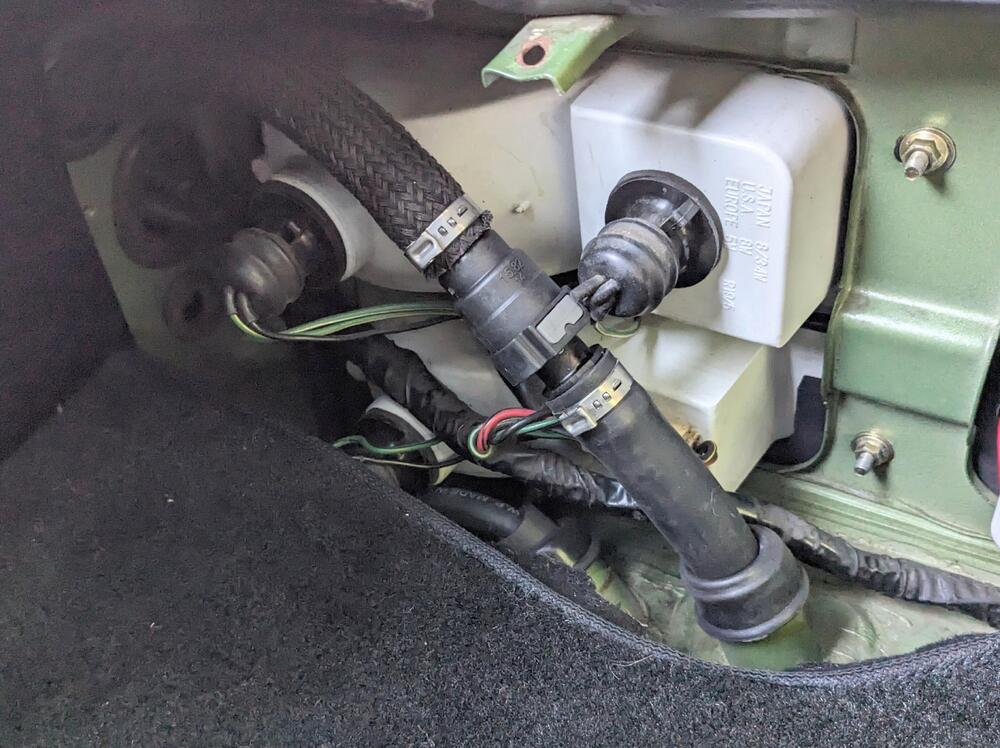
PXL_20240508_215227722.jpg

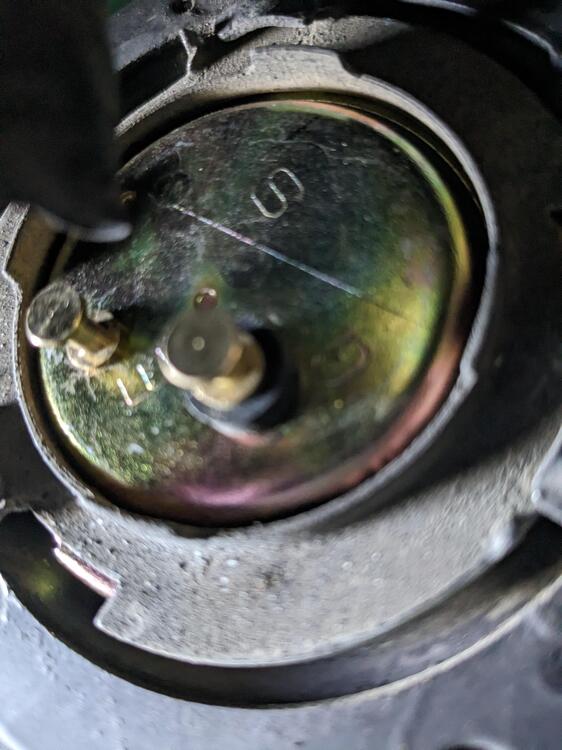
I did find out that I put the sender in upside down, as when I started it the gauge pegged full. Drained about 4 gallons, prior to doing the work.

I realized the notch in the sender plate was supposed to be on the right not on the left - upside down in this pic
PXL_20240508_215346725.MP.jpg
 
Back
Top